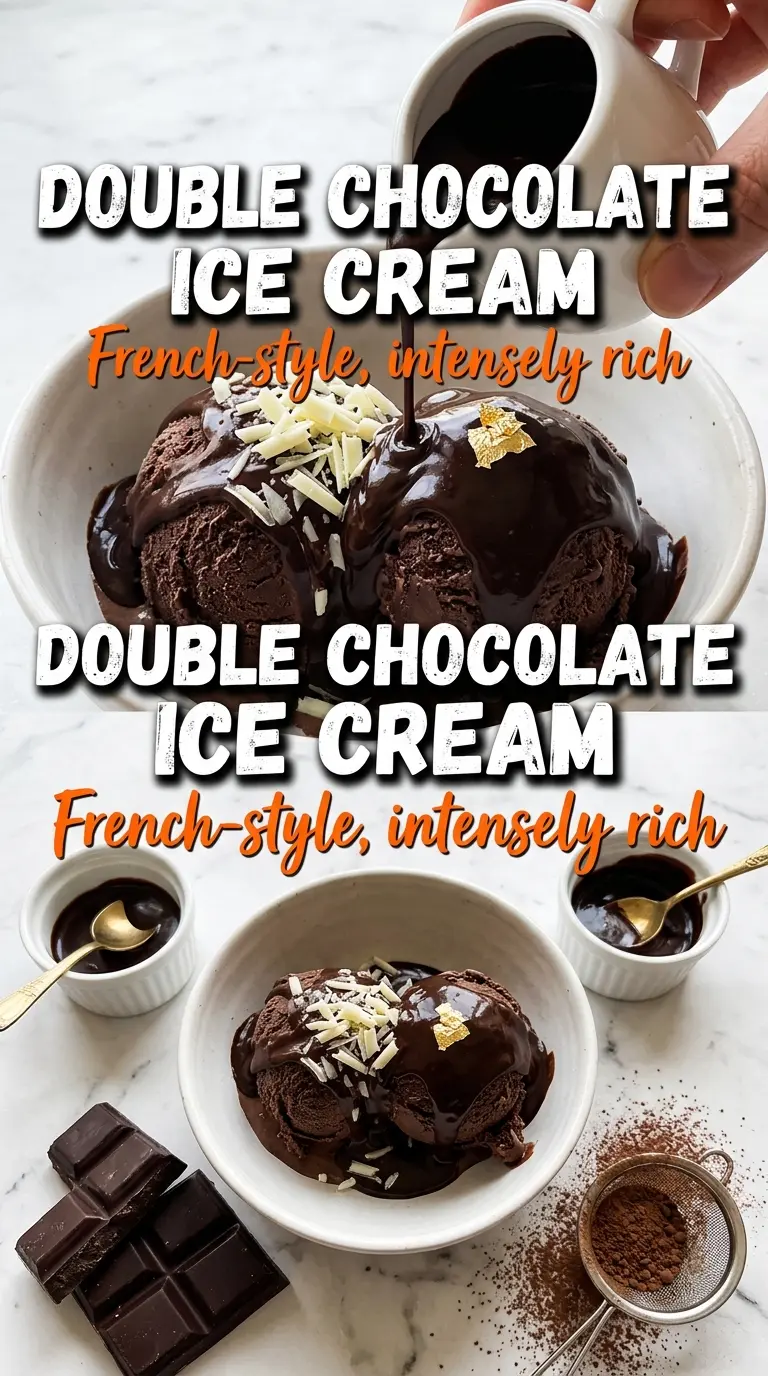
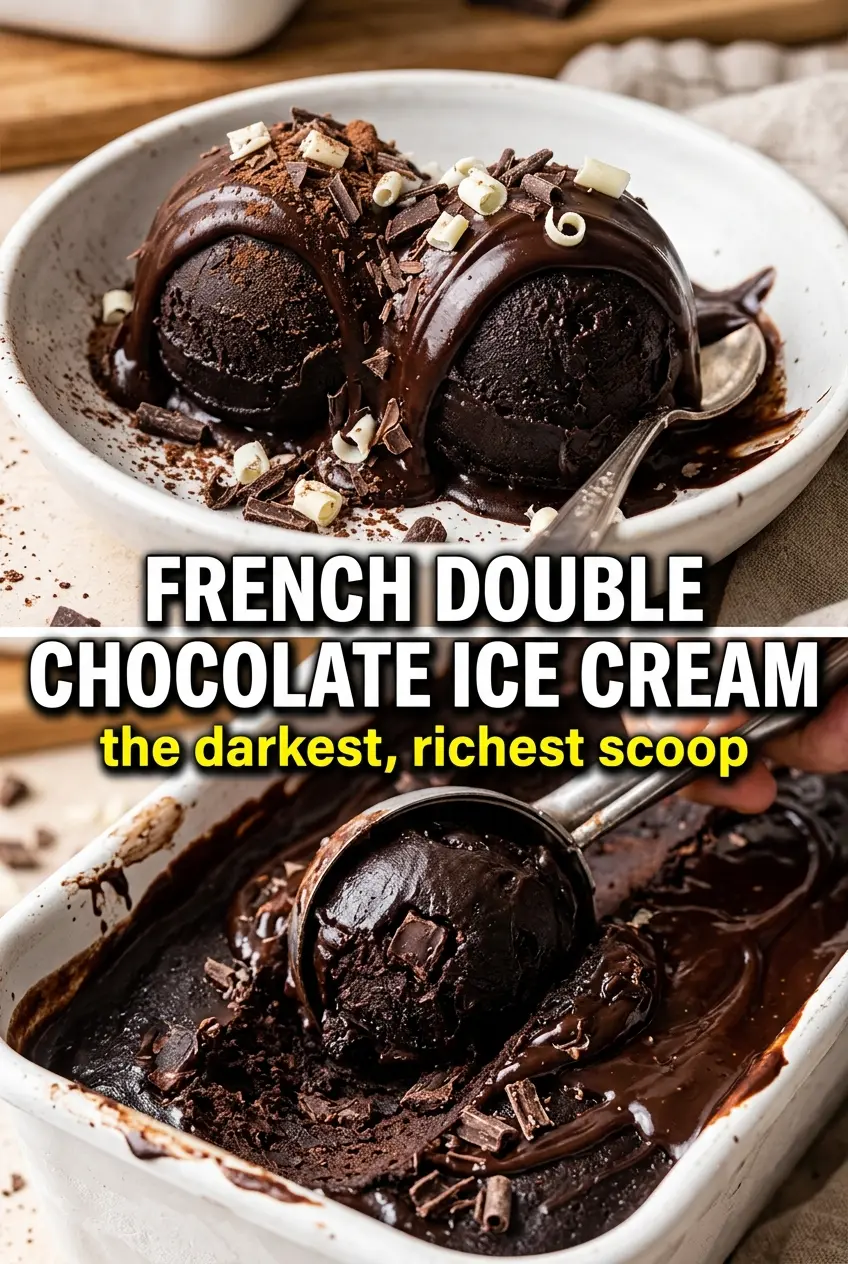
French-style double chocolate ice cream lands with the kind of deep, fudgy richness that makes a plain chocolate scoop feel thin by comparison. The custard base gives it that dense, silky body French ice cream is known for, while melted dark chocolate pushes the flavor into ganache territory. It freezes with a glossy finish and a full, clean chocolate taste instead of the flat sweetness that turns up in a lot of homemade versions.
The difference here is in how the chocolate is layered. Cocoa goes into the dairy first so it blooms and spreads through the base, then chopped dark chocolate is whisked in at the end for body and intensity. The egg yolks keep the texture smooth and scoopable, but only if you cook the custard gently and stop at 175°F. Push it hotter and the base turns grainy before you ever get to the churn.
Below, I’ll walk through the part that matters most: keeping the custard smooth, getting the chocolate fully emulsified, and freezing it to that dense, spoonable texture that makes this recipe worth repeating.
The chocolate flavor was deep and not too sweet, and the custard came out so smooth after churning. Mine set up in the freezer with that dense scoop-shop texture instead of icy crystals.
Save this French-Style Double Chocolate Ice Cream for the nights when you want a dark, custardy scoop with real chocolate depth.
The Custard Can Go Grainy If You Rush the Heat
The biggest mistake with chocolate custard ice cream is treating the base like a regular pudding. It needs enough heat to thicken, but not enough to scramble the yolks. The target is 175°F, which gives you a custard that coats the back of a spoon and still pours cleanly through a sieve.
This recipe also avoids the common chocolate problem: dull, chalky flavor. Cocoa alone can taste dry in frozen desserts, so the chopped dark chocolate gets melted in after cooking while the base is still hot. That gives the finished ice cream a smoother melt and a richer finish without making it heavy or greasy.
- Egg yolks — These are what turn the base into a French-style custard. Whole eggs won’t give you the same velvety body, and extra yolks make the ice cream feel richer without freezing solid.
- Heavy cream and whole milk — Cream brings richness, while whole milk keeps the texture from becoming waxy. You can swap in more milk in a pinch, but the ice cream will lose some of its plush texture.
- Dark chocolate — Use 70 to 72 percent if you want the deepest flavor without harsh bitterness. Lower percentages work, but the result will taste sweeter and less intense.
- Dutch process cocoa powder — This deepens the chocolate flavor and helps the base taste fuller. Natural cocoa can be used, but it brings a sharper edge that changes the balance.
What Each Ingredient Is Actually Doing in This Ice Cream
- Base ingredient (cream, milk, or custard) — This provides the foundation and richness. Quality matters.
- Sweetener (sugar, honey, or condensed milk) — This sweetens and prevents ice crystals. The ratio is critical.
- Flavor element (vanilla, fruit, chocolate, or other) — This defines the ice cream personality. Use quality ingredients.
- Egg yolks (if making custard base) — These create richness and silky texture. Optional but elevates ice cream.
- Churning (if using ice cream maker) — This incorporates air and prevents ice crystals. Critical for smooth texture.
- Freezing temperature and time — Proper freezing prevents rock-hard texture. Store at 0°F or below.
- Mix-ins (chocolate, cookies, fruit, or swirls) — These add texture and prevent one-dimensional flavor. Add near end of churning.
- Serving temperature (slightly soft, not rock hard) — This provides creamy mouthfeel. Remove from freezer 5 minutes before serving.
How to Build the Chocolate Base Without Breaking It
Melting the Chocolate First
Start by melting the chopped dark chocolate with the butter over a double boiler until it looks glossy and completely smooth. The butter helps the chocolate stay fluid when it hits the custard, which makes blending easier and lowers the chance of little chocolate flecks setting up too fast. Pull it off the heat as soon as it’s melted; overheated chocolate can seize and turn stiff before you get to the custard.
Heating the Dairy and Blooming the Cocoa
Whisk the cocoa into the cream and milk before heating, not after. That keeps the powder from clumping and gives you a darker, more even base. Heat the mixture just until steaming, with small bubbles around the edge of the pan, but don’t let it boil or the dairy can taste cooked and push the custard over the edge later.
Tempering the Yolks
Whisk the sugar and egg yolks until they look thicker and a little paler, then slowly stream in the hot dairy while whisking constantly. This step protects the yolks from turning into scrambled bits the second they hit the heat. If the bowl gets too hot to hold comfortably, slow down for a few seconds and keep whisking; that little pause is cheaper than starting over.
Cooking to 175°F
Return the custard to the saucepan and cook over medium-low heat, stirring constantly with a spatula that reaches the corners. At 175°F, it should coat the spoon and leave a clear line when you run a finger through it. If it gets close to boiling or starts steaming aggressively, pull it off the burner right away — once it crosses that line, the texture starts going from silky to grainy.
Finishing the Chocolate and Chilling the Base
Whisk the melted chocolate into the hot custard immediately until the base looks dark, glossy, and fully emulsified. Add the vanilla and salt, then strain the mixture through a fine mesh sieve to catch any cooked bits or stray cocoa lumps. Chill it over ice first, then refrigerate until cold all the way through; if the base goes into the churn even slightly warm, the texture turns looser and less creamy.
How to Adapt This for a Darker Scoop, a Lighter Scoop, or a Dairy-Free Batch
For an even deeper chocolate bite
Swap the 70 to 72 percent chocolate for 75 to 80 percent and keep the sugar as written. The ice cream will taste darker and less sweet, with a more adult, almost truffle-like finish. Go much higher than that and the bitterness starts crowding out the custard.
For a dairy-free version
Use full-fat canned coconut milk in place of the cream and milk, then add a small splash of neutral oil if the base looks lean. The result will still be rich and scoopable, but you’ll lose some of the clean dairy finish and pick up a subtle coconut note.
For a softer, more scoop-shop style texture
Churn it until thick and airy, then transfer it to a shallow container and freeze only until firm. If you leave it in the freezer too long, it gets very dense, which is part of the appeal here, but not everyone wants that first spoonful to fight back.
Storage and Reheating
- Refrigerator: Store the custard base up to 2 days before churning. Keep it covered directly on the surface with plastic wrap so it doesn’t skin over.
- Freezer: Churned ice cream keeps well for about 2 weeks with the best texture in the first few days. After that, it can pick up ice crystals around the edges.
- Reheating: Not applicable. Let the container sit at room temperature for 5 to 10 minutes before scooping; that short rest softens the edges without melting the center.
Answers to the Questions Worth Asking
French-Style Double Chocolate Ice Cream
Ingredients
Equipment
Method
- Melt the dark chocolate and unsalted butter over a double boiler, stirring until smooth. Remove from heat and set aside.
- Whisk Dutch process cocoa powder into the heavy cream and whole milk. Heat the mixture just until steaming, then remove from heat.
- Beat the egg yolks and granulated sugar until smooth, then slowly whisk the steaming cream mixture into the yolks. Return everything to a saucepan and cook, stirring constantly, until it reaches 175F.
- Remove the custard from heat and immediately whisk in the melted chocolate until glossy and smooth. This should look nearly ganache-like.
- Whisk in the vanilla extract and salt, then strain through a fine mesh sieve. The mixture should be silky with no cocoa lumps.
- Cool the chocolate custard completely over ice, then refrigerate for 4 hours. Chill until cold and thickened-looking.
- Churn the chilled custard in an ice cream maker until it thickens to soft-serve consistency. Stop when it looks dense and holds grooves.
- Transfer to a freezer-safe container and freeze until firm, about 4 hours. The ice cream should scoop cleanly and feel solid.