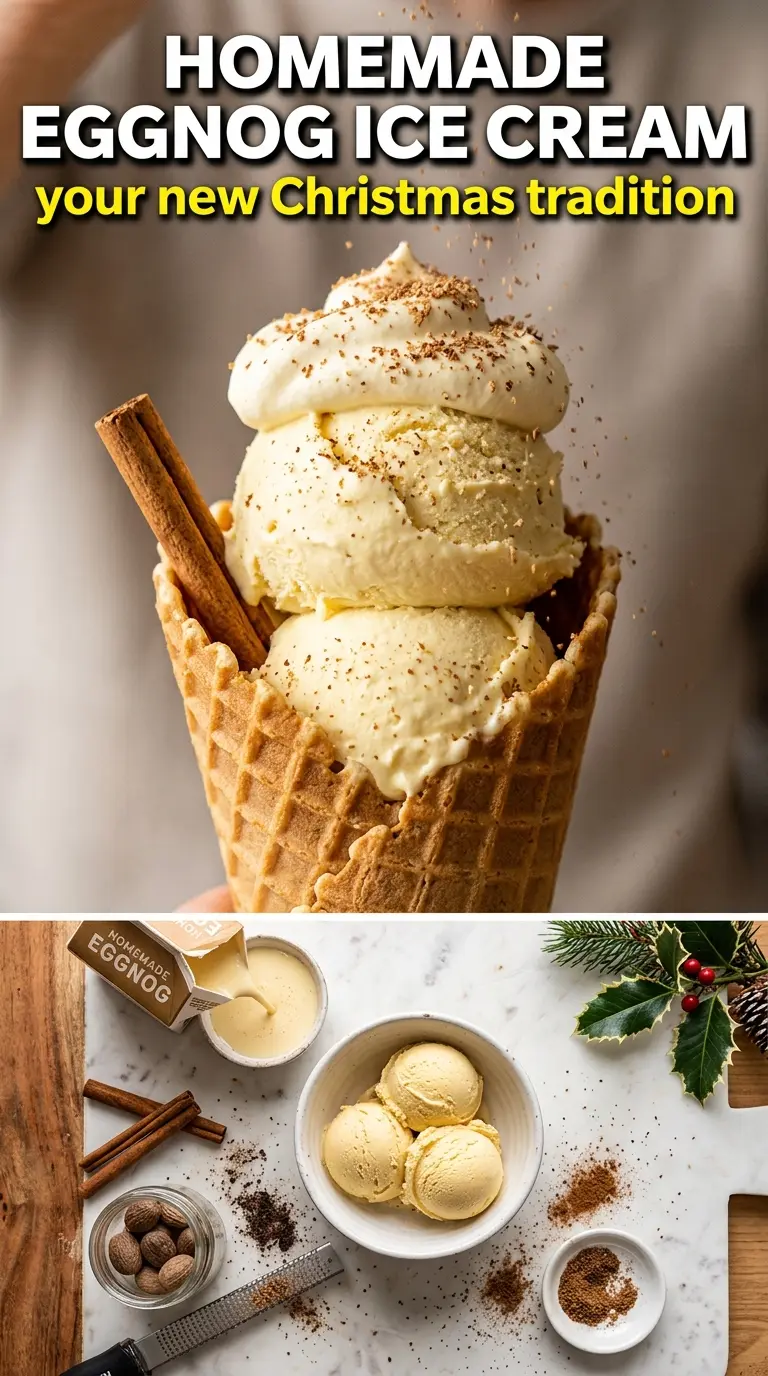
Eggnog ice cream turns a familiar holiday drink into something colder, silkier, and a lot more elegant than it has any right to be. The custard base gives each scoop body, while the eggnog brings in that built-in blend of nutmeg, vanilla, and sweet dairy richness. What you get is an ice cream that tastes instantly festive without needing a long list of add-ins to carry it.
The trick is treating the eggnog like the flavored liquid base it is, not as a shortcut that can skip the custard step. A few egg yolks keep the texture creamy instead of icy, and gentle heat is what keeps the custard smooth. If you rush the cooking, the eggs tighten too fast and you’ll end up with grainy bits instead of a clean, velvety base. The rum or bourbon is optional, but even a small amount helps the ice cream stay scoopable straight from the freezer.
Below, you’ll find the exact temperature to watch for, the spice balance that keeps the flavor warm instead of muddled, and a few variations for making this work with or without alcohol.
The custard thickened up beautifully and the nutmeg flavor came through without tasting heavy. I chilled it overnight, churned it the next day, and it came out creamy with no icy bits at all.
Save this eggnog ice cream for the nights when you want a festive frozen dessert with real custard richness and a warm nutmeg finish.
The Custard Step That Keeps Eggnog Ice Cream Silky
Eggnog already contains sugar, dairy, and plenty of flavor, but it doesn’t automatically make a smooth frozen dessert. The difference between a creamy scoop and an icy one is the custard base. Egg yolks thicken the mixture before it ever reaches the freezer, which gives the ice cream a softer, richer texture and keeps the eggnog from freezing into a blunt block of flavored ice. The key is keeping the heat low enough that the yolks thicken gently instead of scrambling.
If you’ve made custards before, the main mistake to avoid here is chasing thickness too aggressively. Eggnog foam and curdle fast if the pan gets too hot. You’re looking for a mixture that coats the back of a spoon and reaches 175°F, not a bubbling pot. Pull it off the heat as soon as it hits that point, because carryover heat will keep cooking it for a minute or two.
What Each Ingredient Is Actually Doing In This Dessert
- Store-bought eggnog — This is the flavor base, and it brings sweetness, dairy richness, and the classic holiday spice blend in one ingredient. Use a good one if you can taste the difference in a glass; the ice cream will magnify whatever’s in the carton. If your eggnog is already very sweet, you can keep the sugar at the listed amount and still get a balanced result.
- Heavy cream — The cream smooths out the eggnog and gives the finished ice cream a softer churn. Don’t swap in milk here; the fat matters for texture, and lower-fat dairy freezes harder and icier. If you want a slightly lighter batch, cut the cream back a little, but expect the final scoop to be firmer.
- Egg yolks — These are what turn the base into custard. They give you body, help the ice cream hold onto air during churning, and keep the texture from feeling sharp or watery after freezing. Whole eggs won’t give the same lush result.
- Nutmeg and cinnamon — Eggnog already tastes spiced, but a small boost of both makes the flavor land more clearly after freezing, when sweetness and spice read more softly. Freshly grated nutmeg is worth it if you have it. Ground nutmeg works too, but use it sparingly so the ice cream doesn’t taste dusty.
- Rum or bourbon — This is optional, but even a little alcohol helps keep the ice cream scoopable because alcohol lowers the freezing point. Don’t add much more than the recipe calls for, or the ice cream can stay too soft. If you want the flavor without the extra softness, use the smallest amount listed.
How To Cook The Base Without Scrambling The Yolks
Warming The Dairy First
Heat the eggnog and cream together until the mixture is steaming, not boiling. You want small wisps of steam and just a few bubbles around the edge of the pan. If it boils hard, the dairy can pick up a cooked taste and the eggs will be harder to temper smoothly. While it heats, whisk the yolks and sugar until they look lighter and a little thickened.
Tempering The Custard
Pour the hot dairy into the yolks in a slow stream while whisking constantly. This gradual addition is what keeps the eggs from turning into little strands the second they hit the heat. Once the yolk mixture is loosened, pour it all back into the saucepan and keep stirring so nothing settles on the bottom and scorches.
Knowing When It’s Done
Cook over medium-low heat until the custard reaches 175°F and lightly coats a spoon. The texture should move from thin to creamy, and you’ll feel a little drag when you stir across the bottom of the pan. If it starts to steam heavily or bubble, the heat is too high. Pull it immediately if you see any curdled bits; straining can save it if you catch it early.
Chilling For A Clean Freeze
Strain the custard, stir in the vanilla, spices, rum if using, and salt, then chill it completely before churning. A warm base goes into the ice cream maker too fast and makes the machine work harder, which usually means a looser, less creamy churn. Four hours is the minimum, but overnight is even better if you have the time. The colder the base, the finer the finished texture.
Three Ways To Make This Eggnog Ice Cream Work For Different Needs
Alcohol-Free Version
Leave out the rum or bourbon and add a few drops of extra vanilla if you want the flavor to feel fuller. The ice cream will freeze a little firmer without the alcohol, which is normal. Let it sit on the counter for 5 to 10 minutes before scooping.
Extra-Spiced Eggnog Ice Cream
If you like a stronger holiday spice note, add a tiny pinch more nutmeg and cinnamon after straining. Go slowly here; once the ice cream freezes, spice comes through more sharply than it does in the warm custard. Too much cinnamon can take over and flatten the eggnog flavor.
Dairy-Free Adaptation
This one takes more than a straight swap, since eggnog and cream are the backbone of the recipe. Use a rich dairy-free eggnog and full-fat coconut cream, and expect a different flavor with a faint coconut note. The texture can still be good, but it won’t taste exactly like the classic version.
Storage and Reheating
- Refrigerator: The churned ice cream shouldn’t be stored in the fridge, but the base can be chilled up to 2 days before churning.
- Freezer: Freeze in a covered container for up to 2 weeks for the best texture. After that, it can pick up ice crystals and lose some of its creaminess.
- Reheating: Ice cream doesn’t get reheated; let it stand at room temperature for 5 to 10 minutes before scooping. If it’s rock-hard, the issue is usually too little fat or no alcohol, not the serving method.
Questions I Get Asked About This Recipe
Eggnog Ice Cream
Ingredients
Equipment
Method
- Heat the store-bought eggnog and heavy cream in a saucepan until steaming, then slowly whisk it into the egg yolks and granulated sugar.
- Return the mixture to the saucepan and cook over medium-low heat, stirring constantly, until the custard reaches 175°F, with a thickened, lightly coats-the-spoon texture.
- Strain the custard, then stir in the vanilla extract, nutmeg, cinnamon, rum or bourbon if using, and salt until fully combined and glossy.
- Cool the custard completely, then refrigerate at least 4 hours until cold and set for easier churning, with no visible steam.
- Churn in an ice cream maker until thickened and creamy, then transfer to a container and freeze until firm.
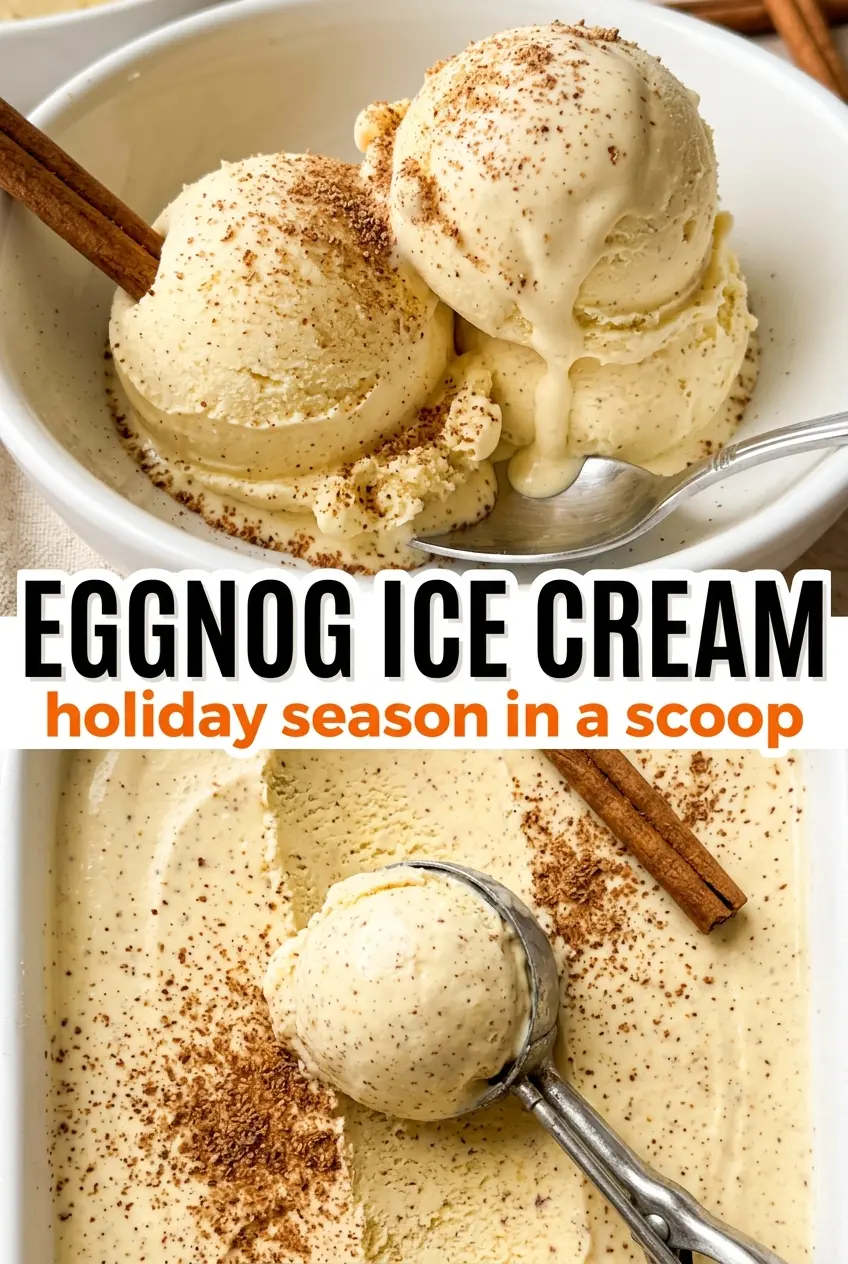
- Grate fresh nutmeg over each serving for a visible warm spice finish and aromatic top note.