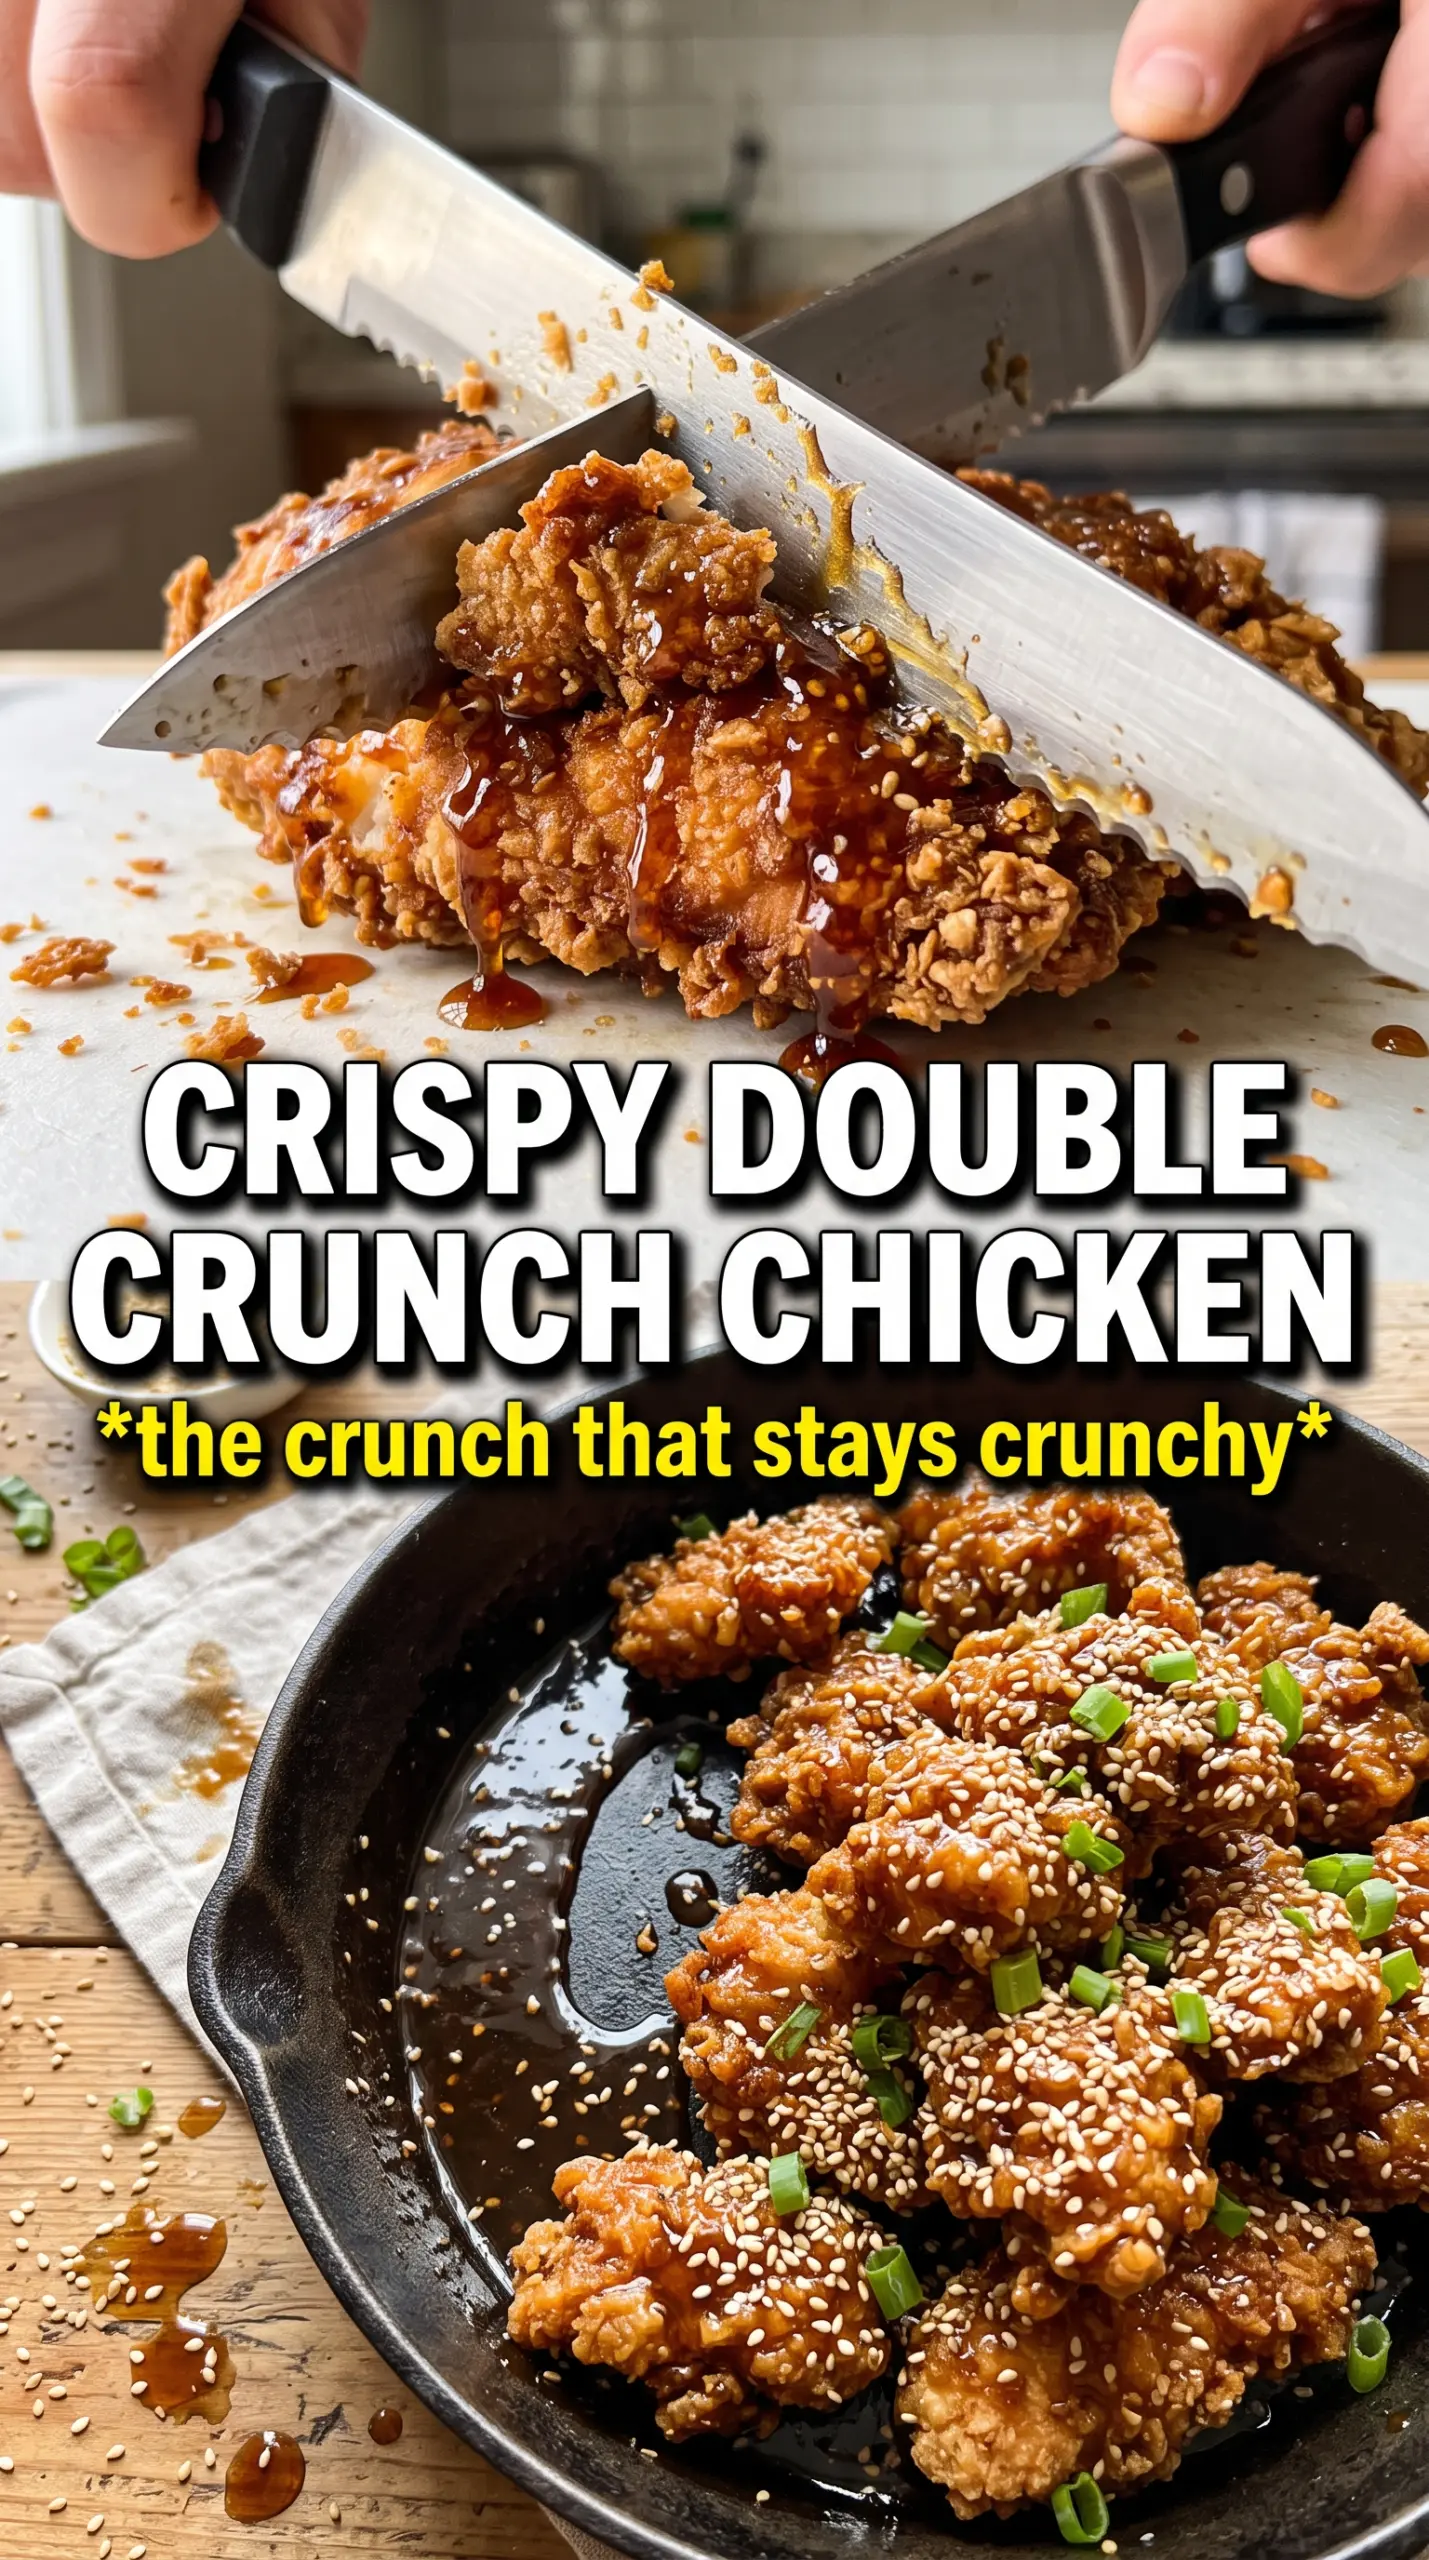
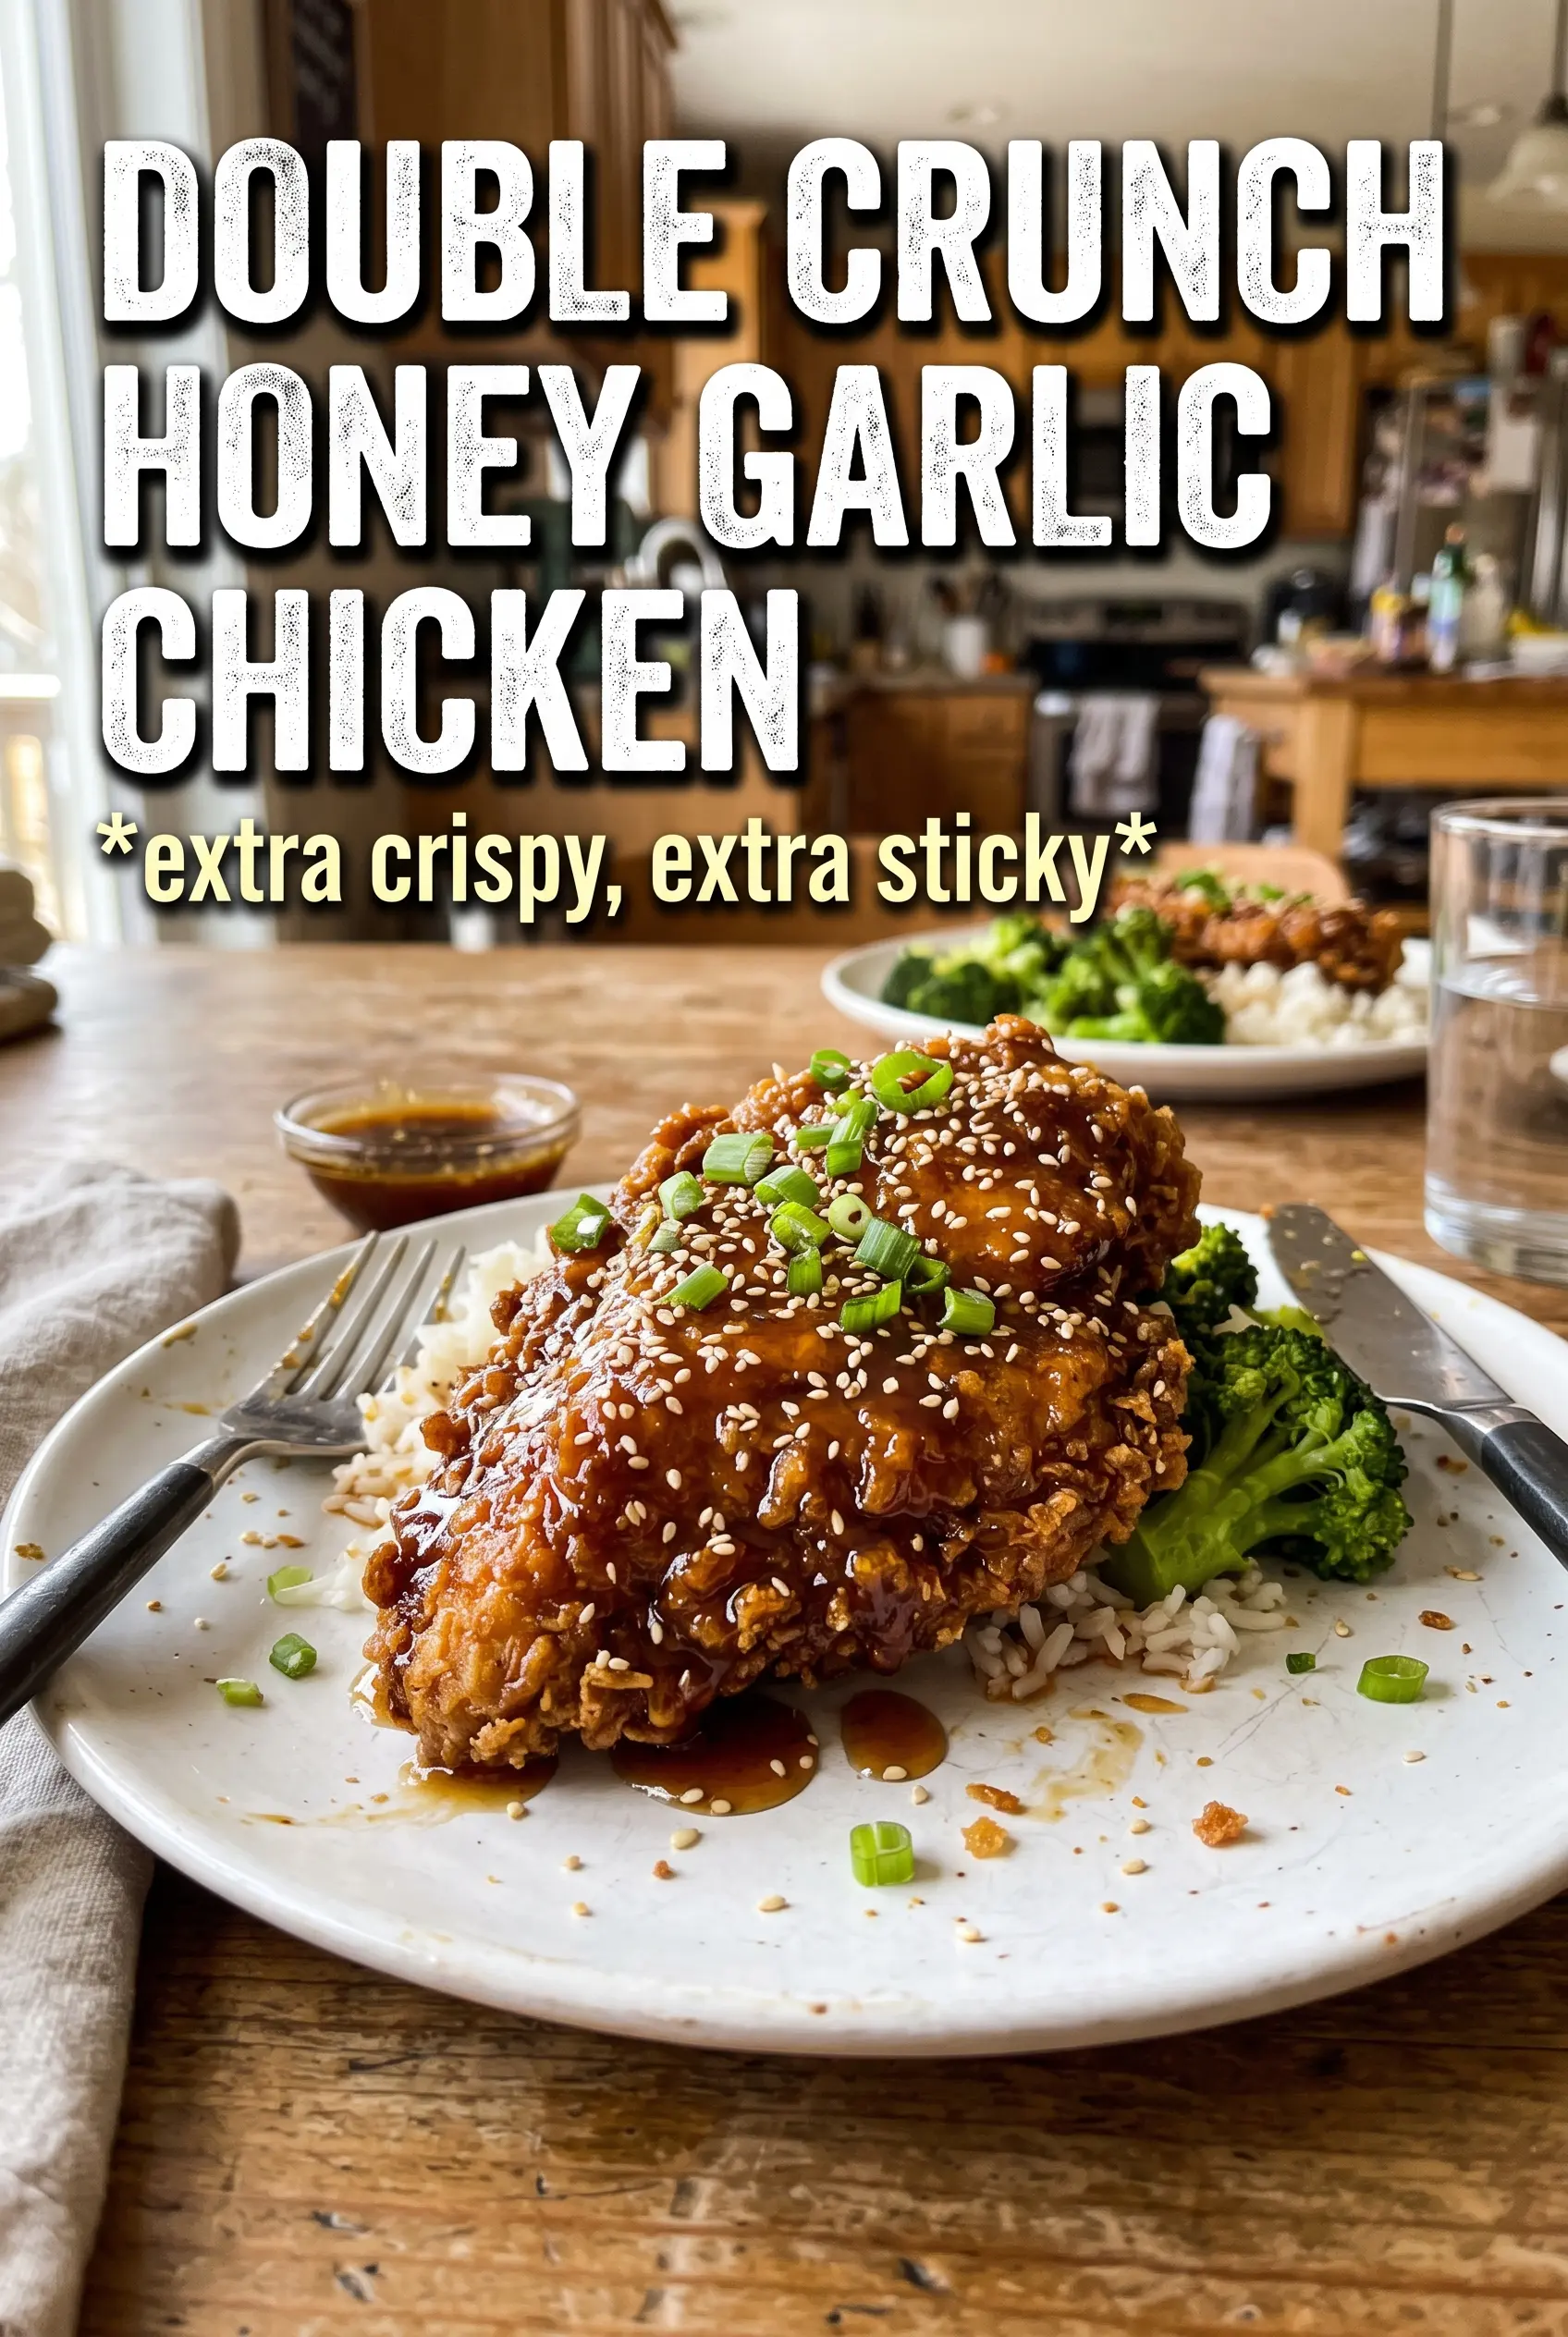
Double crunch honey garlic chicken breasts hit the plate with the kind of crust that crackles when you cut into it, then get coated in a sticky garlic glaze that clings instead of sliding off. The double-dredge gives the chicken that thicker, craggier shell you want for frying, and the sauce brings just enough sweetness and salt to keep every bite moving. It’s the kind of dinner that disappears fast because the texture keeps you going back for one more piece.
What makes this version work is the order. The chicken gets floured, dipped in egg, then floured again so the coating builds in layers instead of turning dusty or thin. That second pass is what gives you the heavy crunch after frying. The sauce stays simple on purpose: honey, garlic, soy sauce, butter, and a little vinegar. The vinegar keeps the sweetness from flattening out, and the butter helps the glaze coat the chicken instead of tightening into a sticky lump.
Below, I’ll show you the part that matters most for this recipe: how to get the crust deeply golden without burning the flour, and how to spoon the sauce on so the coating still keeps some of its crunch.
The coating stayed crunchy even after I poured the sauce over it, and the honey garlic glaze had that perfect sticky finish instead of getting watery. I used the cast iron skillet like you suggested and the chicken browned evenly without the breading slipping off.
Save these double crunch honey garlic chicken breasts for the night you want extra-crispy chicken with a glossy sticky glaze and barely any leftovers.
The Crunch Comes From the Second Flour Coat, Not the Sauce
Most people expect the sauce to be the star here, but the texture is built long before that. The first flour dredge gives the egg something to grip. The egg gives the second flour layer enough moisture to cling in thicker pieces. That final coating is what turns into those rough, golden edges that stay crisp after frying.
The biggest mistake is rushing the dredge. If the chicken goes from flour straight into the pan without that egg-and-flour second pass, the crust stays thin and soft. If you press the flour on too hard, it turns pasty. The goal is a shaggy coating with dry spots and little ridges, because those little ridges are what fry up into crunch.
- Boneless skinless chicken breasts — Pounding them to even thickness matters here. Uneven chicken cooks unevenly, which means the thinner end overcooks before the coating on the thicker end is done.
- All-purpose flour — This is the best choice for the crust. It fries up with a sturdy shell and doesn’t get as fragile as a lighter starch-only coating.
- Eggs — They’re the glue between the two flour layers. If the egg coating is too thin, the second dredge won’t stick well, so beat them until completely smooth.
- Vegetable oil — A neutral oil keeps the chicken tasting clean and lets the honey garlic sauce stay in charge. Use enough to come about 1/2 inch up the pan so the crust fries instead of just sitting in grease.
What Each Ingredient Is Actually Doing in This Recipe
- Primary ingredient (the star) — Quality matters most. Choose the best you can find.
- Cooking medium (oil, butter, or broth) — This carries flavors and prevents dryness.
- Seasonings (salt, pepper, spices, herbs) — Layer flavors so nothing overpowers. Build depth gradually.
- Aromatics (garlic, onion, herbs) — Cook with fat to bloom flavors. Become the foundation.
- Supporting ingredients — Complement the main ingredient without overpowering it.
- Sauce or liquid (if applicable) — Brings flavors together. Balance richness with acid.
- Acid (lemon, vinegar, wine, or other) — Brightens and prevents flat-tasting results.
- Final finish (garnish, glaze, or sauce) — Prevents one-dimensional taste and adds visual appeal.
Frying the Chicken Without Losing the Coating
Build the Dredge in the Right Order
Mix the flour with the garlic powder, onion powder, smoked paprika, salt, and pepper until the seasoning is evenly dispersed. Dredge each chicken breast in the flour first, then the egg, then back into the flour and press lightly so the coating picks up thick, uneven bits. If you see bare patches, dust them again before the chicken hits the pan. That second layer is what gives you the “double crunch” effect instead of a basic fried coating.
Fry at the Right Heat
Heat the oil in a cast iron skillet to about 350°F and keep the layer shallow, not deep. If the oil is too cool, the breading drinks it up and turns heavy; if it’s too hot, the outside browns before the inside cooks through. You want a steady sizzle the moment the chicken lands in the pan. Fry for 5 to 6 minutes per side until the crust is deep golden and the chicken reaches 165°F in the thickest part.
Glaze at the End, Not in the Pan
Stir the honey, garlic, soy sauce, butter, and vinegar in a saucepan and simmer just until slightly thickened. If it cooks down too far, the sauce turns sticky in the wrong way and won’t pour cleanly over the chicken. Spoon or pour it over the chicken after frying, while everything is still hot, so the glaze settles into the crust without softening it completely. Finish with sesame seeds and green onions for a little sharpness and color.
How to Adjust the Chicken Without Breaking the Texture
Make it gluten-free with a one-to-one flour blend
A good gluten-free all-purpose blend works here, especially one that includes rice flour or starches for crisping. The coating may look a little less shaggy, but it still fries up with a solid crunch if you don’t crowd the pan.
Bake or air-fry for a lighter finish
You can bake the coated chicken on a greased rack at high heat or air-fry it until crisp, but you won’t get quite the same craggy crust as pan-frying. The tradeoff is less oil and less mess, and the sauce still gives you that sticky finish.
Swap the chicken breasts for thighs
Boneless thighs stay juicier and are a little more forgiving if your pan runs hot. They cook a bit faster in some cases, so watch the internal temperature closely and pull them as soon as they hit 165°F.
Storage and Reheating
- Refrigerator: Store leftovers for up to 3 days. The coating softens once the sauce sits on it, but the flavor stays strong.
- Freezer: Freeze the fried chicken without sauce for the best results. Sauce it after reheating so the crust doesn’t go soggy in the freezer.
- Reheating: Warm the chicken on a rack in a 375°F oven or air fryer until hot and crisp again. Avoid the microwave if you want the crust to stay intact, because it turns the coating soft fast.
Answers to the Questions Worth Asking
Double Crunch Honey Garlic Chicken Breasts
Ingredients
Equipment
Method
- Mix all-purpose flour with garlic powder, onion powder, smoked paprika, salt, and pepper. Toss until the spices are evenly distributed in the dry coating.
- Dredge each boneless skinless chicken breast in the seasoned flour. Coat thoroughly so the surface looks matte and evenly dusted.
- Dip the floured chicken into beaten large eggs. Ensure the coating is fully submerged and slick before lifting.
- Dredge the egg-coated chicken in the seasoned flour again for a double crunch coat. Press lightly so the second layer clings tightly and looks thicker.
- Heat vegetable oil in a large cast iron skillet over medium-high heat to 350°F. The oil should shimmer, indicating it’s ready for frying.
- Pan-fry the chicken for 5-6 minutes per side until golden and crunchy. Fry until the internal temperature reaches 165°F, with the crust visibly set and crisp.
- Drain the fried chicken briefly on a rack or paper. Let excess oil drip off so the exterior stays shatter-crisp.
- Simmer honey, garlic cloves, soy sauce, butter, and apple cider vinegar in a saucepan over medium heat for 3-4 minutes until slightly thickened. Stir until the sauce looks glossy and coats the back of a spoon.
- Pour the honey garlic sauce over the hot crispy chicken. Work quickly so the glaze clings while the crust stays crunchy.
- Garnish with sesame seeds and sliced green onions. Finish right away so the fresh tops stay bright and crisp.
- Serve immediately over rice. Plate while the honey garlic glaze is still glistening and dripping.