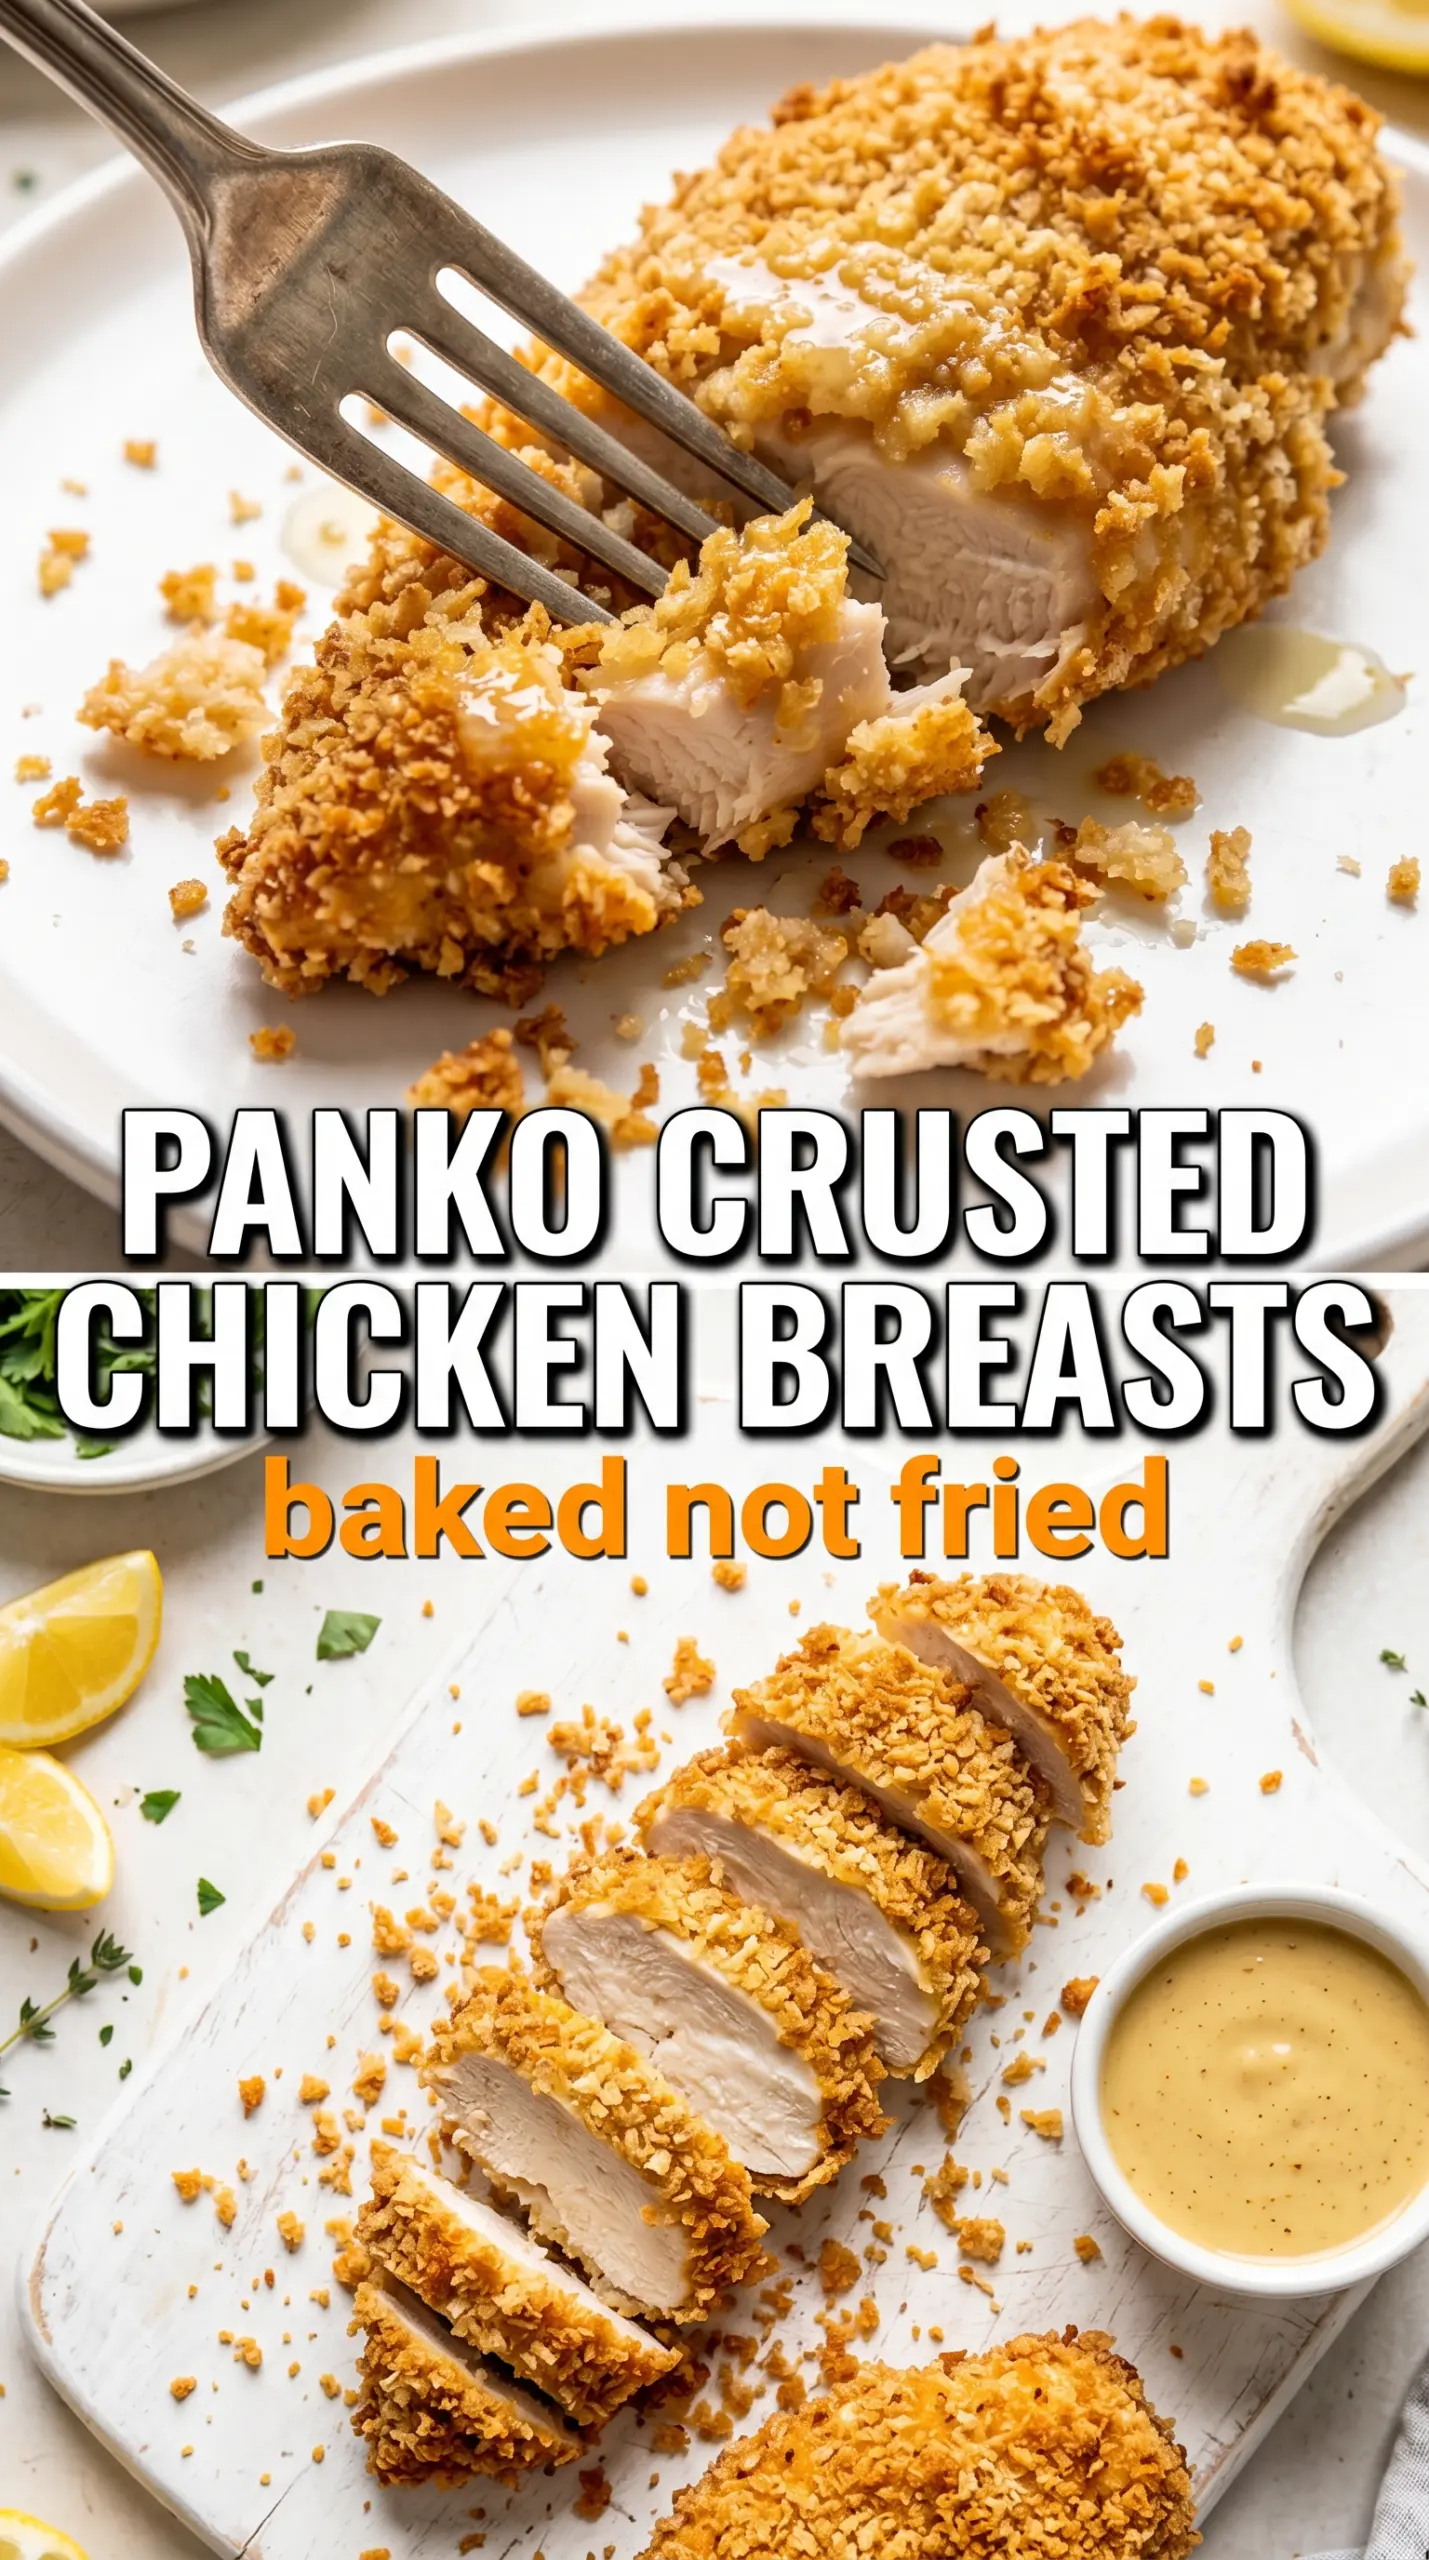
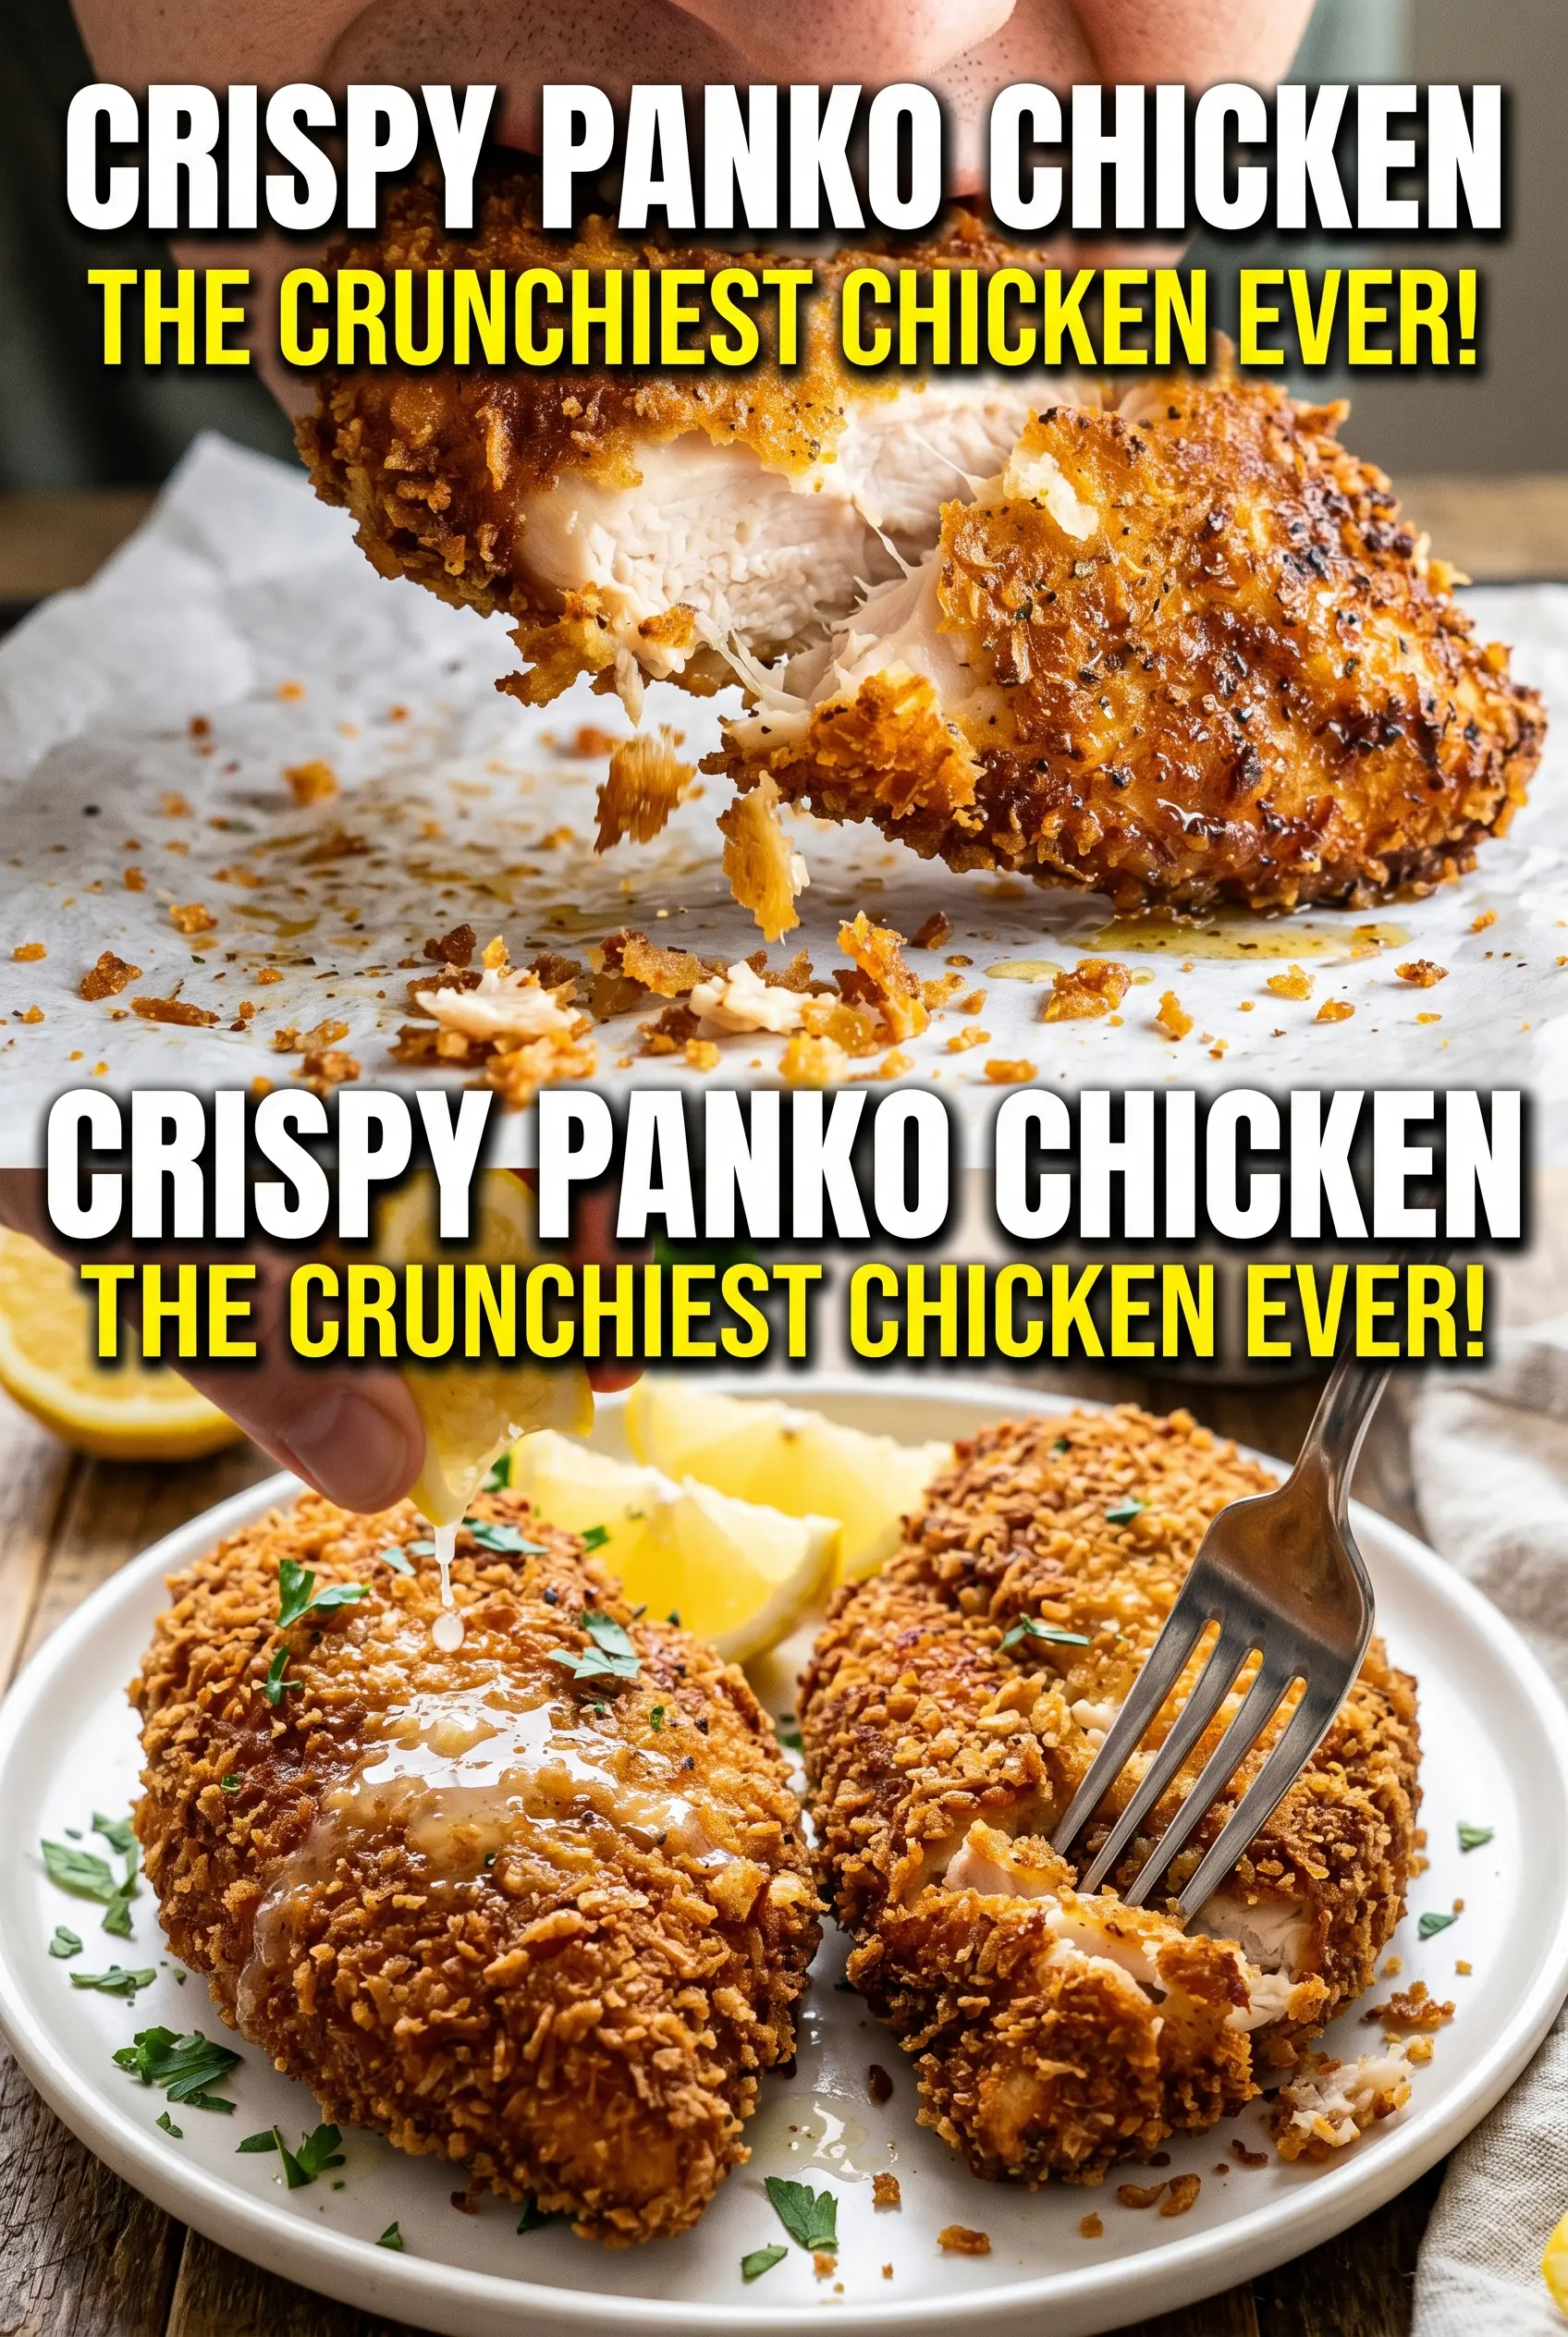
Crispy panko crusted chicken breasts are the kind of dinner that disappears fast because the coating stays light, crunchy, and shatteringly crisp while the chicken underneath stays juicy. The crust bakes up a deep golden bronze instead of turning dull or soggy, and every bite gives you that clean crunch you want from breaded chicken without needing a pan full of oil.
The trick is in the texture contrast. Panko breadcrumbs are airier than regular crumbs, so they brown into a taller, crisper shell. A little Parmesan adds salt and a nutty edge, while the flour-egg-panko order gives the coating something to grip so it doesn’t slide off in the oven. The wire rack matters too, because hot air can move around the chicken and keep the underside from steaming.
Below you’ll find the small details that make the crust stay crisp, plus a few smart swaps if you need to work with what you have. The baking method is straightforward, but a couple of choices change the result a lot more than most recipes admit.
The coating came out super crisp all the way around, and the chicken stayed juicy even after a few minutes on the plate. I was worried the panko would fall off, but pressing it on firmly and baking on the rack made a huge difference.
Love that deep golden panko crust? Save these chicken breasts for the nights when you want crunchy baked chicken without frying.
The Step That Keeps Panko from Falling Off in the Oven
The coating only stays put when each layer has a job. Flour dries the surface just enough for the egg to cling, and the egg gives the panko something tacky to hold onto. If you skip the flour or rush the pressing step, the crumbs tend to shed as soon as the chicken hits the rack.
Firm pressure matters here. Press the panko mixture onto every side of the chicken so you can see a thick, even crust instead of a dusting. That extra pressure doesn’t make the coating heavy; it helps the crumbs fuse into a shell that bakes up crisp instead of patchy.
- Chicken breasts — Pounding them to an even thickness keeps the thick end from drying out before the thin end is done. Uneven chicken is the fastest way to get one dry piece and one underdone piece on the same tray.
- Panko breadcrumbs — This is the ingredient that gives you the airy, craggy crunch. Regular breadcrumbs work in a pinch, but they bake up denser and less dramatic.
- Parmesan — Adds salt, browning, and a little extra crispness. Use the finely grated kind so it blends into the crumbs instead of clumping.
- Olive oil or cooking spray — A light coating helps the crumb topping toast into that deep bronze color. Without it, panko can dry out before it browns.
What Each Ingredient Is Actually Doing in This Recipe
- Primary ingredient (the star) — Quality matters most. Choose the best you can find.
- Cooking medium (oil, butter, or broth) — This carries flavors and prevents dryness.
- Seasonings (salt, pepper, spices, herbs) — Layer flavors so nothing overpowers. Build depth gradually.
- Aromatics (garlic, onion, herbs) — Cook with fat to bloom flavors. Become the foundation.
- Supporting ingredients — Complement the main ingredient without overpowering it.
- Sauce or liquid (if applicable) — Brings flavors together. Balance richness with acid.
- Acid (lemon, vinegar, wine, or other) — Brightens and prevents flat-tasting results.
- Final finish (garnish, glaze, or sauce) — Prevents one-dimensional taste and adds visual appeal.
Building the Crust So It Bakes Crisp, Not Soggy
Setting Up the Breading Line
Lay out the flour, egg, and panko mixture in that order so the chicken moves cleanly from dry to wet to crust. Season the chicken before it hits the flour, not after, because the coating can only hold so much salt once it’s on the surface. Keep one hand for dry ingredients and one for wet if you want to avoid clumpy fingers and a breading station that turns into paste.
Pressing on the Panko
Once the chicken is dipped in egg, press it into the panko mixture and don’t just toss it around. You want the crumbs to look packed on, especially along the edges and the fattier spots where coating likes to slide off. If the crust looks thin or patchy before baking, it will look thin or patchy after baking too.
Baking on a Rack
Set the breaded chicken on a wire rack over the baking sheet so hot air can circulate underneath. That keeps the bottom from getting soft while the top browns. If you place the chicken directly on the pan, the underside steams in its own moisture and the crust loses that crisp edge.
Knowing When It’s Done
Pull the chicken when the crust is deep golden brown and the center reaches 165°F. If you wait for the crust to look dark enough before checking temperature, the chicken can overcook fast because the coating keeps browning even after you take it out. Let it rest for 3 minutes so the juices settle instead of spilling onto the plate the second you cut into it.
How to Adapt This for Different Pantries and Dinner Plans
Gluten-Free Panko Chicken
Use gluten-free panko and a gluten-free all-purpose flour blend. The texture stays close to the original because the crunch comes from the panko shape, not the wheat itself, so this swap keeps the crust light instead of gritty.
Dairy-Free Version
Skip the Parmesan and add an extra 2 to 3 tablespoons of panko plus a pinch of salt. You lose some of the savory depth, but the crust still browns well and stays crisp as long as you keep the oil or spray on the outside.
Using Chicken Cutlets Instead of Full Breasts
Thin cutlets cook faster, usually in 15 to 18 minutes, and they make extra-crispy pieces because there’s more crust per bite. Watch them closely near the end so they don’t overshoot while the coating is still finishing its color.
Storage and Reheating
- Refrigerator: Store leftovers in an airtight container for up to 3 days. The crust softens a little, but it still reheats well.
- Freezer: Freeze after baking and cooling completely. Wrap each piece separately so the crust doesn’t get crushed, then reheat from frozen in the oven for best texture.
- Reheating: Use a 375°F oven or air fryer until hot and crisp again. The microwave makes the coating limp, which is the one mistake that turns this from crunchy chicken into steamed chicken with crumbs on it.
Questions I Get Asked About This Recipe
Crispy Panko Crusted Chicken Breasts
Ingredients
Equipment
Method
- Preheat the oven to 425°F. Line a baking sheet with a wire rack and spray the rack with cooking spray so the crust stays crisp.
- Season the chicken breasts with salt, pepper, and garlic powder to taste. Set up three stations with flour, beaten egg, and panko mixed with Parmesan, Italian seasoning, garlic powder, and smoked paprika.
- Dredge each chicken breast in the flour, shaking off any excess. This creates a dry base that helps the egg and panko adhere tightly.
- Dip the floured chicken into the beaten egg. Let any excess drip back into the dish for a clean coating.
- Press the chicken firmly into the panko coating on all sides. Make sure the crust is evenly packed so it bakes up tall and crunchy.
- Drizzle or spray the breaded chicken with olive oil. Place the chicken on the prepared rack and bake for 20-22 minutes until the crust is deep golden brown and the internal temperature reaches 165°F.
- Rest the chicken for 3 minutes after baking. Garnish with fresh parsley and serve with lemon wedges.