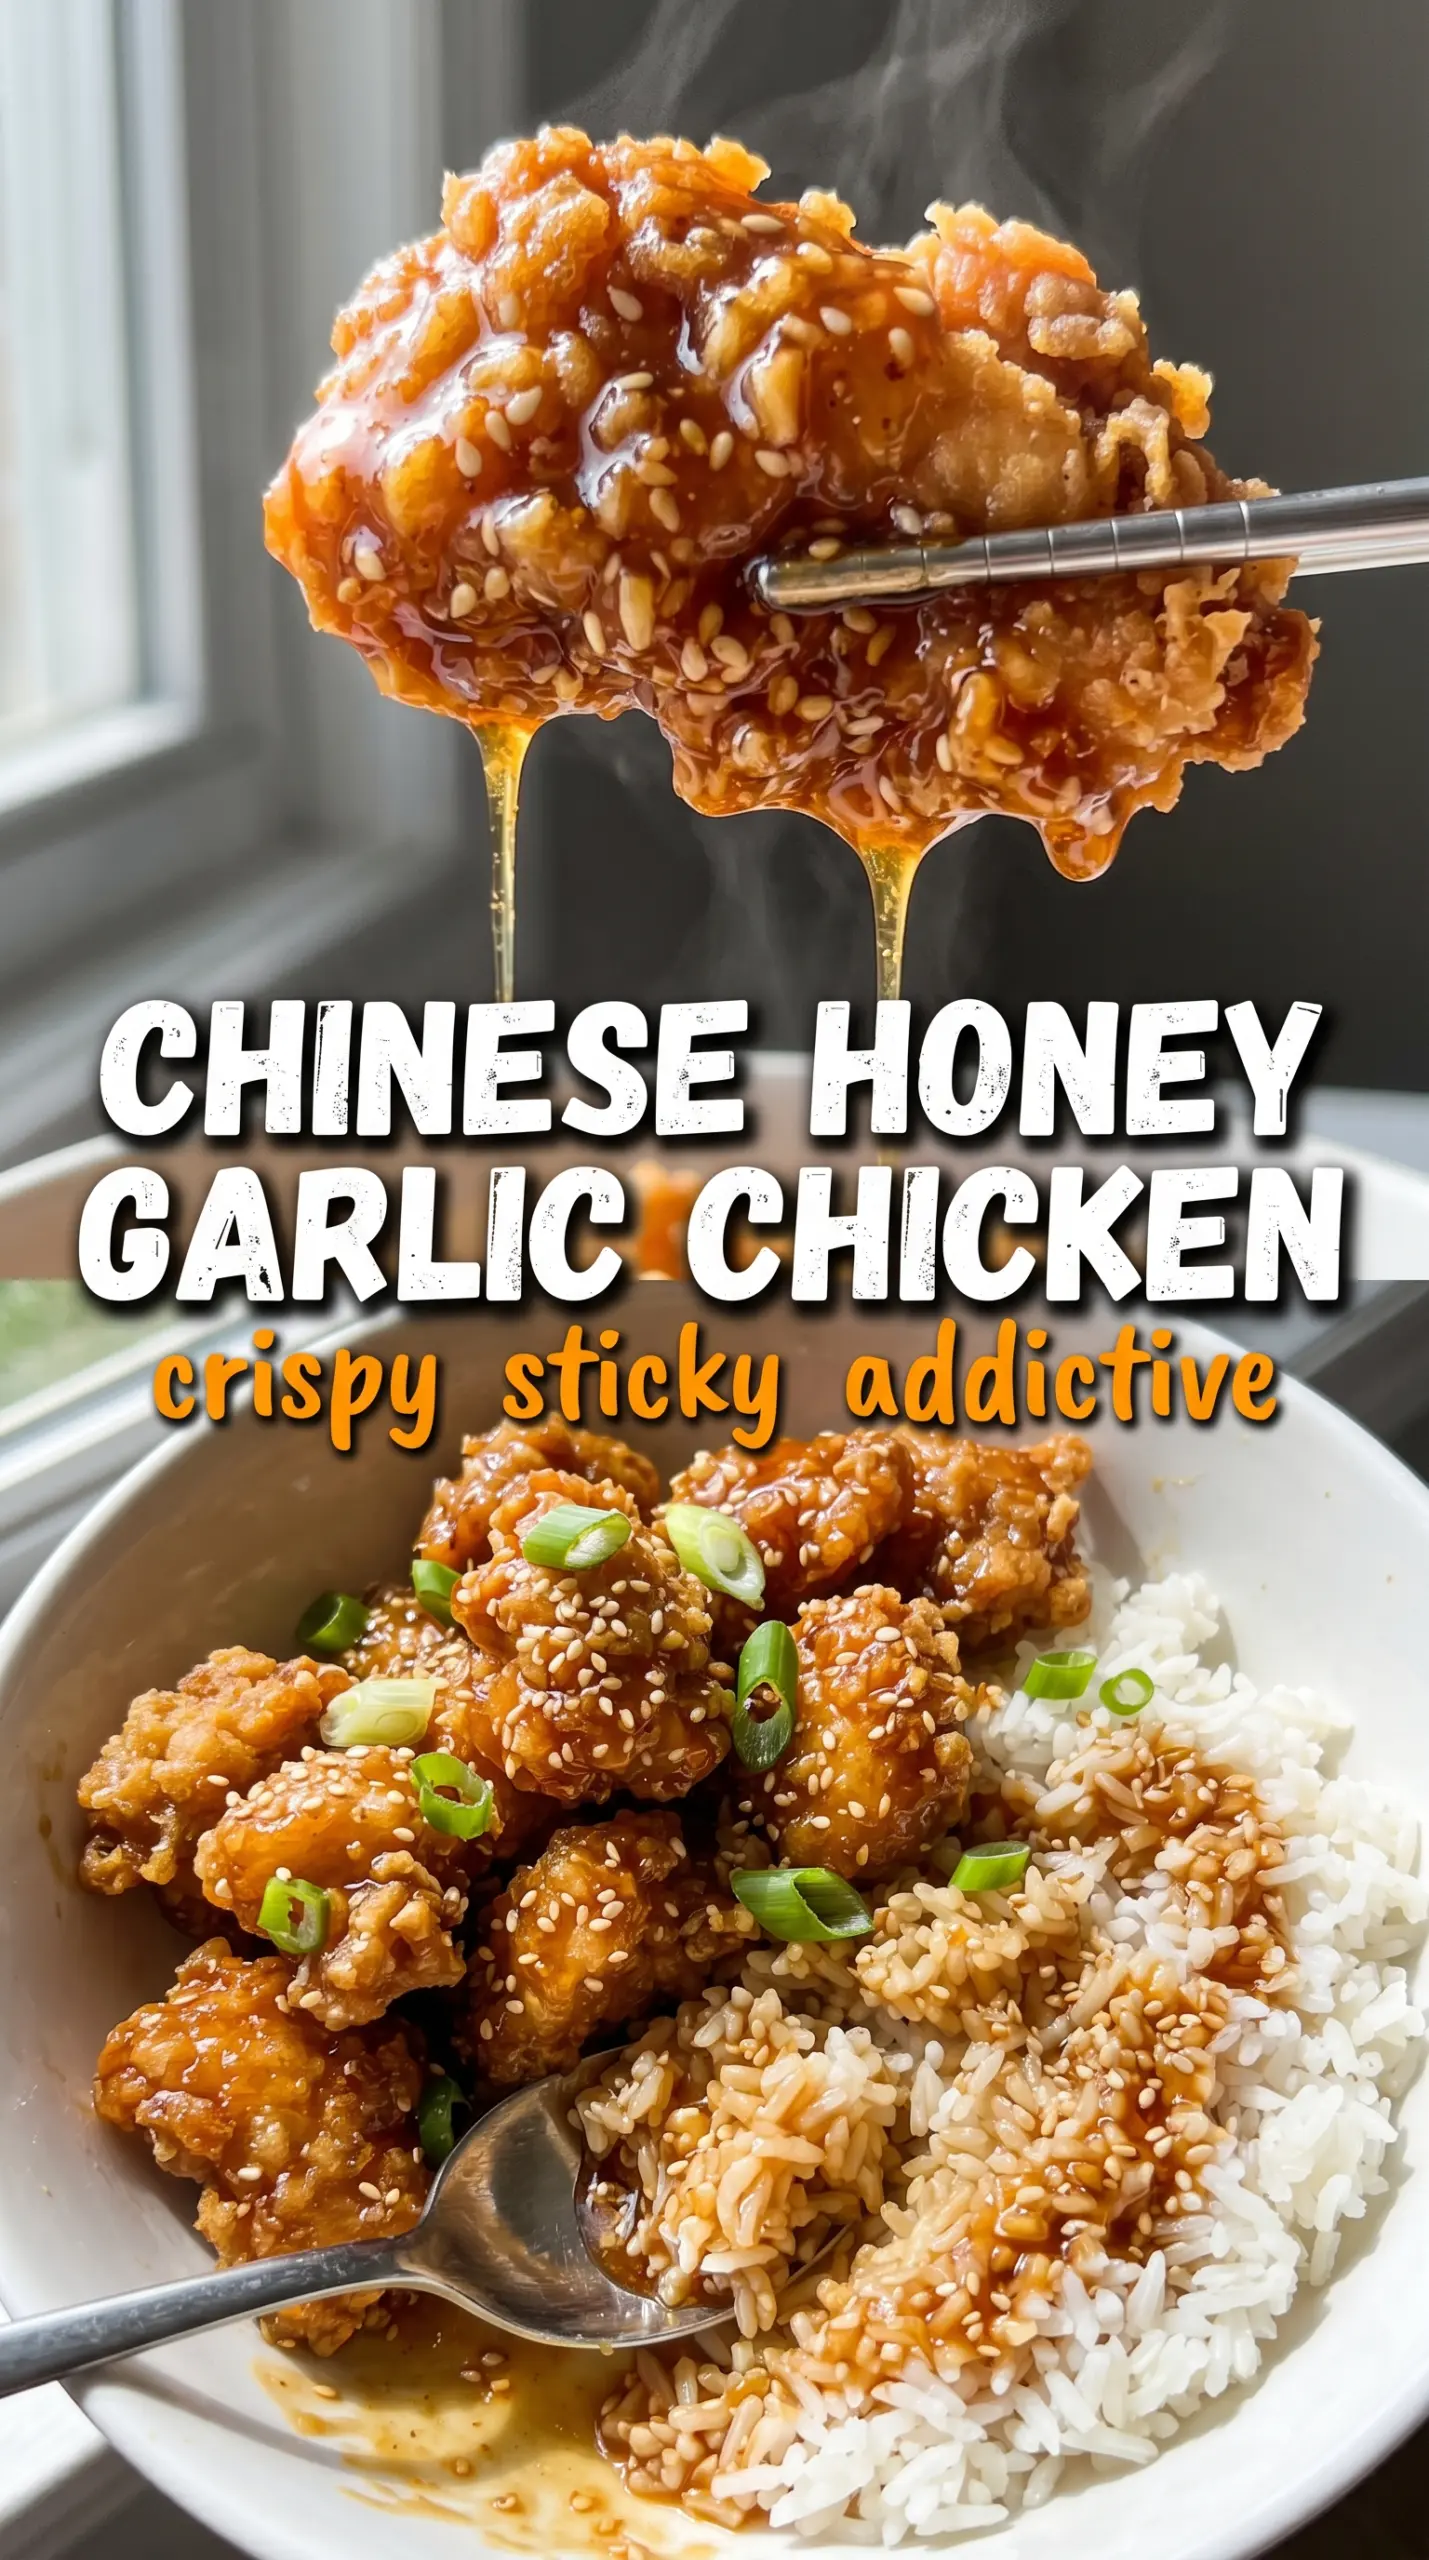
Shatteringly crisp chicken coated in a sticky honey garlic glaze earns its keep fast. The outside stays crunchy for the first few bites, then gives way to juicy chicken and a sauce that clings instead of puddling on the plate. That contrast is what makes this one worth putting on repeat.
The texture comes from a double-dredge style coating with cornstarch and flour, plus frying at the right temperature so the chicken sets before it starts soaking up oil. The sauce matters just as much: garlic is simmered briefly so it turns sweet and fragrant, then the cornstarch slurry thickens the glaze into a glossy coating that grips every piece. A splash of rice vinegar keeps the honey from tasting flat, and sesame oil goes in off the heat so its flavor stays clean and nutty.
Below, I’m walking through the part that makes or breaks this dish: keeping the chicken crisp long enough to toss it in sauce without turning it soggy. There’s also a storage note for leftovers, because the reheating method makes a bigger difference here than it does with most takeout-style dinners.
The chicken stayed crispy even after I tossed it in the sauce, and the glaze thickened up into that sticky takeout-style coating I was hoping for. My husband kept sneaking pieces straight from the pan.
Save this crispy Chinese honey garlic chicken for the night you want shatter-crisp chicken and a glossy garlic glaze that tastes better than takeout.
The Trick to Keeping the Chicken Crispy After the Sauce Hits
The biggest mistake with honey garlic chicken is letting the coating soften before the sauce is ready. If the chicken sits around after frying, the steam trapped in the pieces starts loosening that crisp shell. The fix is simple: fry in batches, drain briefly, and have the sauce simmering by the time the last batch comes out of the oil.
The other piece people miss is sauce thickness. A thin honey sauce slides right off the chicken and ends up pooled in the bowl. This version uses a cornstarch slurry, cooked long enough to lose that raw starchy taste, so the glaze turns shiny and clingy instead of watery.
- Hot oil matters more than a perfect dredge. If the oil is too cool, the coating drinks it up and goes heavy instead of crisp. Keep it at 375°F and let it come back to temperature between batches.
- Don’t overcrowd the pan. Too many pieces at once drop the oil temperature and create steam. That’s how you lose the crunch before the sauce even shows up.
- Finish the chicken in the sauce fast. Toss just until coated, then serve. The goal is glossy and sticky, not soaked.
What the Flour, Cornstarch, and Honey Are Each Doing Here
Cornstarch is what gives the coating that light, brittle crunch. Flour alone makes a thicker shell, but cornstarch keeps it crisp and less bready, which matters when the chicken has to stand up to sauce.
Chicken thighs stay juicier than breast meat here. They handle the high heat of frying better and stay tender even if the pieces are cut small. If you use breast, cut it into even chunks and pull it as soon as it turns opaque so it doesn’t dry out.
Rice vinegar keeps the glaze from tasting sticky-sweet. You only need a little, but that little bit is what gives the sauce a cleaner finish.
Sesame oil goes in at the end for aroma, not for cooking. Heating it too long flattens the flavor, so stir it in off the burner.
Frying, Saucing, and Tossing Without Losing the Crunch
Building the Coating
Whisk the cornstarch, flour, garlic powder, salt, and white pepper first so the seasoning is spread evenly. Dip each piece of chicken in the beaten egg, then coat it in the flour mixture until every side looks dry and a little shaggy. That rough surface fries up crisp; if the coating looks paste-like, shake off the extra egg before dredging.
Getting the Fry Right
Heat the oil to 375°F before the chicken goes in. The pieces should sizzle immediately and float gently rather than sink and go quiet. Fry in batches for 5 to 6 minutes, until the crust is deep golden and the chicken is cooked through; if the pieces are browning too fast, the oil is too hot, and if they look pale after several minutes, it’s too cool.
Thickening the Honey Garlic Glaze
Simmer the honey, soy sauce, garlic, and rice vinegar together just until the garlic smells sweet, not harsh. Stir in the cornstarch slurry and keep it moving for 2 to 3 minutes, until the sauce turns glossy and lightly nappé, meaning it coats a spoon instead of running off in a thin sheet. Pull it off the heat and stir in the sesame oil right away.
The Final Toss
Add the fried chicken to the sauce and toss quickly until every piece is coated. Don’t let it sit in the pan; the longer it hangs out in the glaze, the more the crust softens. Serve immediately over rice with sesame seeds and sliced green onions so the sauce has something to cling to.
How to Adapt This Without Losing the Takeout-Style Finish
Air Fryer Version
Spray the coated chicken lightly with oil and air fry at 400°F until crisp and cooked through, turning once. You’ll lose a little of the deep-fried shatter, but the coating still gets crunchy enough to hold the sauce well. Toss it in the glaze right before serving so the crust doesn’t soften in the basket.
Gluten-Free Swap
Use a gluten-free all-purpose flour blend in place of the regular flour and check that your soy sauce is gluten-free. The coating will still crisp nicely, though it may brown a touch faster, so watch the color closely during frying.
Lower-Sugar Balance
Reduce the honey a little and increase the rice vinegar by a teaspoon or two if you want a sharper glaze. The sauce won’t be quite as sticky, but it will taste less heavy and still coat the chicken well as long as you cook the slurry until it thickens fully.
Storage and Reheating
- Refrigerator: Store leftovers in an airtight container for up to 3 days. The coating will soften, but the flavor stays good.
- Freezer: Freeze the fried chicken and sauce separately if you want the best texture. Once sauced, the chicken won’t re-crisp well after freezing.
- Reheating: Reheat the chicken in a 400°F oven or air fryer until hot and the edges firm up again, then warm the sauce separately and toss together at the end. Microwaving turns the coating soggy fast.
Answers to the Questions Worth Asking
Crispy Chinese Honey Garlic Chicken
Ingredients
Equipment
Method
- Whisk together cornstarch, all-purpose flour, garlic powder, salt, and white pepper in a bowl until evenly combined (visual cue: no dry clumps).
- Dip the bite-sized chicken pieces in the beaten egg, letting excess drip off (visual cue: chicken looks lightly coated and glossy).
- Dredge the egg-coated chicken in the flour mixture, pressing lightly so the coating adheres (visual cue: chicken is fully dusted and opaque).
- Heat about 2 inches of vegetable oil to 375°F in a cast iron skillet (visual cue: oil gently shimmers).
- Fry the chicken in batches for 5-6 minutes at 375°F until deep golden and cooked through (visual cue: bubbles slow and coating turns crisp-golden).
- Drain the fried chicken on a rack or paper towels (visual cue: surface stays crisp with minimal steam).
- Combine honey, soy sauce, minced garlic, and rice vinegar in a saucepan and bring to a simmer (visual cue: small active bubbles around edges).
- Stir in the cornstarch slurry and cook 2-3 minutes until thickened (visual cue: sauce clings to a spoon and looks glossy).
- Remove the saucepan from heat and stir in sesame oil (visual cue: sauce looks darker and more fragrant).
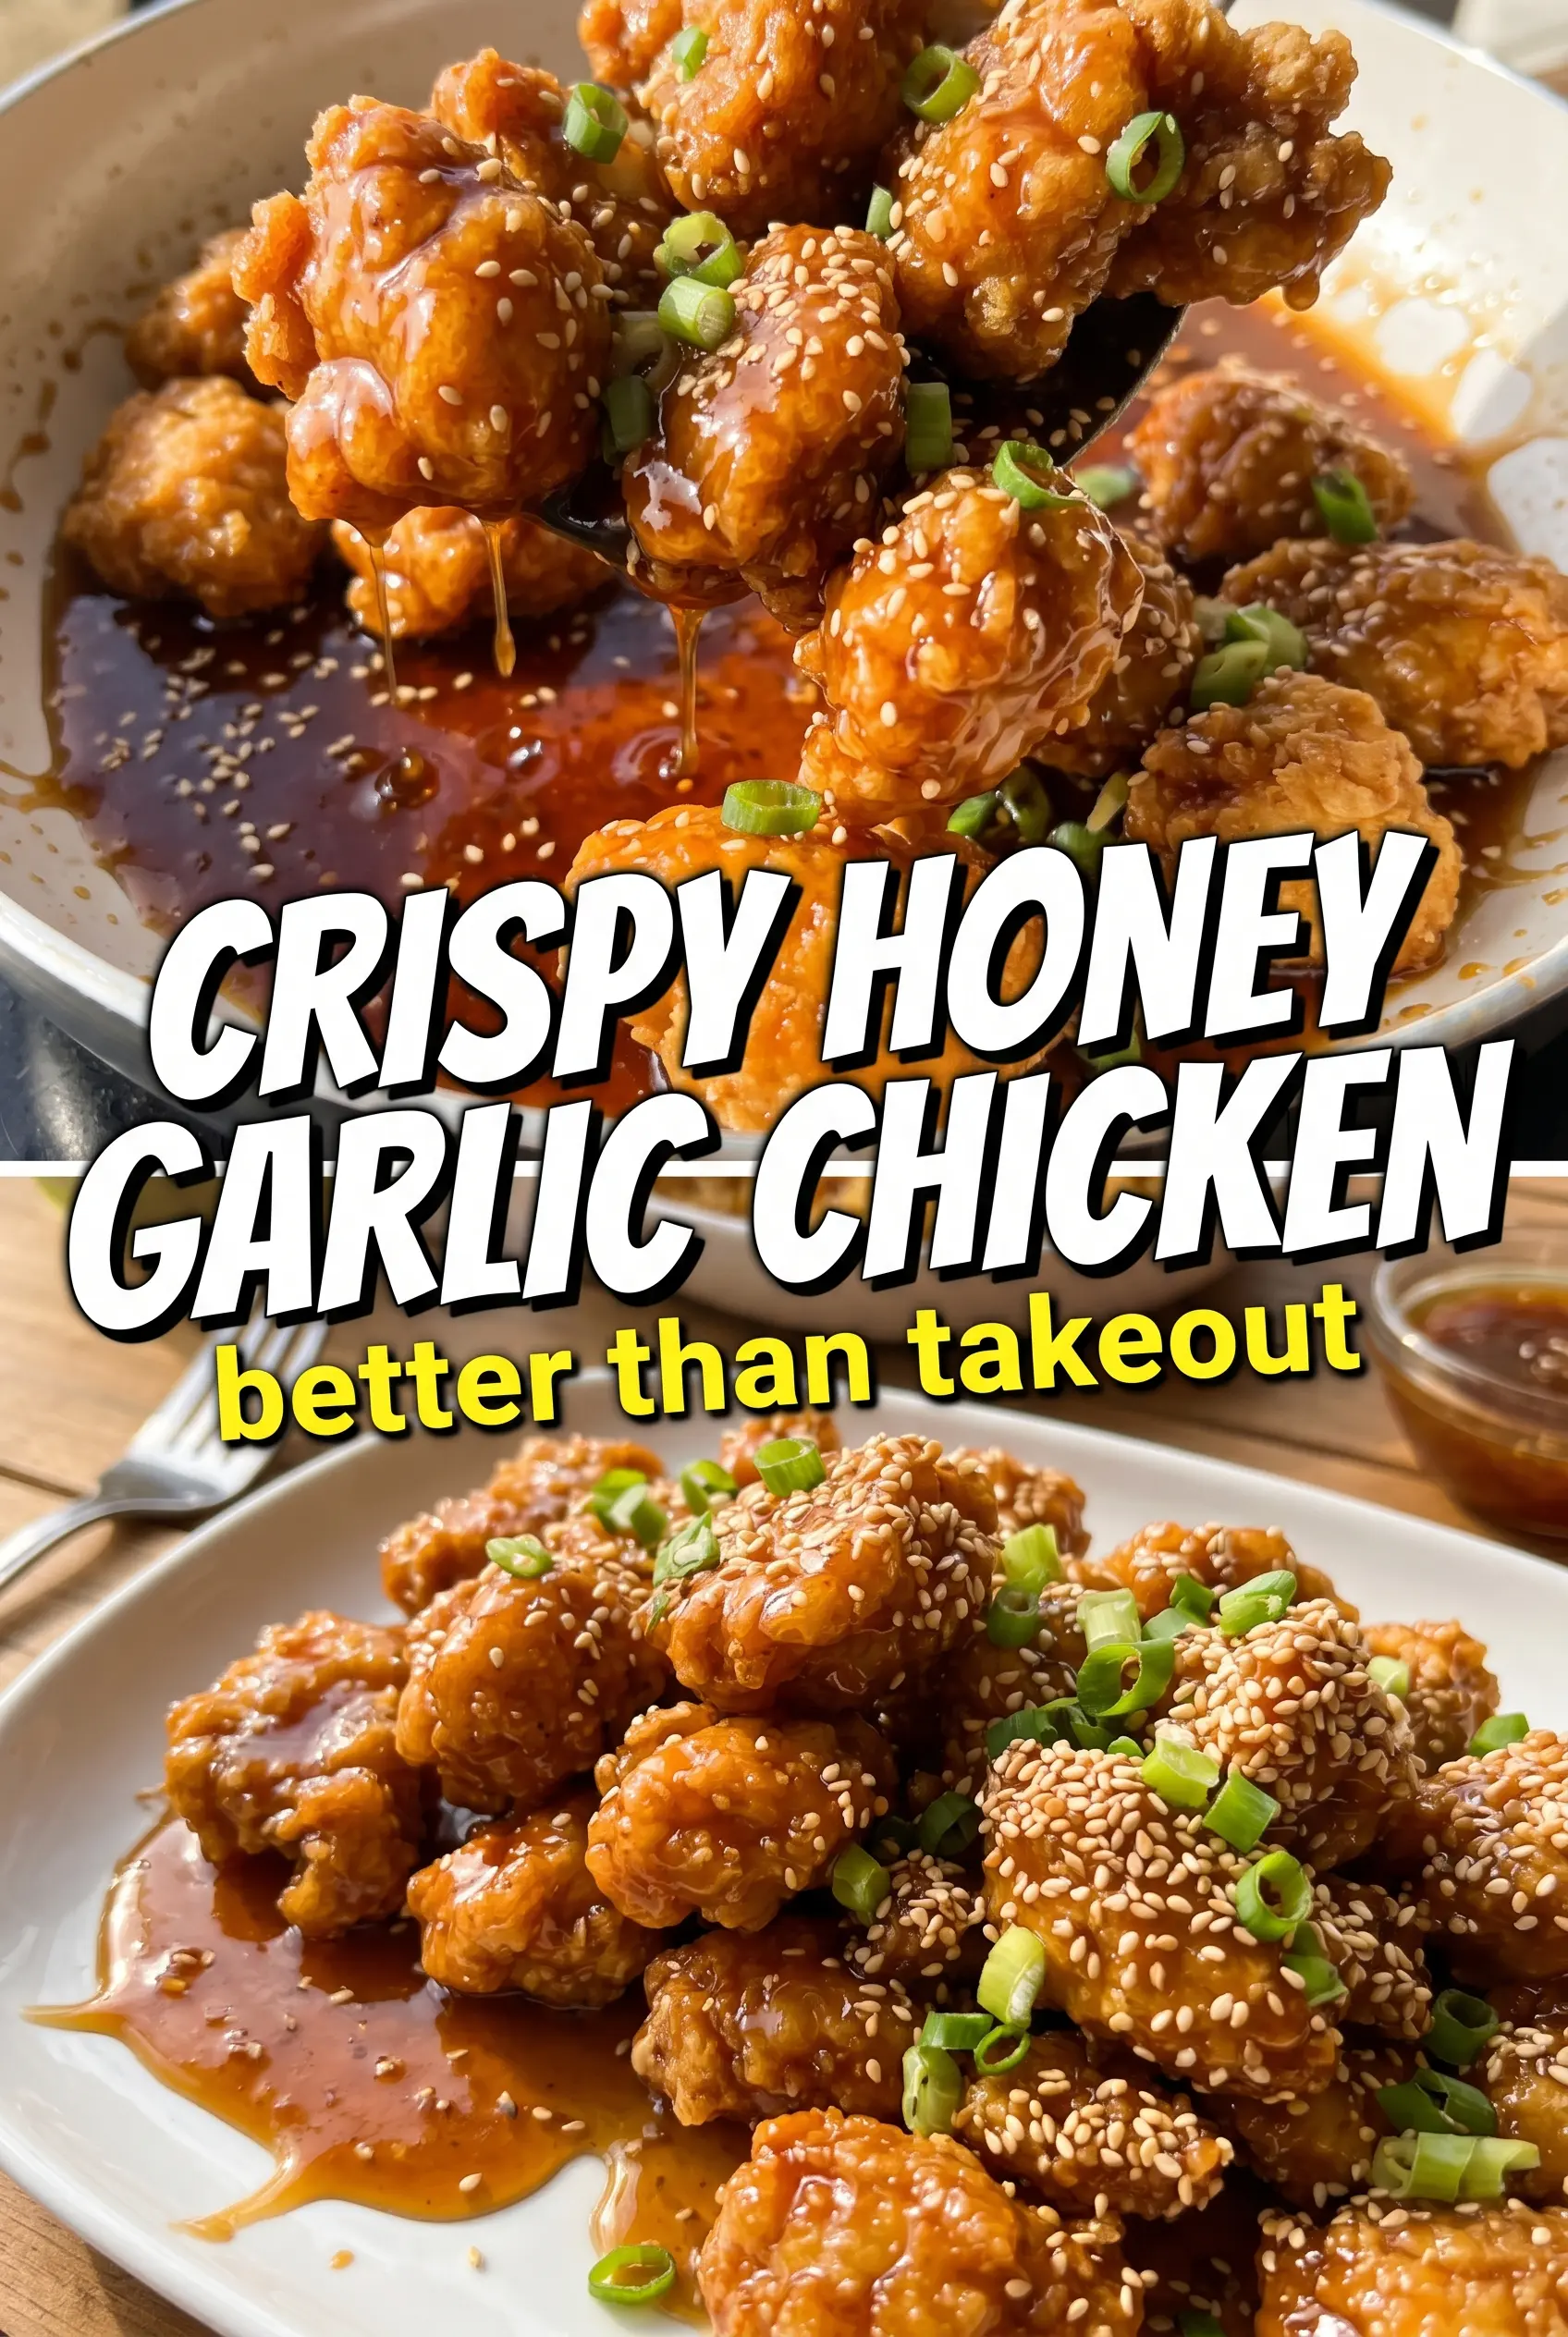
- Toss the crispy chicken in the honey garlic sauce until fully coated (visual cue: every piece is lacquered with a shiny amber glaze).
- Serve over steamed rice and top with sesame seeds and green onions (visual cue: garnish is scattered bright green and beige over the rice).