Cranberry crumble bars hit that sweet-tart middle ground that keeps people coming back for a second piece. The base bakes up sturdy enough to hold the filling, while the top stays sandy and crisp instead of turning into a dense cookie layer. Each bite gives you buttery oats, a bright cranberry center, and just enough orange to keep the whole pan from tasting flat.
The trick is in the texture contrast. You want the bottom crust pressed firmly enough to hold together, but not packed so hard that it bakes up tough. The cranberry filling needs to cook until it looks glossy and thick on the stove, because a loose filling will soak into the crust and make the bars hard to slice cleanly. Using cold butter in the crumble keeps the topping crumbly and gives you those golden clusters on top.
Below, I’ve included the small details that matter most: how to tell when the filling is ready, what to do if you only have frozen cranberries, and how to get neat bars without losing that jewel-bright center.
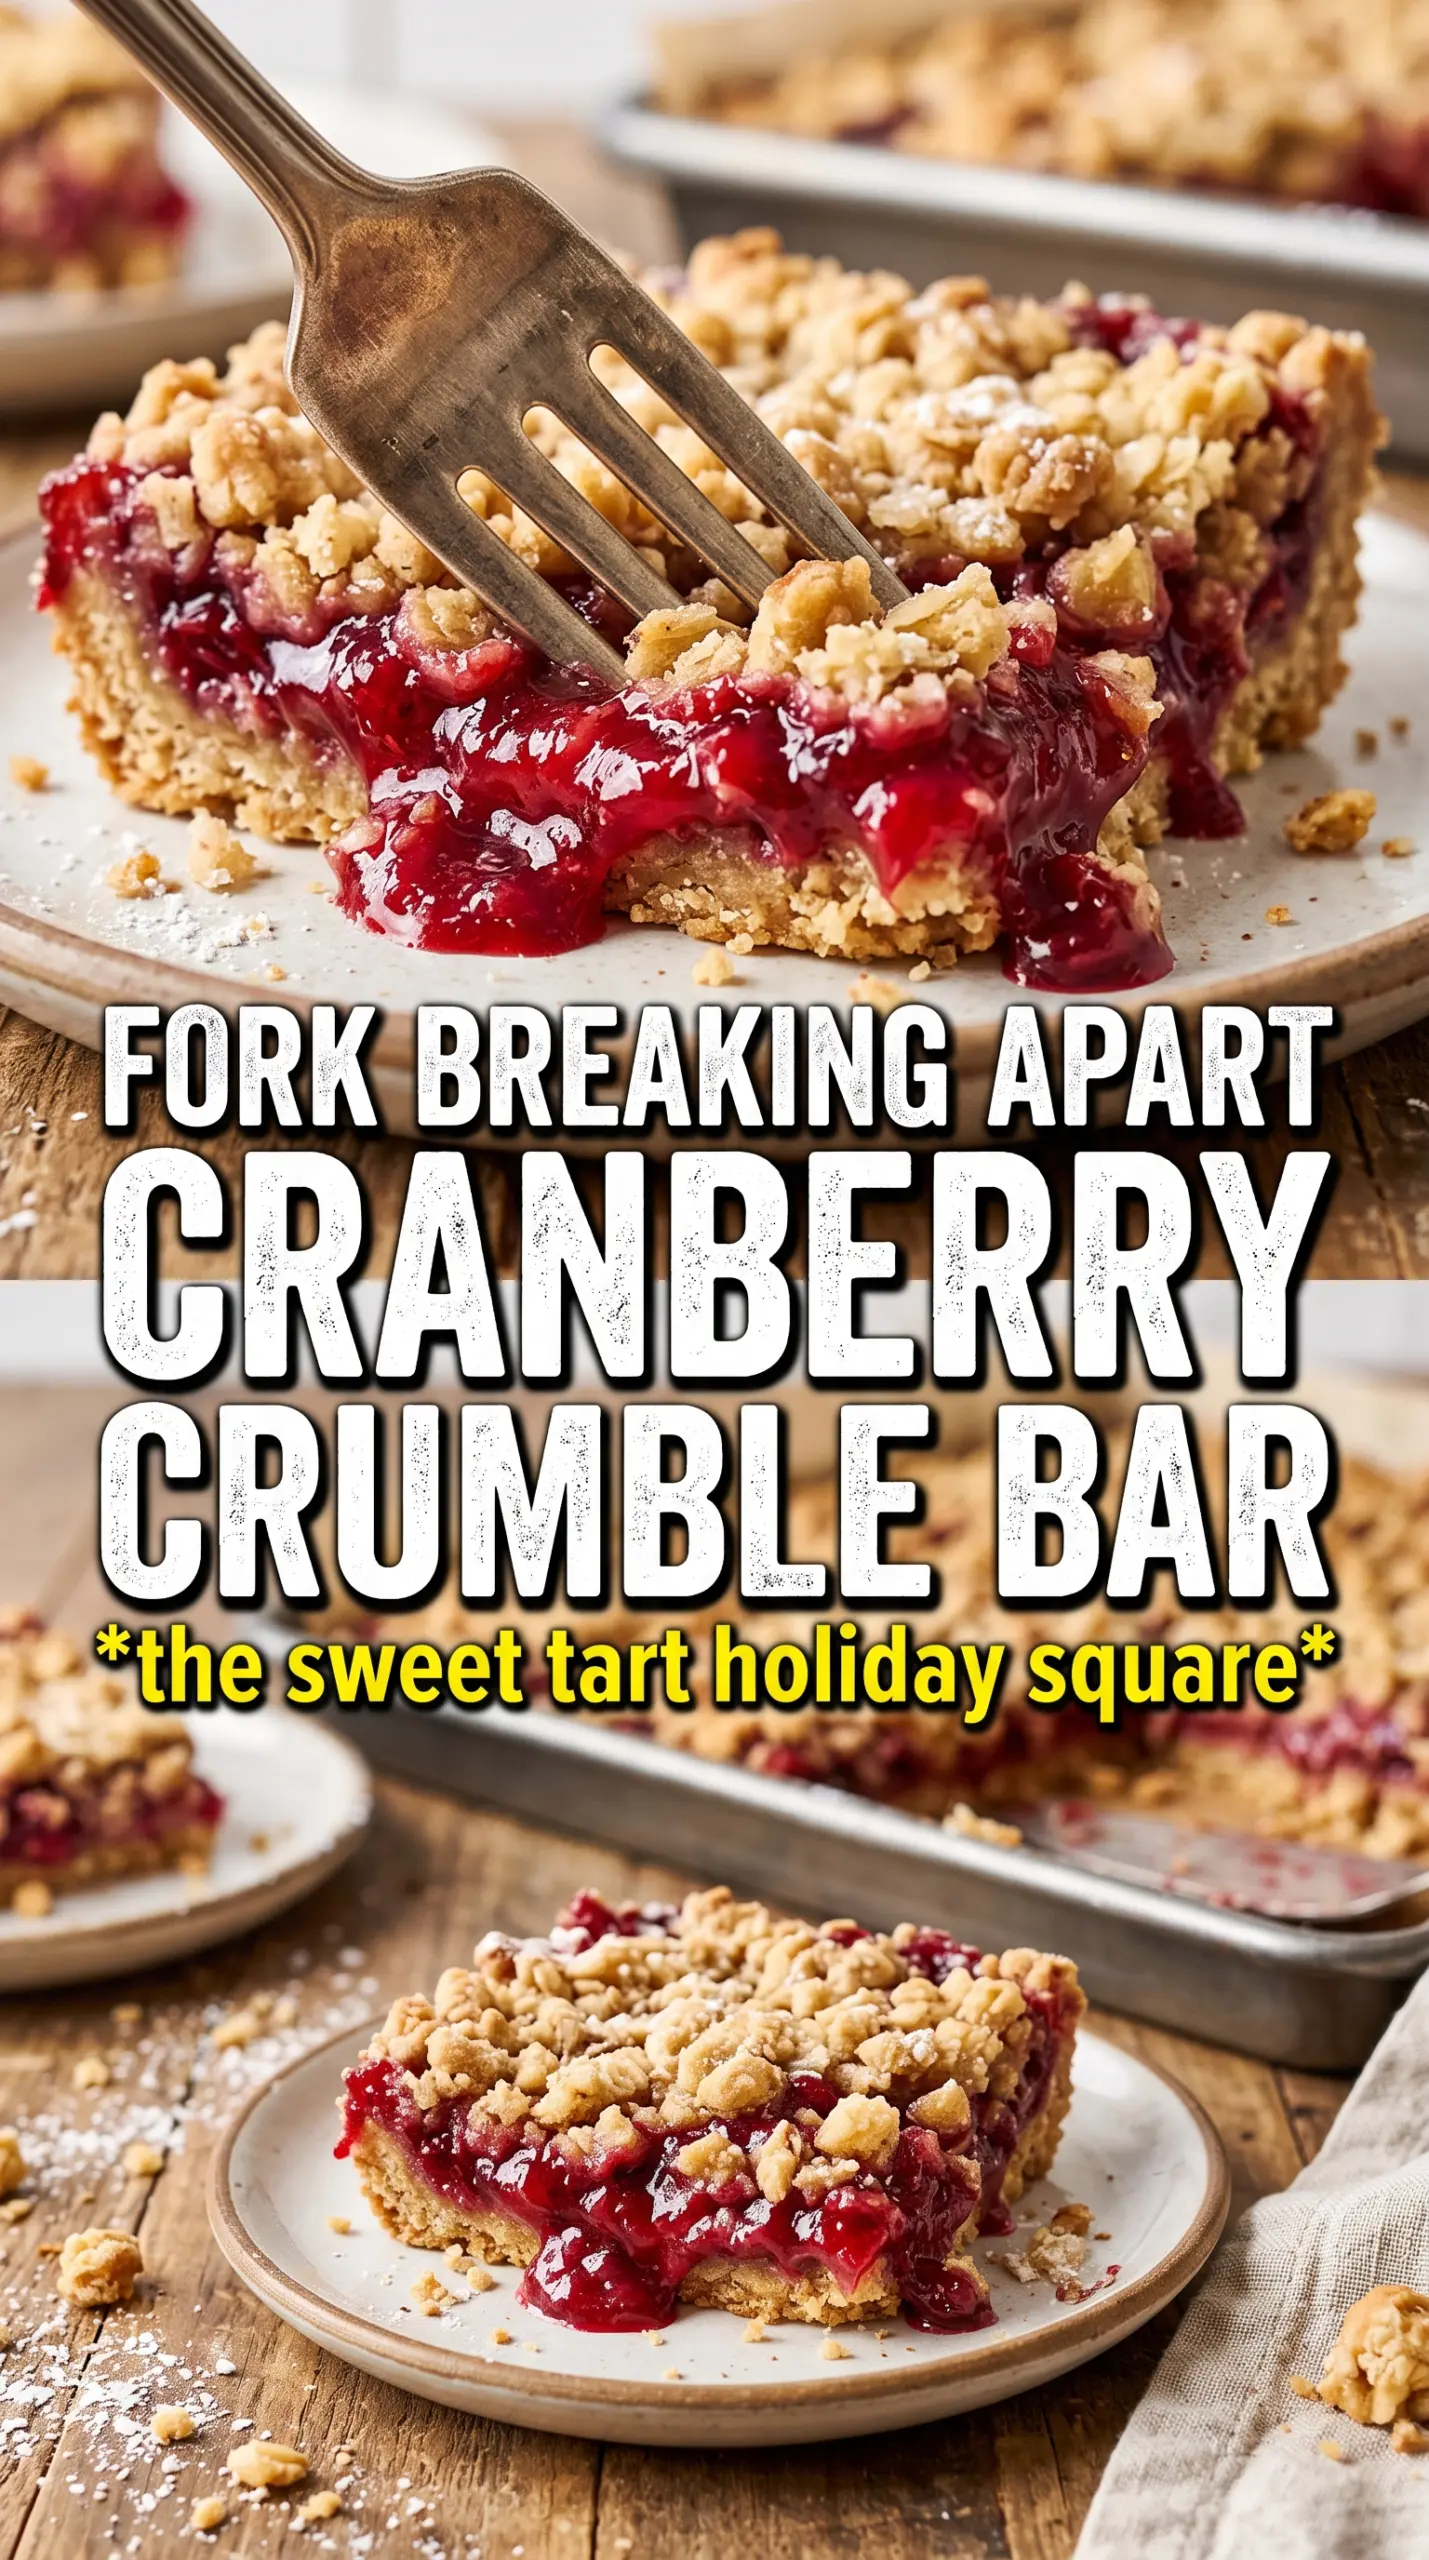
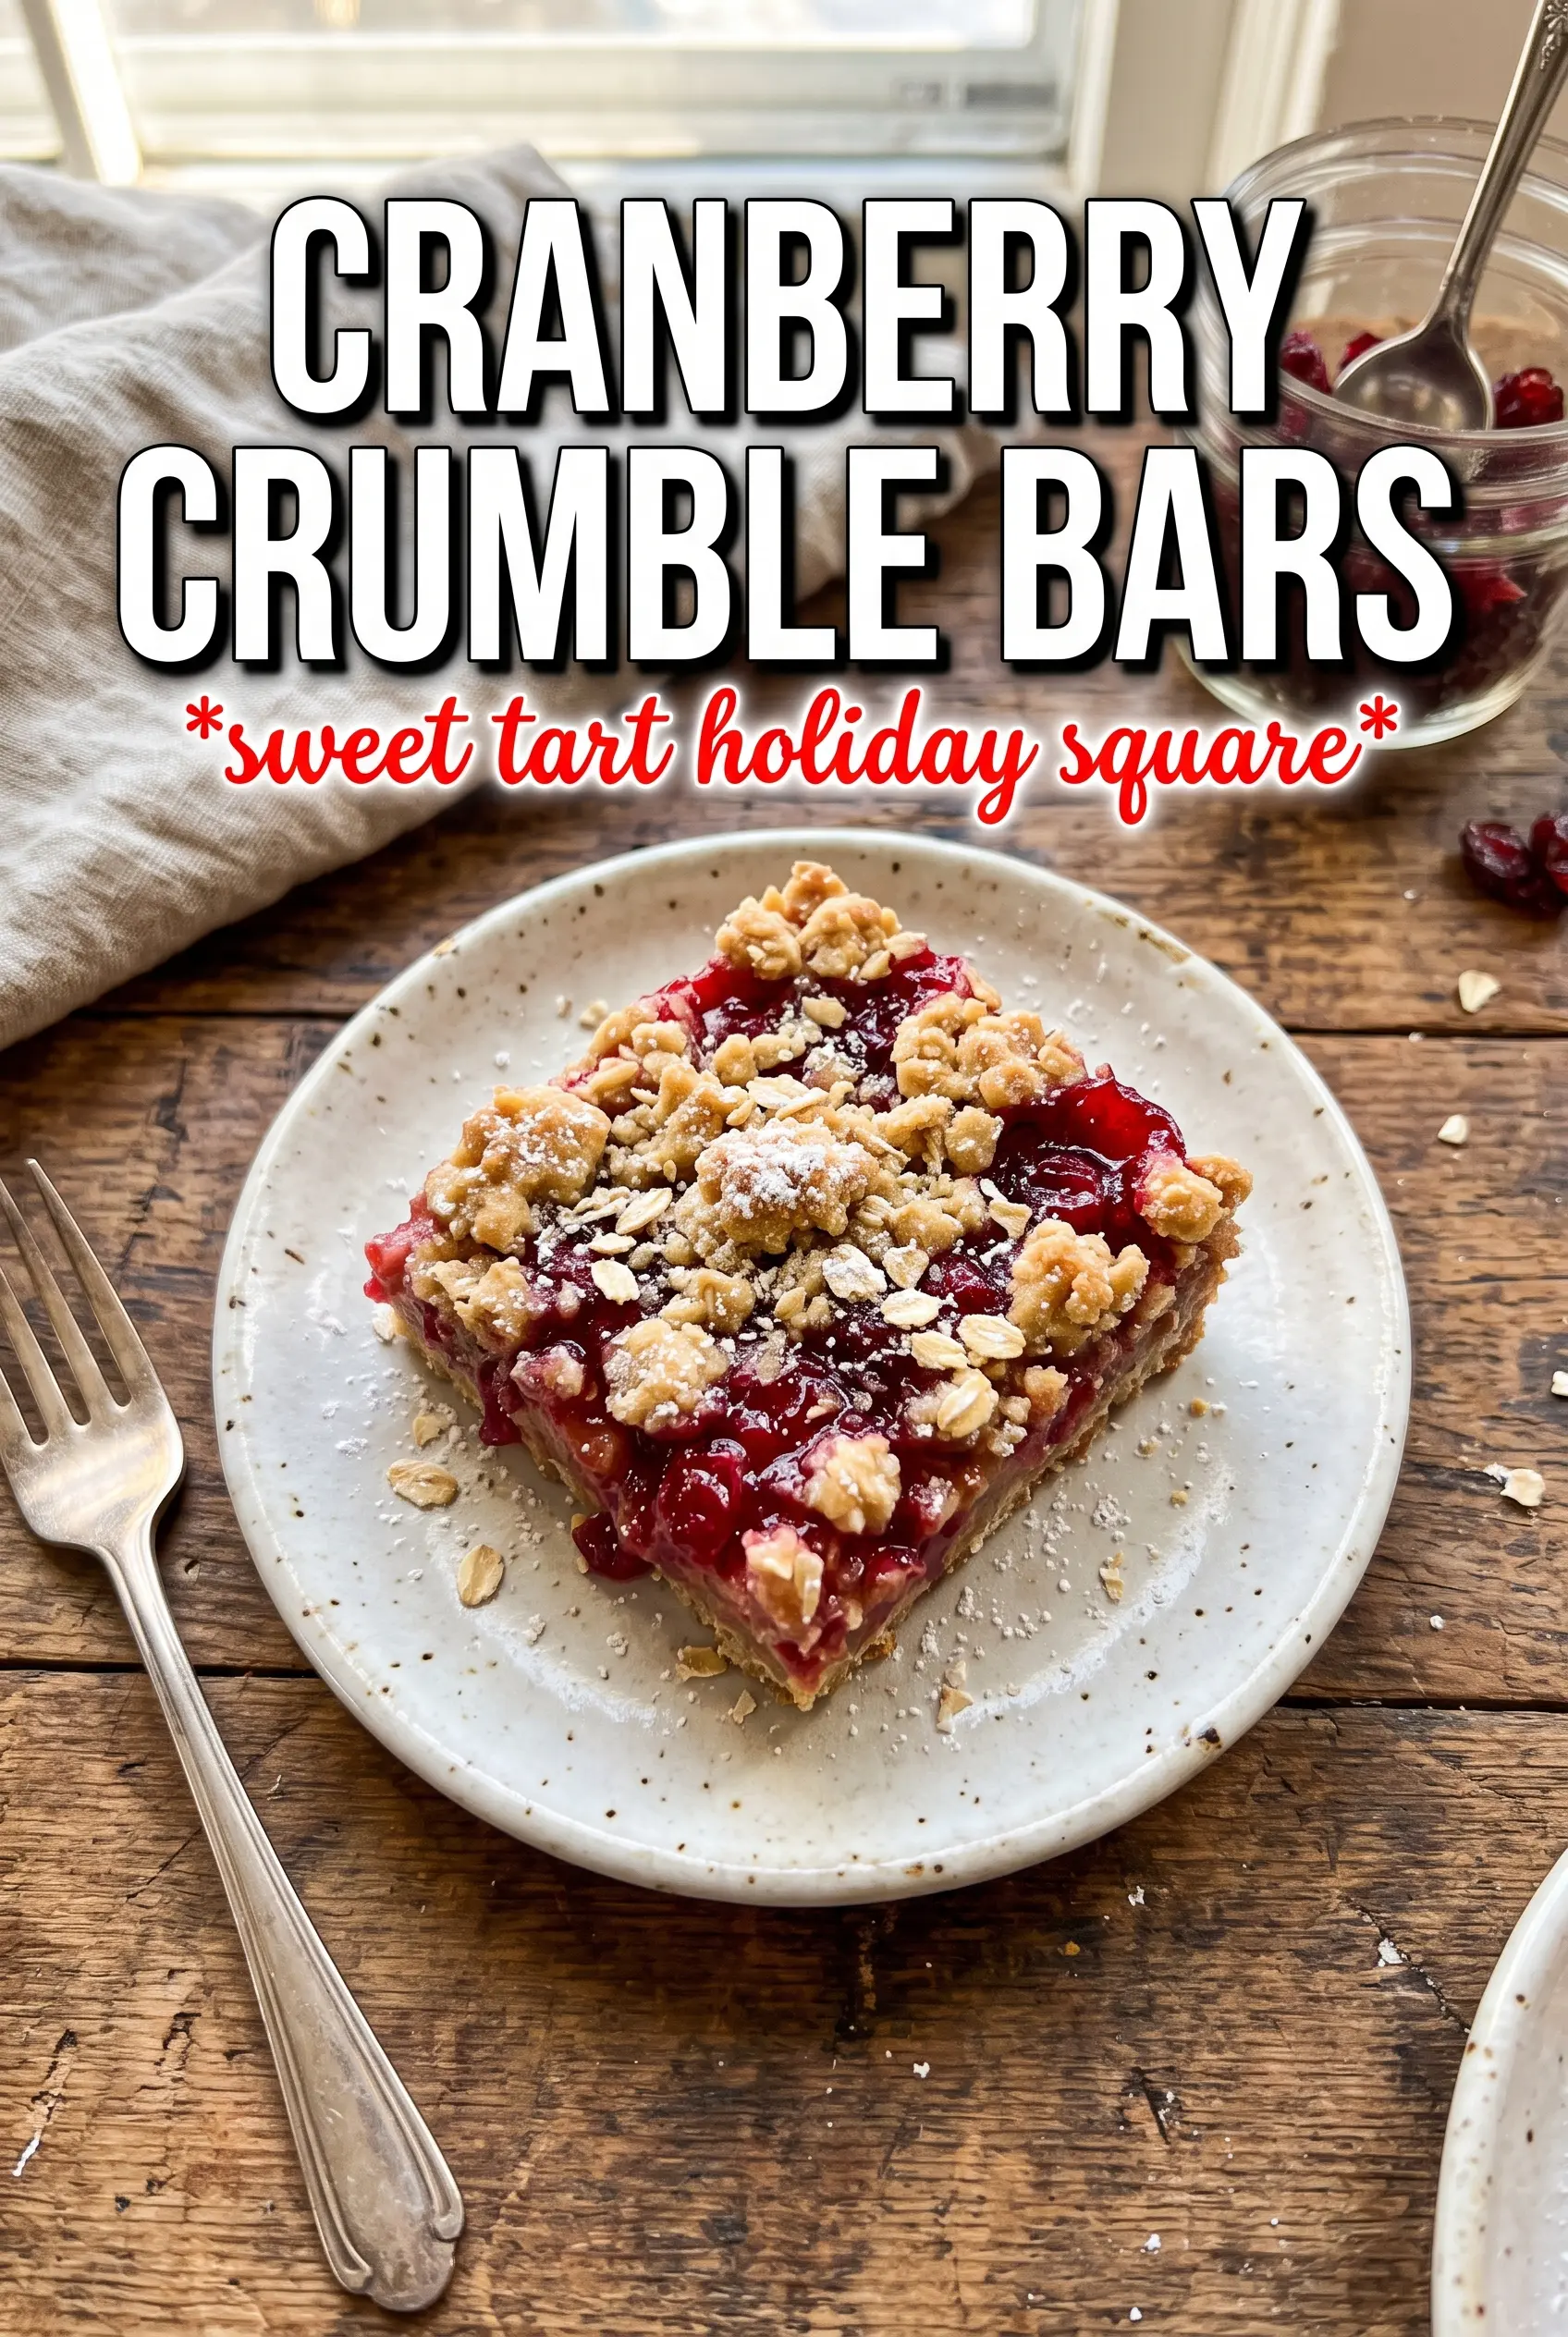
The cranberry layer set up perfectly and the bars sliced clean once they were fully cooled. The orange zest made the filling taste bright instead of sharp, and the crumble stayed crisp on top.
Save these cranberry crumble bars for the days when you want a bright cranberry filling and a buttery oat topping that slices clean every time.
The Filling Has to Cook Before It Hits the Crust
Raw cranberry filling is the fastest way to get soggy bars. Cranberries need heat to burst, dissolve into the sugar, and thicken with the cornstarch before they go into the pan. If you spread loose berries over the crust, they keep releasing liquid in the oven and the bottom layer never gets a chance to stay crisp.
You’re looking for a filling that has turned glossy, thick, and jam-like on the stove. It should mound on a spoon instead of running off in a thin puddle. That extra minute or two on the burner matters more than people think, because the filling firms up again as it cools and sets the whole bar.
- Pressing the crust first — Baking the bottom layer for 10 minutes gives it a head start so it can support the filling without turning soft.
- Cooking the filling until thick — This is what keeps the bars clean-cut and prevents the cranberry juices from bleeding into the crumble.
- Cooling completely — Warm bars will fall apart when sliced, even if they look set on top. The filling tightens as it cools.
What Each Ingredient Is Actually Doing in These Bars
- Rolled oats — These bring the crumble texture and keep the topping from feeling like plain streusel. Quick oats will work in a pinch, but the bars lose some of that hearty bite.
- All-purpose flour — This gives the crust enough structure to hold the cranberry layer. I wouldn’t swap in a full gluten-free blend without adjusting the fat and moisture, because the texture changes fast.
- Brown sugar — The molasses notes deepen the crust and play well with the tart filling. Granulated sugar alone makes the base taste flatter.
- Cold unsalted butter — Cold butter is what creates the crumbly texture instead of a paste. If the butter softens too much before baking, the topping turns compact and greasy.
- Cranberries — Fresh or frozen both work here, and frozen cranberries can go in straight from the freezer. Don’t thaw them first or they’ll dump extra liquid into the pan.
- Orange juice and zest — The zest matters more than the juice. The juice adds brightness, but the zest gives the filling that citrus aroma that keeps it from tasting one-note.
- Cornstarch — This is the set. It thickens the cranberry mixture into a filling instead of a sauce, which is the difference between neat bars and a gooey mess.
Building the Crumble Without Overworking It
Mix the Dry Base First
Stir the oats, flour, brown sugar, cinnamon, and salt together before the butter goes in. You want every spoonful to have an even mix of sweetness and spice, not pockets of flour or sugar. Once the butter is added, stop as soon as the mixture looks like coarse crumbs with some pea-sized bits. If you mix until it turns uniform and damp, the crust bakes up hard instead of tender.
Press, Then Par-Bake
Use about two-thirds of the mixture for the bottom layer and press it firmly into the parchment-lined pan. Firm matters here, but it should still look like a crumble pressed into place, not a packed dough. The 10-minute par-bake sets the structure and starts browning the oats. If you skip it, the bottom can stay pale and soft under the filling.
Cook the Cranberries Until They Pop
Put the filling ingredients in a saucepan over medium heat and stir as the cranberries begin to burst. At first it will look loose and glossy; then it starts to thicken and darken slightly as the cornstarch activates. Pull it from the heat when it coats the spoon and holds together in a soft mound. If it looks runny in the pan, it will be runny in the bars.
Finish with the Crumble Top
Spread the hot filling over the crust, then scatter the remaining crumble over the top in uneven clumps. Don’t press it down or you’ll lose the craggy texture that makes these bars good. Bake until the top is golden and the edges look set, then let the pan cool all the way before slicing. A dusting of powdered sugar at the end gives the finished bars a bakery look without changing the texture underneath.
How to Adapt These Bars Without Losing the Texture
Make Them Gluten-Free
Use a 1:1 gluten-free baking flour in place of the all-purpose flour, and check that your oats are certified gluten-free. The bars will still hold together well, but the crumble may be a little more delicate and sandy at the edges.
Use Frozen Cranberries Straight from the Bag
Frozen cranberries work just as well as fresh ones here. Add them straight to the saucepan without thawing, and give the filling a minute or two longer on the stove so the juices can reduce and thicken properly.
Reduce the Sugar for a Sharper Filling
You can cut the granulated sugar in the filling a bit if you like a sharper cranberry bite, but don’t drop it too far. Sugar does more than sweeten here; it helps the filling cook down smoothly and balances the tartness so the bars don’t taste harsh.
Storage and Reheating
- Refrigerator: Store in an airtight container for up to 5 days. The crumble softens slightly, but the bars stay sliceable.
- Freezer: These freeze well. Wrap individual bars tightly and freeze for up to 2 months, then thaw in the fridge overnight.
- Reheating: Serve at room temperature or warm briefly in a low oven. Microwaving too long makes the filling loose and the crumble soggy.
Answers to the Questions Worth Asking
Cranberry Crumble Bars
Ingredients
Equipment
Method
- Preheat oven to 375F and line a 9x13 pan with parchment so the bars lift out easily.
- In a bowl, combine rolled oats, all-purpose flour, brown sugar, cinnamon, and salt, then cut in cold unsalted butter until the mixture looks crumbly.
- Press 2/3 of the oat mixture firmly into the prepared pan.
- Bake the pressed base for 10 minutes, until it looks set but not fully browned.
- In a saucepan over medium heat, cook cranberries, granulated sugar, orange juice, orange zest, cornstarch, and cinnamon for 8-10 minutes, stirring until thickened and glossy.
- Spread the thickened cranberry filling over the hot baked base in an even layer.
- Sprinkle the remaining oat mixture over the top to create an even crumble layer.
- Bake for 25-28 minutes at 375F until the crumble is golden and fragrant.
- Cool completely in the pan so the filling firms up for neat slices.
- Dust with powdered sugar and slice into 16 bars.