Crack green beans hit that sweet-savory spot that keeps people going back for one more scoop. The beans stay tender but still have a little bite, the bacon turns crisp around the edges, and the brown sugar soy glaze bakes down into something sticky enough to cling to every bean in the pan. It’s the kind of side dish that disappears first, even next to the main course.
What makes this version work is the quick blanch before baking. That short boil takes the raw edge off the beans so they finish tender in the oven instead of staying squeaky, and it keeps the final texture bright instead of soft and dull. The glaze also gets built from melted butter, brown sugar, soy sauce, garlic, and pepper, which means it bakes into a glossy coating instead of separating in the pan.
Below, I’ve included the couple of details that matter most: how to keep the beans from turning watery and what to expect from the glaze as it cooks. If you’ve ever had a baked green bean dish come out bland or mushy, this one solves both problems.
The green beans stayed tender without getting mushy, and that glaze thickened up beautifully in the oven. The bacon on top made it feel like a much fancier side dish than it was.
Crack green beans with bacon and brown sugar are the side dish that bakes up sticky, savory, and impossible to ignore.
The Reason These Green Beans Stay Tender Instead of Turning Soft
Most baked green bean casseroles fail in one of two ways: the beans stay too firm, or they cook so long they collapse into a swampy mess. The short blanch solves the first problem without creating the second. Three minutes in boiling water is enough to start the cooking and lock in a bright green color, but not long enough to wash away all the texture.
The other thing that matters is the uncovered bake. Covered beans trap steam, and steam is the enemy here because it keeps the glaze thin and the bacon soft. Leaving the dish open lets the liquid reduce around the beans, so the sugar can caramelize and the sauce can cling instead of pooling at the bottom.
What the Brown Sugar, Soy Sauce, and Bacon Each Bring to the Pan
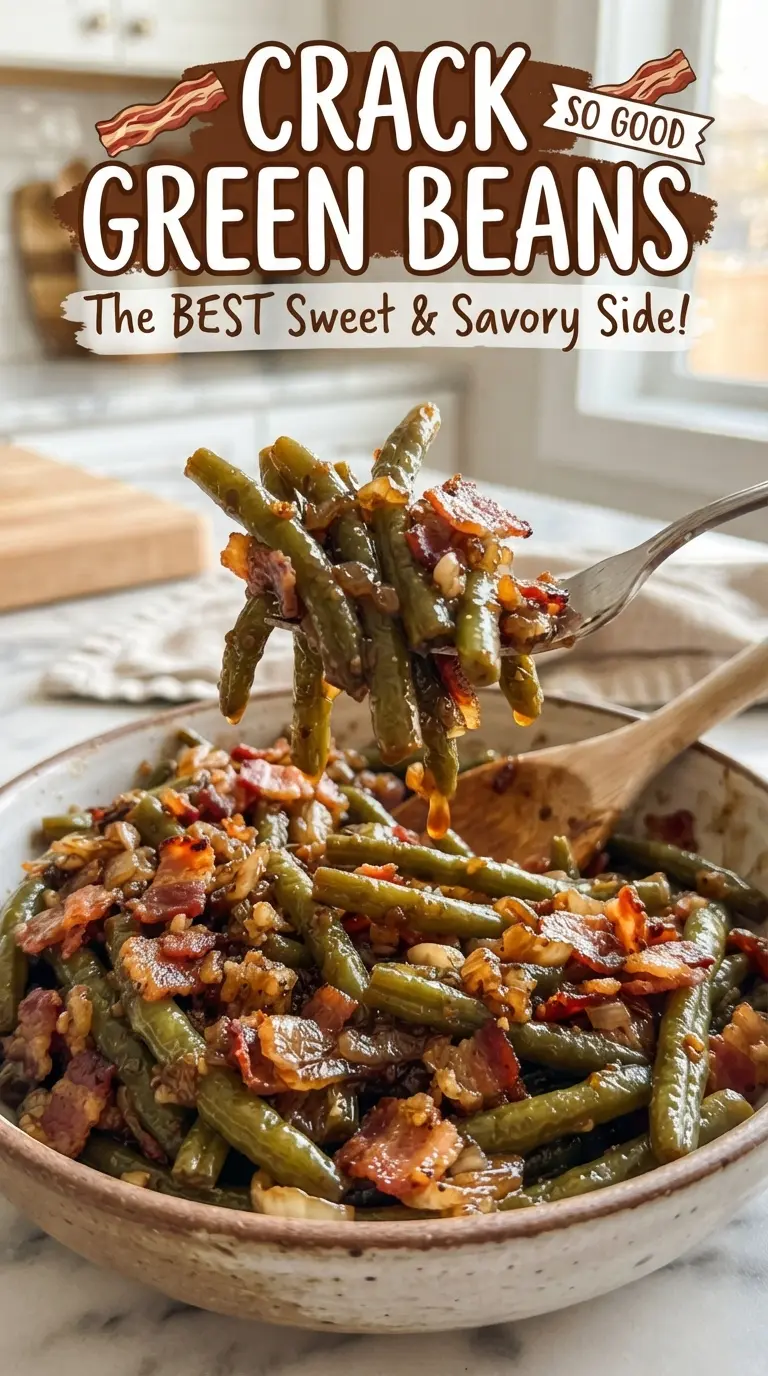
- Fresh green beans — Fresh beans hold their shape best after blanching and baking. Frozen beans can work in a pinch, but they’ll soften faster and won’t give you the same snap. Trim the ends so they cook evenly and don’t leave chewy stem bits in the finished dish.
- Bacon — The bacon brings salt, smoke, and a crisp edge that stands up to the sweet glaze. Cook it until mostly crisp before it goes in the oven; if it’s underdone, it will stay chewy in the finished dish instead of giving you those little crunchy bits on top.
- Brown sugar — This is what gives the glaze its sticky backbone. Packed light or dark brown sugar both work, but dark brown sugar will taste deeper and a little more molasses-heavy.
- Soy sauce — Soy sauce keeps the dish from tasting flat or one-note sweet. Use regular soy sauce for the right balance; low-sodium works if you want more control, but don’t skip it because that savory hit is what makes the glaze taste complete.
- Butter and garlic — Melted butter helps the glaze coat the beans evenly, while garlic cuts through the sweetness and gives the whole pan some bite. Fresh minced garlic is worth it here because jarred garlic can taste harsh after baking.
Getting the Glaze Sticky Without Burning the Sugar
Blanch the Beans First
Bring a pot of water to a boil, drop in the trimmed green beans, and cook them for just 3 minutes. You want them brighter in color and slightly softened, not fully tender. Drain them well right away so extra water doesn’t thin the glaze later.
Build the Bacon Layer
Cook the chopped bacon until it’s mostly crisp, then drain it on paper towels. It will finish in the oven, so stop a little before your ideal crispness. If you cook it all the way in the skillet, it can dry out and taste tough after baking.
Pour and Bake Until the Pan Looks Glossy
Whisk the brown sugar, melted butter, soy sauce, garlic, and pepper together until the sugar starts to dissolve, then pour it evenly over the beans and bacon. Bake uncovered at 350°F for 30 to 35 minutes, stirring once halfway through so the glaze coats everything instead of setting on top in a hard layer. The dish is ready when the sauce looks thick and shiny and there’s a little caramelization around the edges of the pan.
Make It With Turkey Bacon
Turkey bacon works if you want a lighter version, but it won’t give you the same smoky drippings or crisp finish. Cook it until firm before adding it to the dish, since it won’t render much fat in the oven. The final result will still be sweet and savory, just a little leaner and less rich.
Gluten-Free Version
Use a certified gluten-free soy sauce or tamari and the recipe stays easy to keep gluten-free. The flavor stays balanced and the glaze still thickens the same way in the oven. Just check the bacon label too, since some brands add gluten-containing flavorings.
Less Sweet, More Savory
Cut the brown sugar back to 1/3 cup if you want the beans to lean more savory than candy-sweet. The sauce will still glaze, but it won’t be as sticky or lacquered at the end. That version works especially well if you’re serving them alongside a rich main dish.
Storage and Reheating
- Refrigerator: Store leftovers in an airtight container for up to 4 days. The beans soften a little as they sit, but the glaze stays flavorful.
- Freezer: Freezing isn’t ideal here. The beans lose their texture after thawing, and the sauce can turn watery.
- Reheating: Rewarm in a 325°F oven, covered loosely with foil, until hot. The biggest mistake is microwaving too long, which makes the beans limp and the bacon rubbery.
Questions I Get Asked About This Recipe
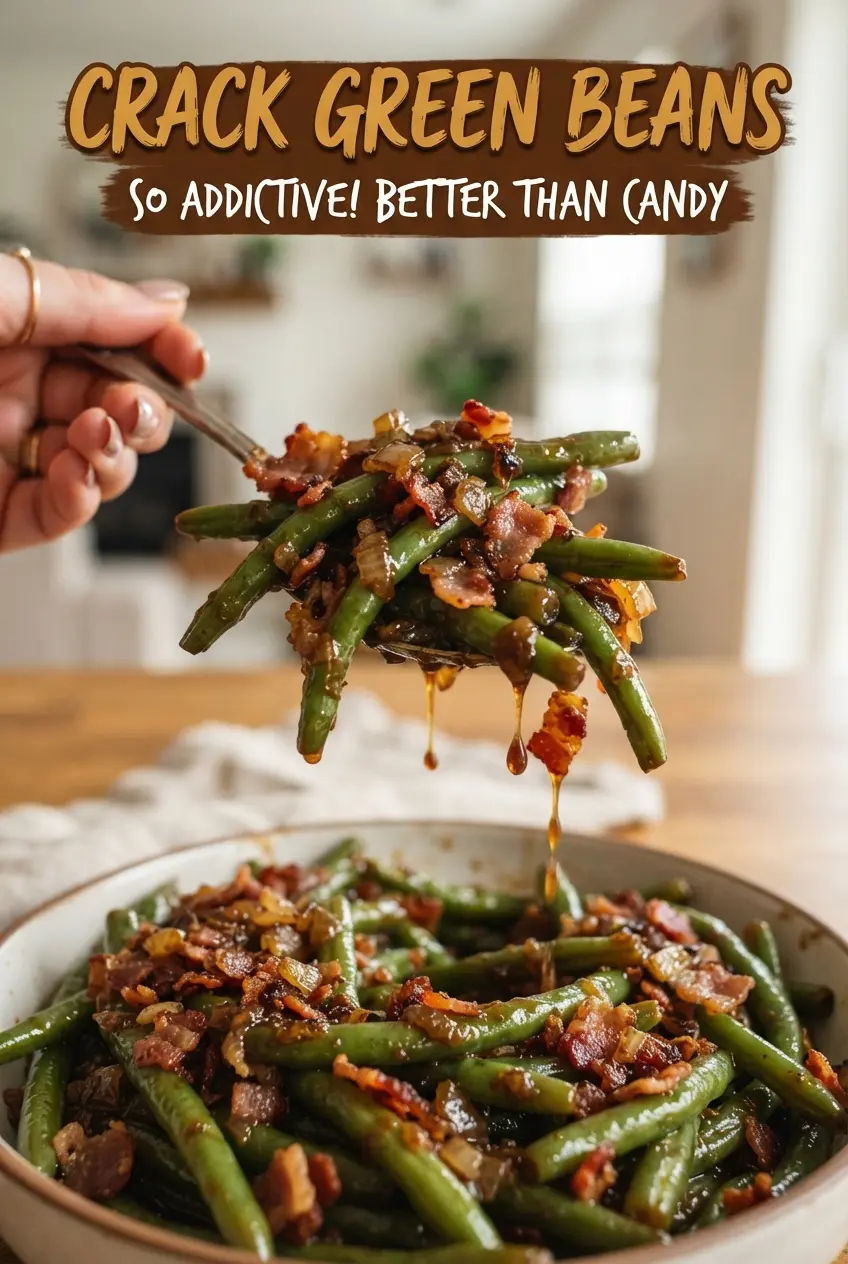
Crack Green Beans
Ingredients
Equipment
Method
- Preheat the oven to 350F. Get a baking dish ready for the green beans.
- Blanch the trimmed green beans in boiling water for 3 minutes, then drain well. Keep them bright green for a tender-crisp texture.
- Cook the chopped bacon until mostly crisp, then drain on paper towels. Reserve the rendered flavor for the dish.
- Place the blanched green beans in a 9x13-inch baking dish and top with the bacon. Spread them into an even layer.
- Whisk the packed brown sugar, melted butter, soy sauce, minced garlic, and black pepper. Pour the glaze over the beans so they’re coated.
- Bake uncovered for 30-35 minutes at 350F, stirring once during baking, until the glaze is sticky and caramelized. Serve hot when the coating clings to the beans.