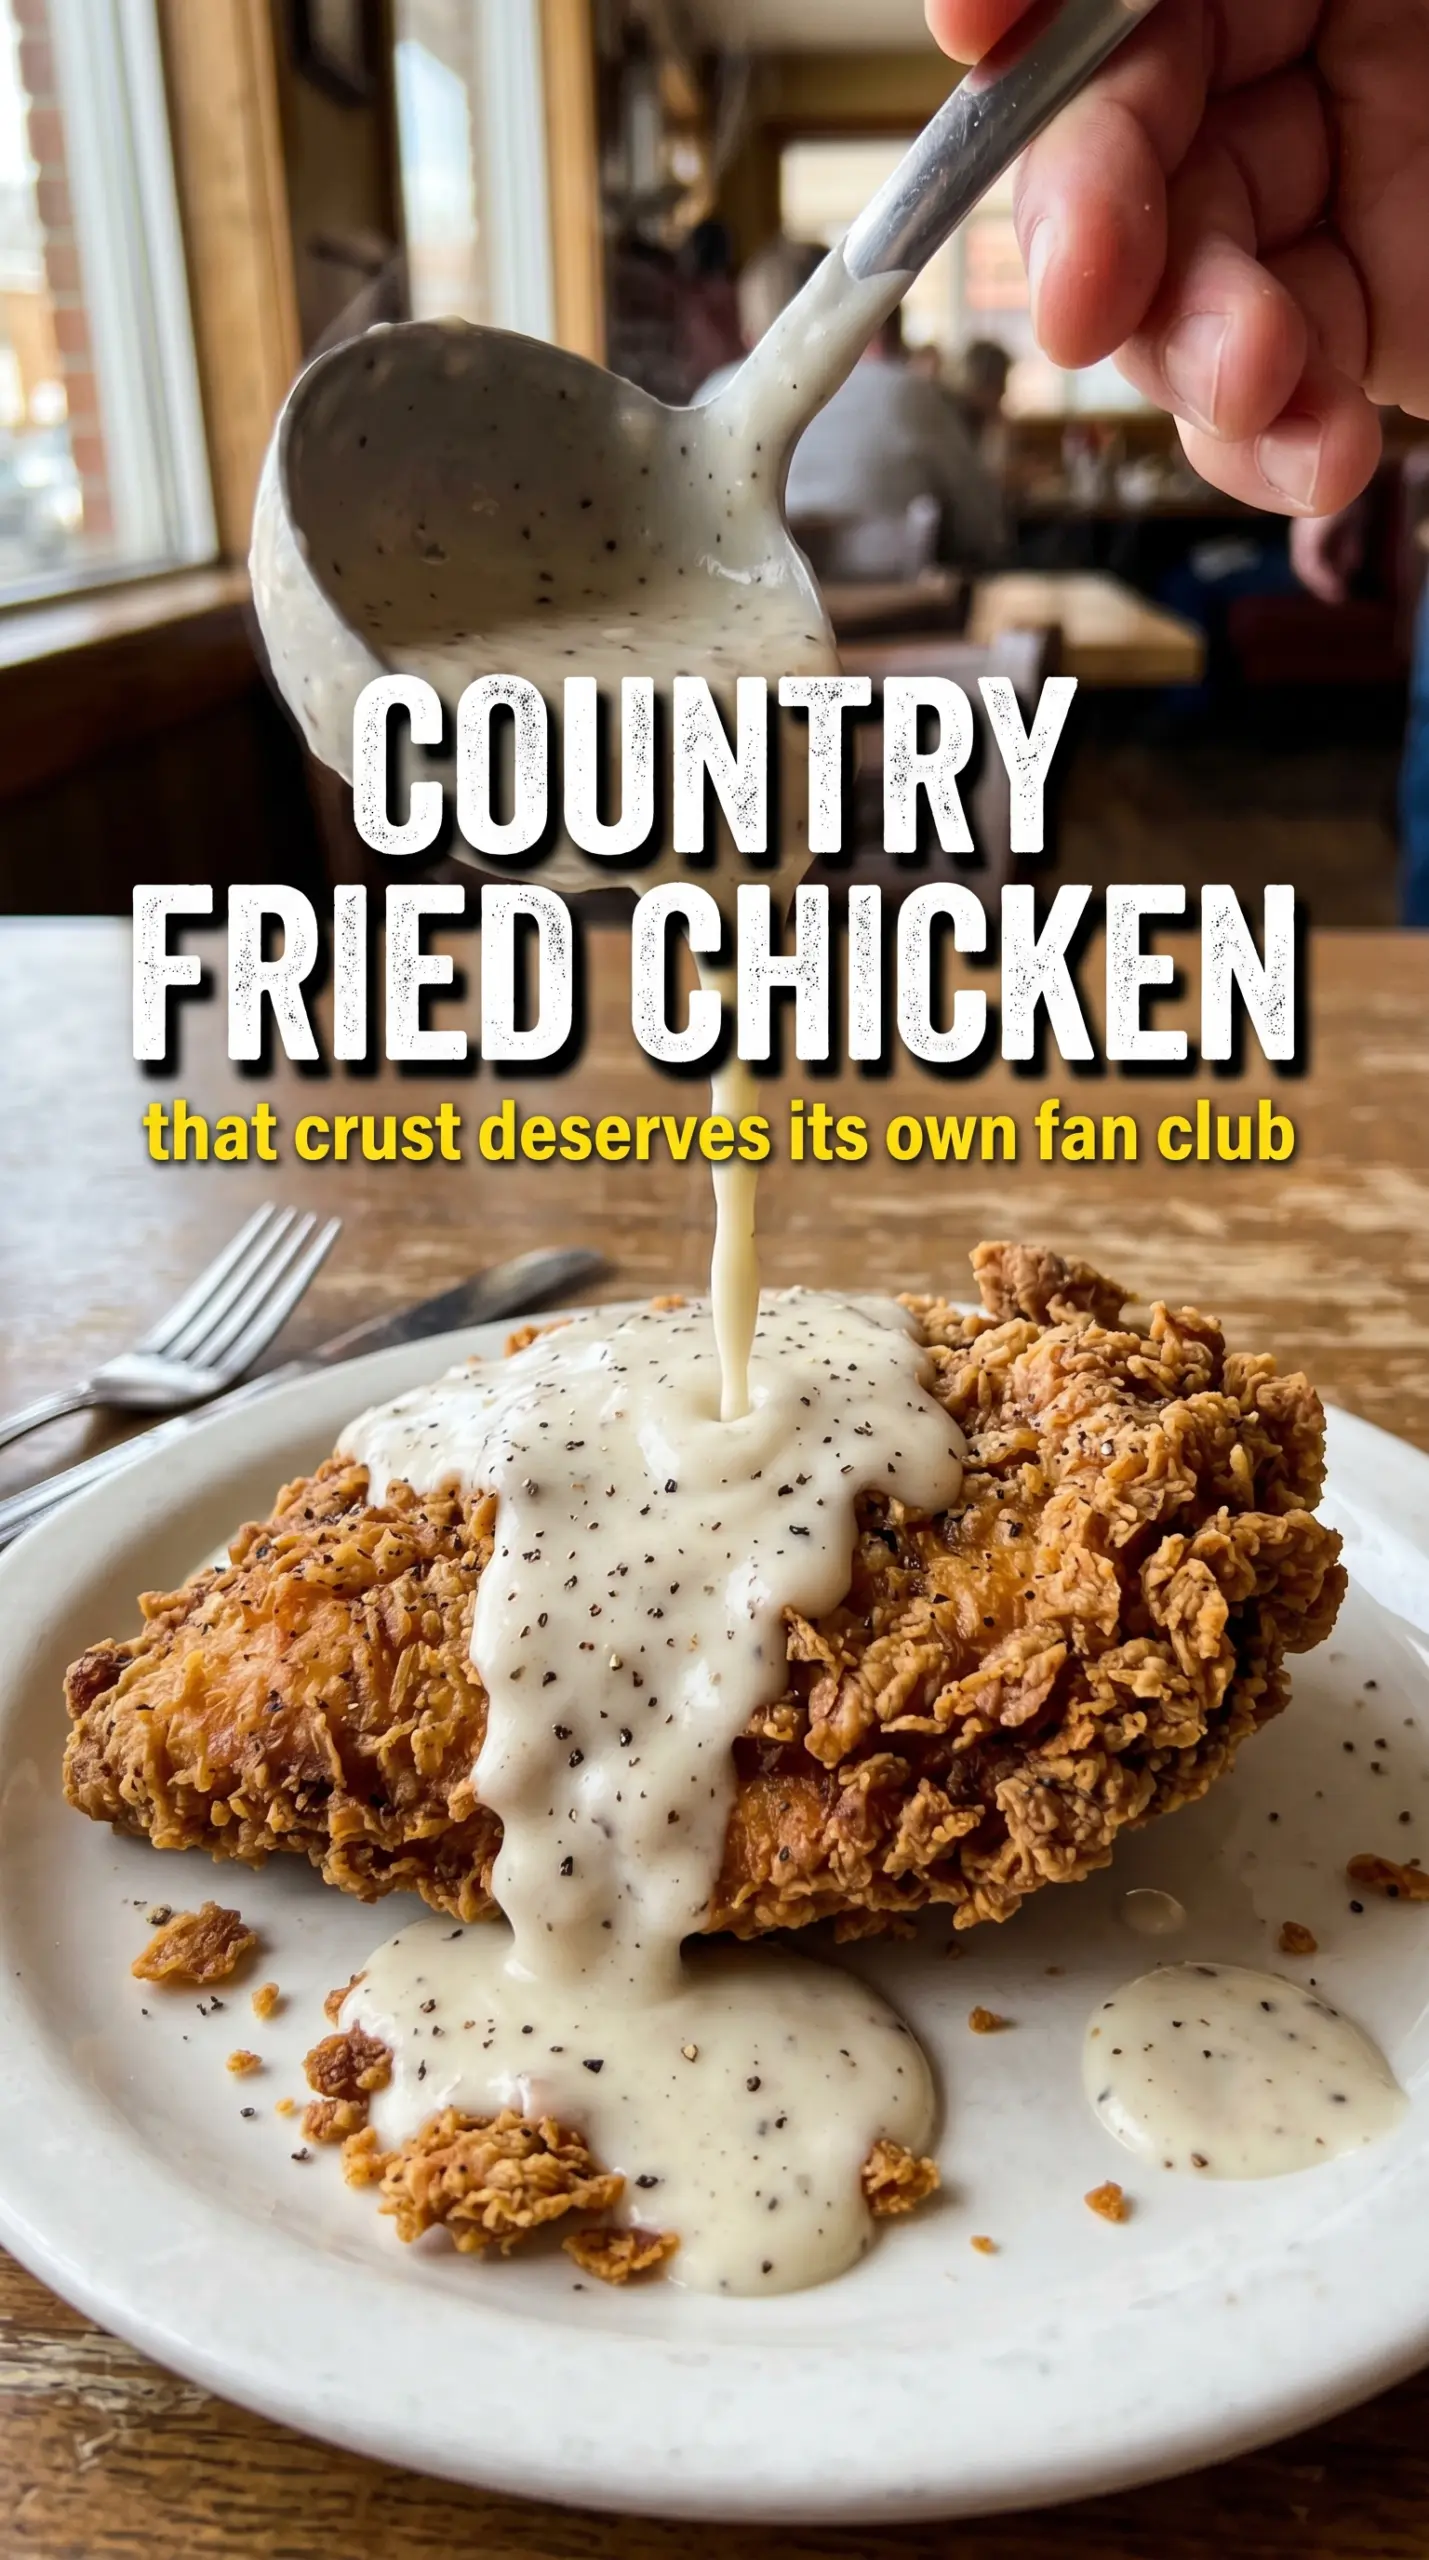
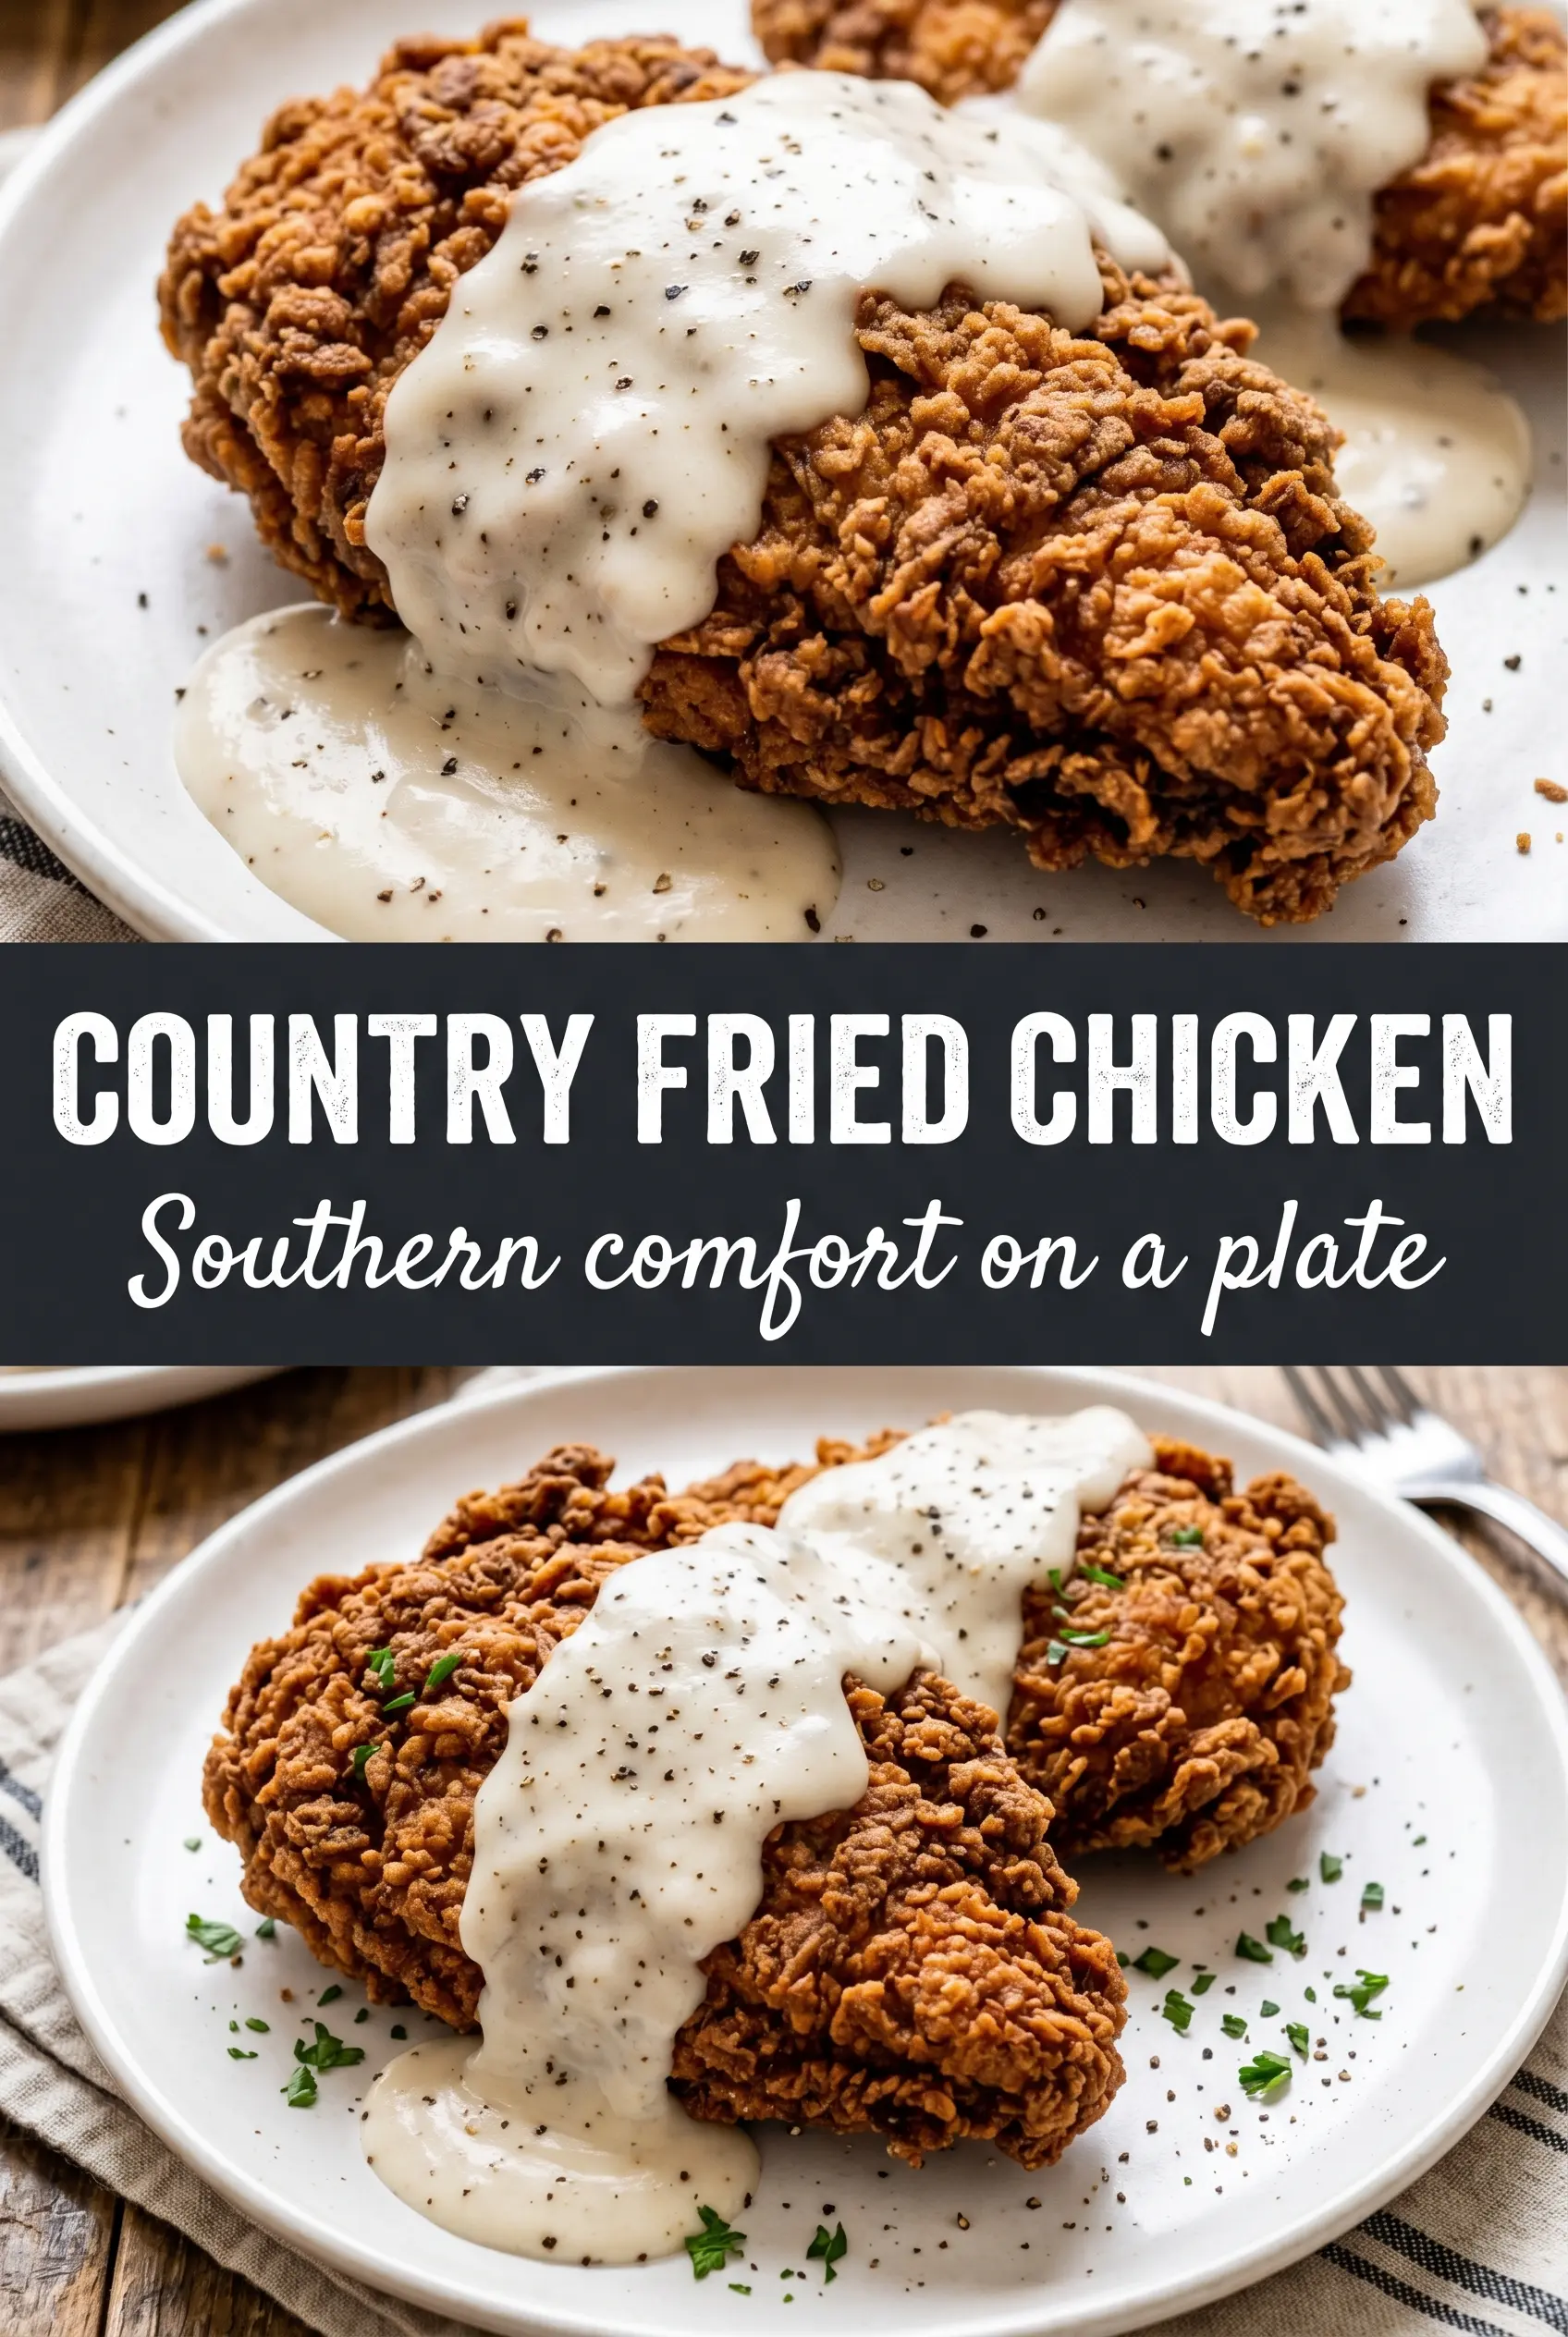
Shatteringly crisp country fried chicken starts with a coating that clings in rough, craggy layers instead of sliding off in the oil. The outside fries up deeply golden and crunchy while the meat underneath stays juicy, and that contrast is what keeps this dish in the regular rotation. A good batch should crackle when you cut into it, then give way to tender chicken that tastes seasoned all the way through.
The buttermilk soak does more than add tang. It helps the flour stick, softens the surface of the chicken, and gives the spices a chance to reach beyond the crust. The real trick is in the double dredge and the oil temperature: press the flour on firmly, let the coated chicken rest before frying, and keep the oil at a steady 350°F so the crust browns before the interior dries out.
Below, I’ve included the exact cues I watch for in the skillet, the ingredient swaps that still work, and the one gravy step that keeps everything silky instead of pasty.
The crust stayed put and turned out extra crunchy, and the gravy came together smooth with the pan drippings. I used thighs and they were juicy all the way through even after frying for the full time.
Save this country fried chicken with white gravy for the nights when you want a crunchy crust and a creamy skillet sauce on the same plate.
The Crust Falls Off When the Chicken Is Too Wet
The biggest mistake with country fried chicken is rushing the dredge. If the chicken comes straight out of the buttermilk and into the flour without a brief drip, the coating turns gummy instead of shaggy. You want the flour to grab in layers, not paste itself into a smooth shell.
That second dredge matters. The first coat gives you coverage, the press on the second coat builds the rough edges that fry into crunch. Let the coated pieces sit while the oil heats; that short rest helps the flour hydrate and lock on before it hits the skillet.
- Buttermilk — This is the backbone of the coating. It tenderizes the chicken and gives the flour something sticky to cling to. Whole milk plus a spoonful of vinegar will work in a pinch, but it won’t coat quite as evenly.
- Hot sauce — It doesn’t make the chicken spicy in a loud way. It sharpens the buttermilk and adds a little background heat. Use your favorite Louisiana-style sauce here.
- Smoked paprika and cayenne — These season the flour all the way through, so the crust tastes like more than plain fried coating. If you want less heat, cut the cayenne in half, but keep the paprika for color and depth.
- Bone-in chicken pieces — Bone-in pieces stay juicier through frying than boneless cuts. Thighs are more forgiving than breasts, but both work if you keep the oil temperature steady and cook to 165°F.
- Vegetable oil — You need a neutral oil with a high smoke point. Peanut oil is another strong choice if you use it often, but avoid anything with a low smoke point because the crust will brown before the chicken cooks through.
What Each Ingredient Is Actually Doing in This Recipe
- Primary ingredient (the star) — Quality matters most. Choose the best you can find.
- Cooking medium (oil, butter, or broth) — This carries flavors and prevents dryness.
- Seasonings (salt, pepper, spices, herbs) — Layer flavors so nothing overpowers. Build depth gradually.
- Aromatics (garlic, onion, herbs) — Cook with fat to bloom flavors. Become the foundation.
- Supporting ingredients — Complement the main ingredient without overpowering it.
- Sauce or liquid (if applicable) — Brings flavors together. Balance richness with acid.
- Acid (lemon, vinegar, wine, or other) — Brightens and prevents flat-tasting results.
- Final finish (garnish, glaze, or sauce) — Prevents one-dimensional taste and adds visual appeal.
Getting the Chicken Crisp Before the Gravy Starts
Building the Buttermilk Soak
Combine the buttermilk and hot sauce, then submerge the chicken pieces fully. Thirty minutes is enough to help the coating stick, but overnight gives the best tenderness and seasoning. If you soak it too long, the surface can turn overly soft, so keep it in the refrigerator if you’re going past an hour.
Pressing on the Flour
Whisk the seasoned flour well so the salt and spices are evenly distributed. Remove one piece at a time, let the excess drip off, then press it into the flour with real pressure on both sides. Lift it out, dip it back into the buttermilk, and coat it again for that rough, craggy crust that fries up thick and crisp.
Frying at the Right Heat
Heat 2 to 3 inches of oil in a cast iron skillet until it reaches 350°F. If it runs too hot, the coating darkens before the meat cooks; too cool, and the crust absorbs oil and turns heavy. Fry in batches so the temperature doesn’t drop too much, and turn the pieces only when the underside is a deep golden brown and releases easily from the pan.
Making the White Gravy from the Drippings
Pour off all but 2 tablespoons of the drippings, then whisk in the flour and cook it for a full minute. That step keeps the gravy from tasting raw. Add the milk slowly while whisking, and don’t crank the heat high; a gentle simmer thickens the gravy smoothly and keeps it from turning lumpy or scorched.
Make It With Thighs Only
All thighs give you the juiciest result and the most forgiving cook time. They hold steady in the oil better than breasts, so you can focus on color instead of worrying about the meat drying out before the crust is done.
Gluten-Free Country Fried Chicken
Swap the all-purpose flour for a gluten-free 1:1 baking blend that includes xanthan gum. The crust will still get crisp, though it may brown a little faster, so watch the pan closely and keep the oil temperature steady.
Lighter Spice, Same Crunch
Cut the cayenne back to 1/4 teaspoon if you want a gentler finish. The flavor will still be bold from the garlic, onion, and paprika, and the crust will stay just as crunchy.
Storage and Reheating
- Refrigerator: Store leftovers in an airtight container for up to 3 days. The crust softens in the fridge, but the chicken stays flavorful.
- Freezer: Freeze after cooling completely, then wrap each piece well. The crust won’t stay as crisp after freezing, but it reheats better than you might expect if you use the oven.
- Reheating: Reheat on a wire rack set over a baking sheet at 375°F until hot and crisp again. Don’t use the microwave unless you want a soft coating; it traps steam and undoes the crust.
Answers to the Questions Worth Asking
Country Fried Chicken
Ingredients
Equipment
Method
- Soak the chicken pieces in buttermilk and hot sauce for at least 30 minutes or overnight. Make sure the pieces are well coated so the coating clings and the centers stay juicy.
- Whisk the all-purpose flour, garlic powder, onion powder, smoked paprika, cayenne pepper, salt, and cracked black pepper together in a shallow dish. Keep whisking until the spices are evenly distributed through the flour.
- Remove the chicken from the buttermilk, letting excess drip off, then dredge firmly in the seasoned flour. Press to pack the coating onto the surface for better crunch.
- Repeat the dip-and-dredge for extra crunch. The second coating layer should look thick and matte, ready for frying.
- Heat 2-3 inches of vegetable oil to 350°F in a large cast iron skillet. Wait until the oil holds steady at 350°F before adding the chicken.
- Fry the chicken for 10-12 minutes per side until deeply golden. Turn each piece carefully and continue frying until the internal temperature reaches 165°F.
- Drain the fried chicken on paper towels. Let it rest briefly so the coating sets and looks crisp and shatter-like.
- Whisk pan drippings and flour in the skillet over medium heat for 1 minute. Stir until the mixture smells nutty and looks slightly smooth and thickened.
- Gradually whisk in the whole milk and cook until thickened. Keep whisking as the gravy turns glossy and coats the back of a spoon.
- Season the gravy with salt and pepper to taste. Adjust seasoning while the gravy is hot so it balances the fried coating.
- Serve the chicken immediately with white gravy poured over the top. Let the gravy pool around the base so the contrast stays crisp outside and tender inside.