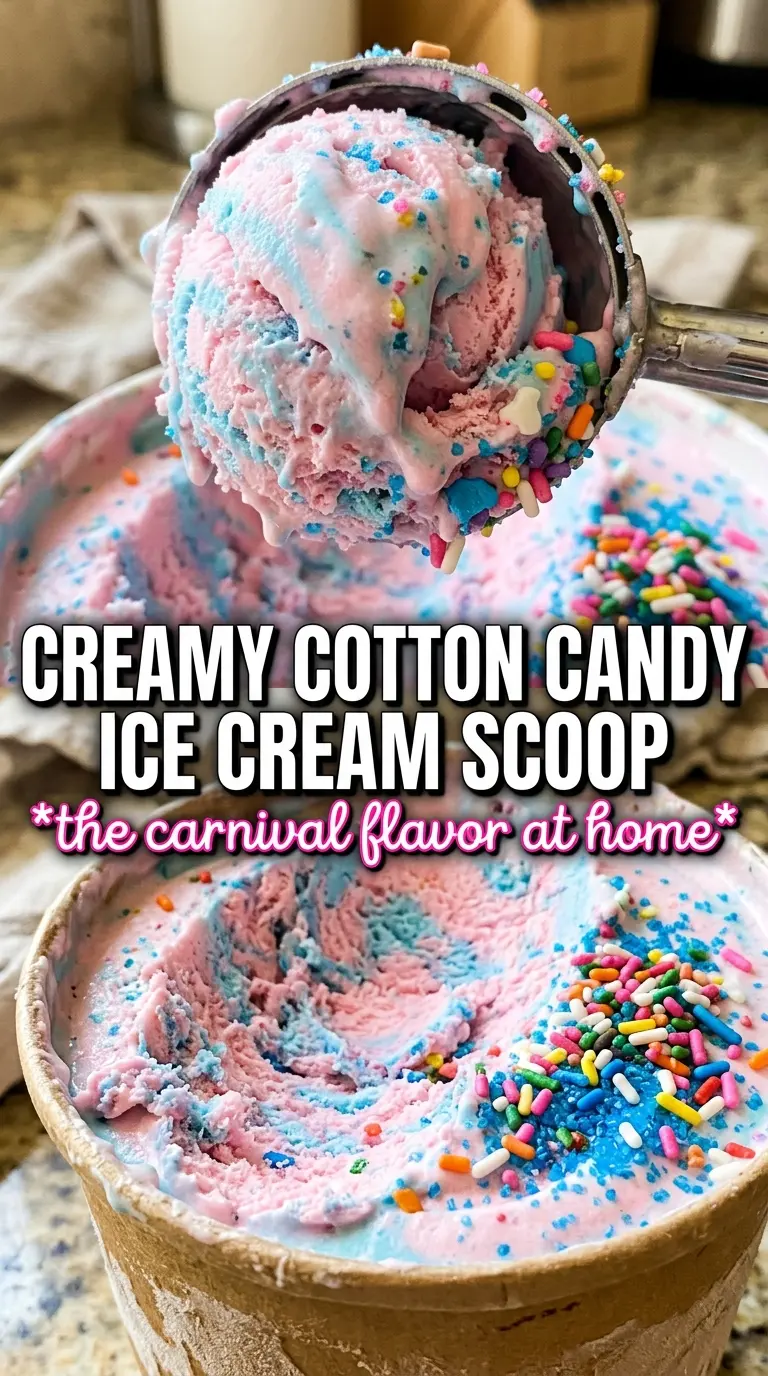
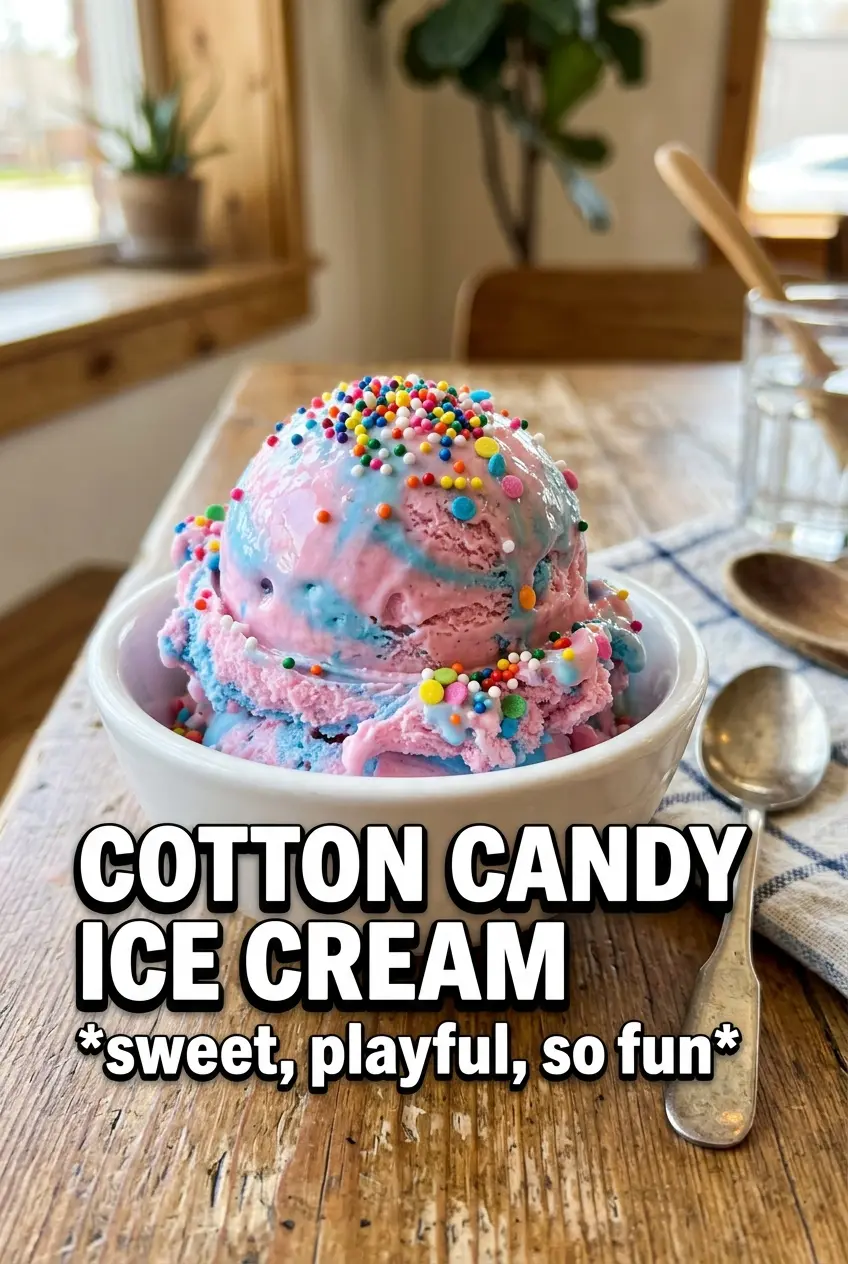
Vivid swirls of pink and blue cotton candy ice cream turn a simple custard base into something that feels straight out of a carnival stand. The texture lands somewhere between old-fashioned ice cream and a soft scoop shop pint: rich, smooth, and creamy enough to hold those bright colors without getting icy. The flavor is playful, but the base itself is built like a proper custard, so it still eats like real ice cream instead of a shortcut version that melts into a puddle.
The key is keeping the custard gentle and controlled. Heating the cream and milk first takes the chill off the dairy, which helps the yolks cook evenly instead of scrambling. Cooking the base to 175F gives you body without turning it grainy, and straining it catches any little bits before chilling. Once the base is cold, the cotton candy flavoring gets folded in with pink and blue coloring for that signature swirl, and the freezer does the rest.
Below, I’ve included the exact moment to stop cooking, the best way to get those colors to stay distinct, and what to do if you want a smoother churn or a more dramatic swirl. It’s a fun one, but the method matters if you want that creamy finish.
The custard turned out silky and the pink-and-blue swirls stayed separate instead of blending into one color. My kids loved the cotton candy topping, and the flavor tasted like the fair without being fake-sweet.
Save this cotton candy ice cream for the kind of night when you want a creamy pink-and-blue swirl that tastes as fun as it looks.
The Custard Needs Gentle Heat, Not a Hard Boil
Ice cream goes wrong fastest when the custard gets rushed. If the dairy boils, the eggs tighten too hard and you get a grainy base instead of a smooth one. Cooking to 175F gives you enough thickness for a scoopable texture without pushing the yolks into curdled territory.
The other thing that matters here is the strain. Even if the custard looks fine in the pot, a quick pass through a fine-mesh strainer catches tiny cooked egg bits and keeps the finished ice cream clean and silky. That small step makes the difference between homemade and heavy.
- Egg yolks — These are what make the base custardy and rich. Whole eggs won’t give you the same velvety texture, and skipping yolks entirely leaves you with a softer, icier result.
- Heavy cream — This brings body and helps the ice cream stay creamy after freezing. Half-and-half will work in a pinch, but the finished texture will be lighter and more prone to ice crystals.
- Whole milk — It keeps the base from feeling too dense. You need the fat balance from both cream and milk, not just cream alone.
- Cotton candy flavoring — This is the part you can’t really fake with sugar alone. Use a good extract or flavoring made for baking; a little goes a long way, and too much can turn sharply artificial.
- Pink and blue food coloring — Gel coloring gives stronger color without thinning the base. Liquid coloring works, but you’ll need more of it, which can dilute the custard slightly.
What Each Ingredient Is Actually Doing in This Ice Cream
- Base ingredient (cream, milk, or custard) — This provides the foundation and richness. Quality matters.
- Sweetener (sugar, honey, or condensed milk) — This sweetens and prevents ice crystals. The ratio is critical.
- Flavor element (vanilla, fruit, chocolate, or other) — This defines the ice cream personality. Use quality ingredients.
- Egg yolks (if making custard base) — These create richness and silky texture. Optional but elevates ice cream.
- Churning (if using ice cream maker) — This incorporates air and prevents ice crystals. Critical for smooth texture.
- Freezing temperature and time — Proper freezing prevents rock-hard texture. Store at 0°F or below.
- Mix-ins (chocolate, cookies, fruit, or swirls) — These add texture and prevent one-dimensional flavor. Add near end of churning.
- Serving temperature (slightly soft, not rock hard) — This provides creamy mouthfeel. Remove from freezer 5 minutes before serving.
Chilling First, Churning Second, Swirling at the End
Tempering the Yolks
Whisk the sugar into the yolks until they look pale and slightly thickened, then stream in the hot cream and milk slowly while whisking constantly. That gradual tempering keeps the eggs from scrambling. If you dump the hot dairy in all at once, the yolks seize up in little pieces before you ever get to the stove.
Cooking to the Right Thickness
Return the custard to the saucepan and cook it over medium-low heat, stirring all the while with a spatula or wooden spoon. It’s ready when it lightly coats the spoon and reaches 175F. Pull it off the heat at that point; if it starts to bubble, you’ve gone too far and the texture can turn eggy.
Coloring and Chilling the Base
Split the strained custard into two bowls and tint one pink and the other blue. Go lighter than you think at first, because the color will look more saturated once it freezes. Chill both bowls completely before churning; warm base in the machine takes longer to freeze and can come out soft and slushy instead of creamy.
Building the Swirl
Churn the colors separately if you want distinct ribbons, or churn one base and layer the colors during the freeze step for a marbled effect. If you overmix at this stage, the swirls disappear and you end up with one blended pastel shade. Stop as soon as the colors look streaked and playful, then freeze until firm.
Strawberry-Cotton Candy Swirl
Swap the pink coloring for a spoonful of strained strawberry purée if you want a fruitier note and a softer pastel pink. It changes the flavor from pure carnival-style sweetness to something a little fresher, but you’ll need to freeze the purée first or cook it down so it doesn’t water down the custard.
Dairy-Free Version
Use full-fat canned coconut milk in place of the cream and whole milk, then proceed with the yolks and sugar as written. The flavor gets a light coconut note, and the texture will be a touch softer straight from the freezer, but it still churns into a creamy scoop.
No-Churn Shortcut
If you don’t have an ice cream maker, chill the custard until cold, whip 1 cup of heavy cream to soft peaks, and fold it into the base before swirling in the colors. The result won’t be quite as dense as churned ice cream, but it sets up beautifully if you freeze it in a loaf pan and cover the surface well.
Storage and Reheating
- Refrigerator: Not applicable for finished ice cream; keep the base chilled only before churning, up to 24 hours.
- Freezer: Store in an airtight container for up to 2 weeks. Press parchment or plastic wrap directly on the surface to limit ice crystals.
- Reheating: No reheating needed. Let the ice cream sit at room temperature for 5 to 10 minutes before scooping so the custard softens at the edges instead of cracking the scoop.
Answers to the Questions Worth Asking
Cotton Candy Ice Cream
Ingredients
Equipment
Method
- Heat the heavy cream and whole milk in a saucepan over medium heat until steaming, about 3–5 minutes, with bubbles just around the edges. Keep it warm but not boiling.
- In a bowl, whisk the egg yolks with the granulated sugar until smooth and lighter in color, about 1 minute, then slowly whisk in the steaming cream mixture. Pour gradually so the yolks stay thick and silky, not scrambled.
- Return everything to the saucepan and cook, stirring constantly, until the custard reaches 175°F, about 6–8 minutes. The custard should coat the back of a spoon and look slightly thicker.
- Strain the custard, then stir in the cotton candy flavoring or extract, vanilla extract, and salt until fully combined. The mixture should be smooth and fragrant with a sweet candy aroma.
- Divide the custard into two bowls and tint one pink and the other blue with food coloring. Stop when you get vivid carnival shades.
- Chill both custards completely in the refrigerator, about 2–3 hours, until cold all the way through. Refrigerate in covered containers to prevent a skin.
- Churn separately for 15–20 minutes until thickened to soft-serve texture, then swirl the pink and blue together in the freezing container. Alternate colors as you add to create a visible blue-pink ribbon.
- Alternatively, churn one base until thickened, then swirl both colors in during the freeze step by layering pink and blue layers as you pack them into the container. Stop when the container is filled for clear marbling.
- Freeze until firm, about 1–2 hours (or longer for best scoopability), until the ice cream holds its shape. It should be dense with no wet edges.
- Scoop into bowls and top with cotton candy just before serving. Add a tuft on top so the blue-pink swirl stays visually intact.