Cookies and cream ice cream earns its place in the freezer because it hits the balance people actually want: a clean vanilla custard base, plenty of dark cookie pieces, and a texture that stays scoopable instead of icy. The best versions taste like cream first, cookie second, with enough contrast in every bite that you never get a mouthful of plain base.
The trick is building the custard gently. Egg yolks give the ice cream body and keep it rich, but they only work if you warm the dairy gradually and cook the custard low enough that it thickens without scrambling. Once it’s chilled, the base churns into a soft, smooth ice cream that holds cookie pieces without turning muddy.
Below, I’m walking through the part that matters most: how to keep the custard silky, how to get the cookie mix-in timing right, and what to change if you want a stronger vanilla base or a no-egg shortcut.
The custard turned out silky and the cookie pieces stayed chunky instead of melting into the base. I chilled it overnight and it scooped like the kind from the ice cream shop.
Save this cookies and cream ice cream for the nights when you want a creamy vanilla custard packed with big cookie chunks.
The Custard Has to Reach the Right Temperature, Not Just Look Thick
A lot of homemade ice cream goes wrong because the custard is taken off the heat too early or too hot. Too early, and it stays thin and freezes with a loose, watery texture. Too hot, and the yolks curdle into tiny bits that never fully smooth out, even after straining.
For this recipe, 175°F is the number that matters. At that point, the custard coats a spoon and has enough body to freeze into a creamy scoop, but it hasn’t crossed into scrambled-egg territory. Keep the heat at medium-low and stir constantly, especially around the corners of the pan where the custard wants to catch first.
- Egg yolks — These give the ice cream its rich body and soft scoop. Whole eggs won’t give the same custard-like texture, and skipping the yolks entirely leaves you with a thinner, icier result.
- Heavy cream — This keeps the base lush and helps it freeze with a smoother mouthfeel. You need the fat here; lower-fat cream won’t hold the same texture.
- Whole milk — It loosens the custard enough to churn properly without making it heavy. You can swap in 2% in a pinch, but the finished ice cream won’t be as rich.
- Chocolate sandwich cookies — Roughly crushed cookies give you both chunky bites and smaller cookie flecks. If you crush them too finely, they disappear into the base instead of standing out.
- Vanilla extract — Vanilla keeps the base tasting like ice cream, not just sweet cream. Use the real stuff if you can; it’s one of the few flavors that comes through clearly after freezing.
What Each Ingredient Is Actually Doing in This Ice Cream

- Base ingredient (cream, milk, or custard) — This provides the foundation and richness. Quality matters.
- Sweetener (sugar, honey, or condensed milk) — This sweetens and prevents ice crystals. The ratio is critical.
- Flavor element (vanilla, fruit, chocolate, or other) — This defines the ice cream personality. Use quality ingredients.
- Egg yolks (if making custard base) — These create richness and silky texture. Optional but elevates ice cream.
- Churning (if using ice cream maker) — This incorporates air and prevents ice crystals. Critical for smooth texture.
- Freezing temperature and time — Proper freezing prevents rock-hard texture. Store at 0°F or below.
- Mix-ins (chocolate, cookies, fruit, or swirls) — These add texture and prevent one-dimensional flavor. Add near end of churning.
- Serving temperature (slightly soft, not rock hard) — This provides creamy mouthfeel. Remove from freezer 5 minutes before serving.
Churning the Base So the Cookies Stay Distinct
Start with a fully chilled custard. If it’s even slightly warm, the ice cream maker has to work too hard, and the mix won’t freeze evenly. After churning, add the cookies in the last couple of minutes so they disperse through the soft ice cream instead of breaking down into crumbs from too much mixing.
Warming the Dairy
Heat the cream and milk until they’re steaming, not boiling. Steam tells you the mixture is hot enough to temper the yolks without shocking them, which is what prevents curdling. If you see bubbling around the edges, pull it back a bit before whisking into the eggs.
Tempering the Yolks
Whisk the sugar into the yolks until they look pale and slightly thickened, then stream in the hot dairy slowly while whisking constantly. That gradual addition raises the temperature without cooking the eggs in streaks. If you dump the dairy in all at once, you’ll get sweet scrambled eggs instead of custard.
Cooking and Straining the Custard
Return the mixture to the saucepan and cook over medium-low heat, stirring all the time and scraping the bottom and sides. It should thicken enough to lightly coat a spoon and hit 175°F. Strain it through a fine mesh sieve into a clean bowl even if it looks smooth; this catches any tiny bits of cooked egg and gives you a cleaner finish.
Chilling, Churning, and Adding the Cookies
Stir in the vanilla and salt, then chill the base completely for at least 4 hours. Cold custard churns faster and freezes with less ice crystal formation. Add the crushed cookies during the final 2 minutes so they stay visible and give you that cookies-and-cream look instead of turning the whole batch gray.
How to Change This Without Losing the Creamy Texture
Make It Dairy-Free With Coconut Cream
Use full-fat canned coconut cream in place of the heavy cream and whole milk. The texture will still be rich, but you’ll pick up a light coconut note, so this works best if you like that flavor alongside the chocolate cookies. The custard base won’t taste identical, but it freezes smoothly and still carries the cookie pieces well.
Use Gluten-Free Sandwich Cookies
Swap in your favorite gluten-free chocolate sandwich cookies at the same amount. The key is to crush them roughly, not into dust, so they still read as cookie bits in the finished ice cream. The flavor stays classic, and the texture holds up just as well.
Make the Vanilla Stronger
If you want the base to taste more like old-school ice cream shop vanilla, add an extra 1/2 teaspoon vanilla extract after straining. That gives the cream base a deeper flavor that stands up better to the cookies. Don’t add more before cooking; heat dulls some of the aroma.
Storage and Reheating
- Refrigerator: The churned ice cream base should stay chilled in the refrigerator for up to 2 days before churning, but once it’s frozen, it belongs in the freezer. It doesn’t hold as a ready-to-eat refrigerated dessert.
- Freezer: Store the finished ice cream in an airtight container for up to 2 weeks for the best texture. After that, the cookies can soften and the base may pick up ice crystals.
- Reheating: Ice cream doesn’t need reheating, but it does need 5 to 10 minutes at room temperature before scooping. If it’s rock hard, don’t microwave the whole container; that melts the edges before the center loosens.
Answers to the Questions Worth Asking
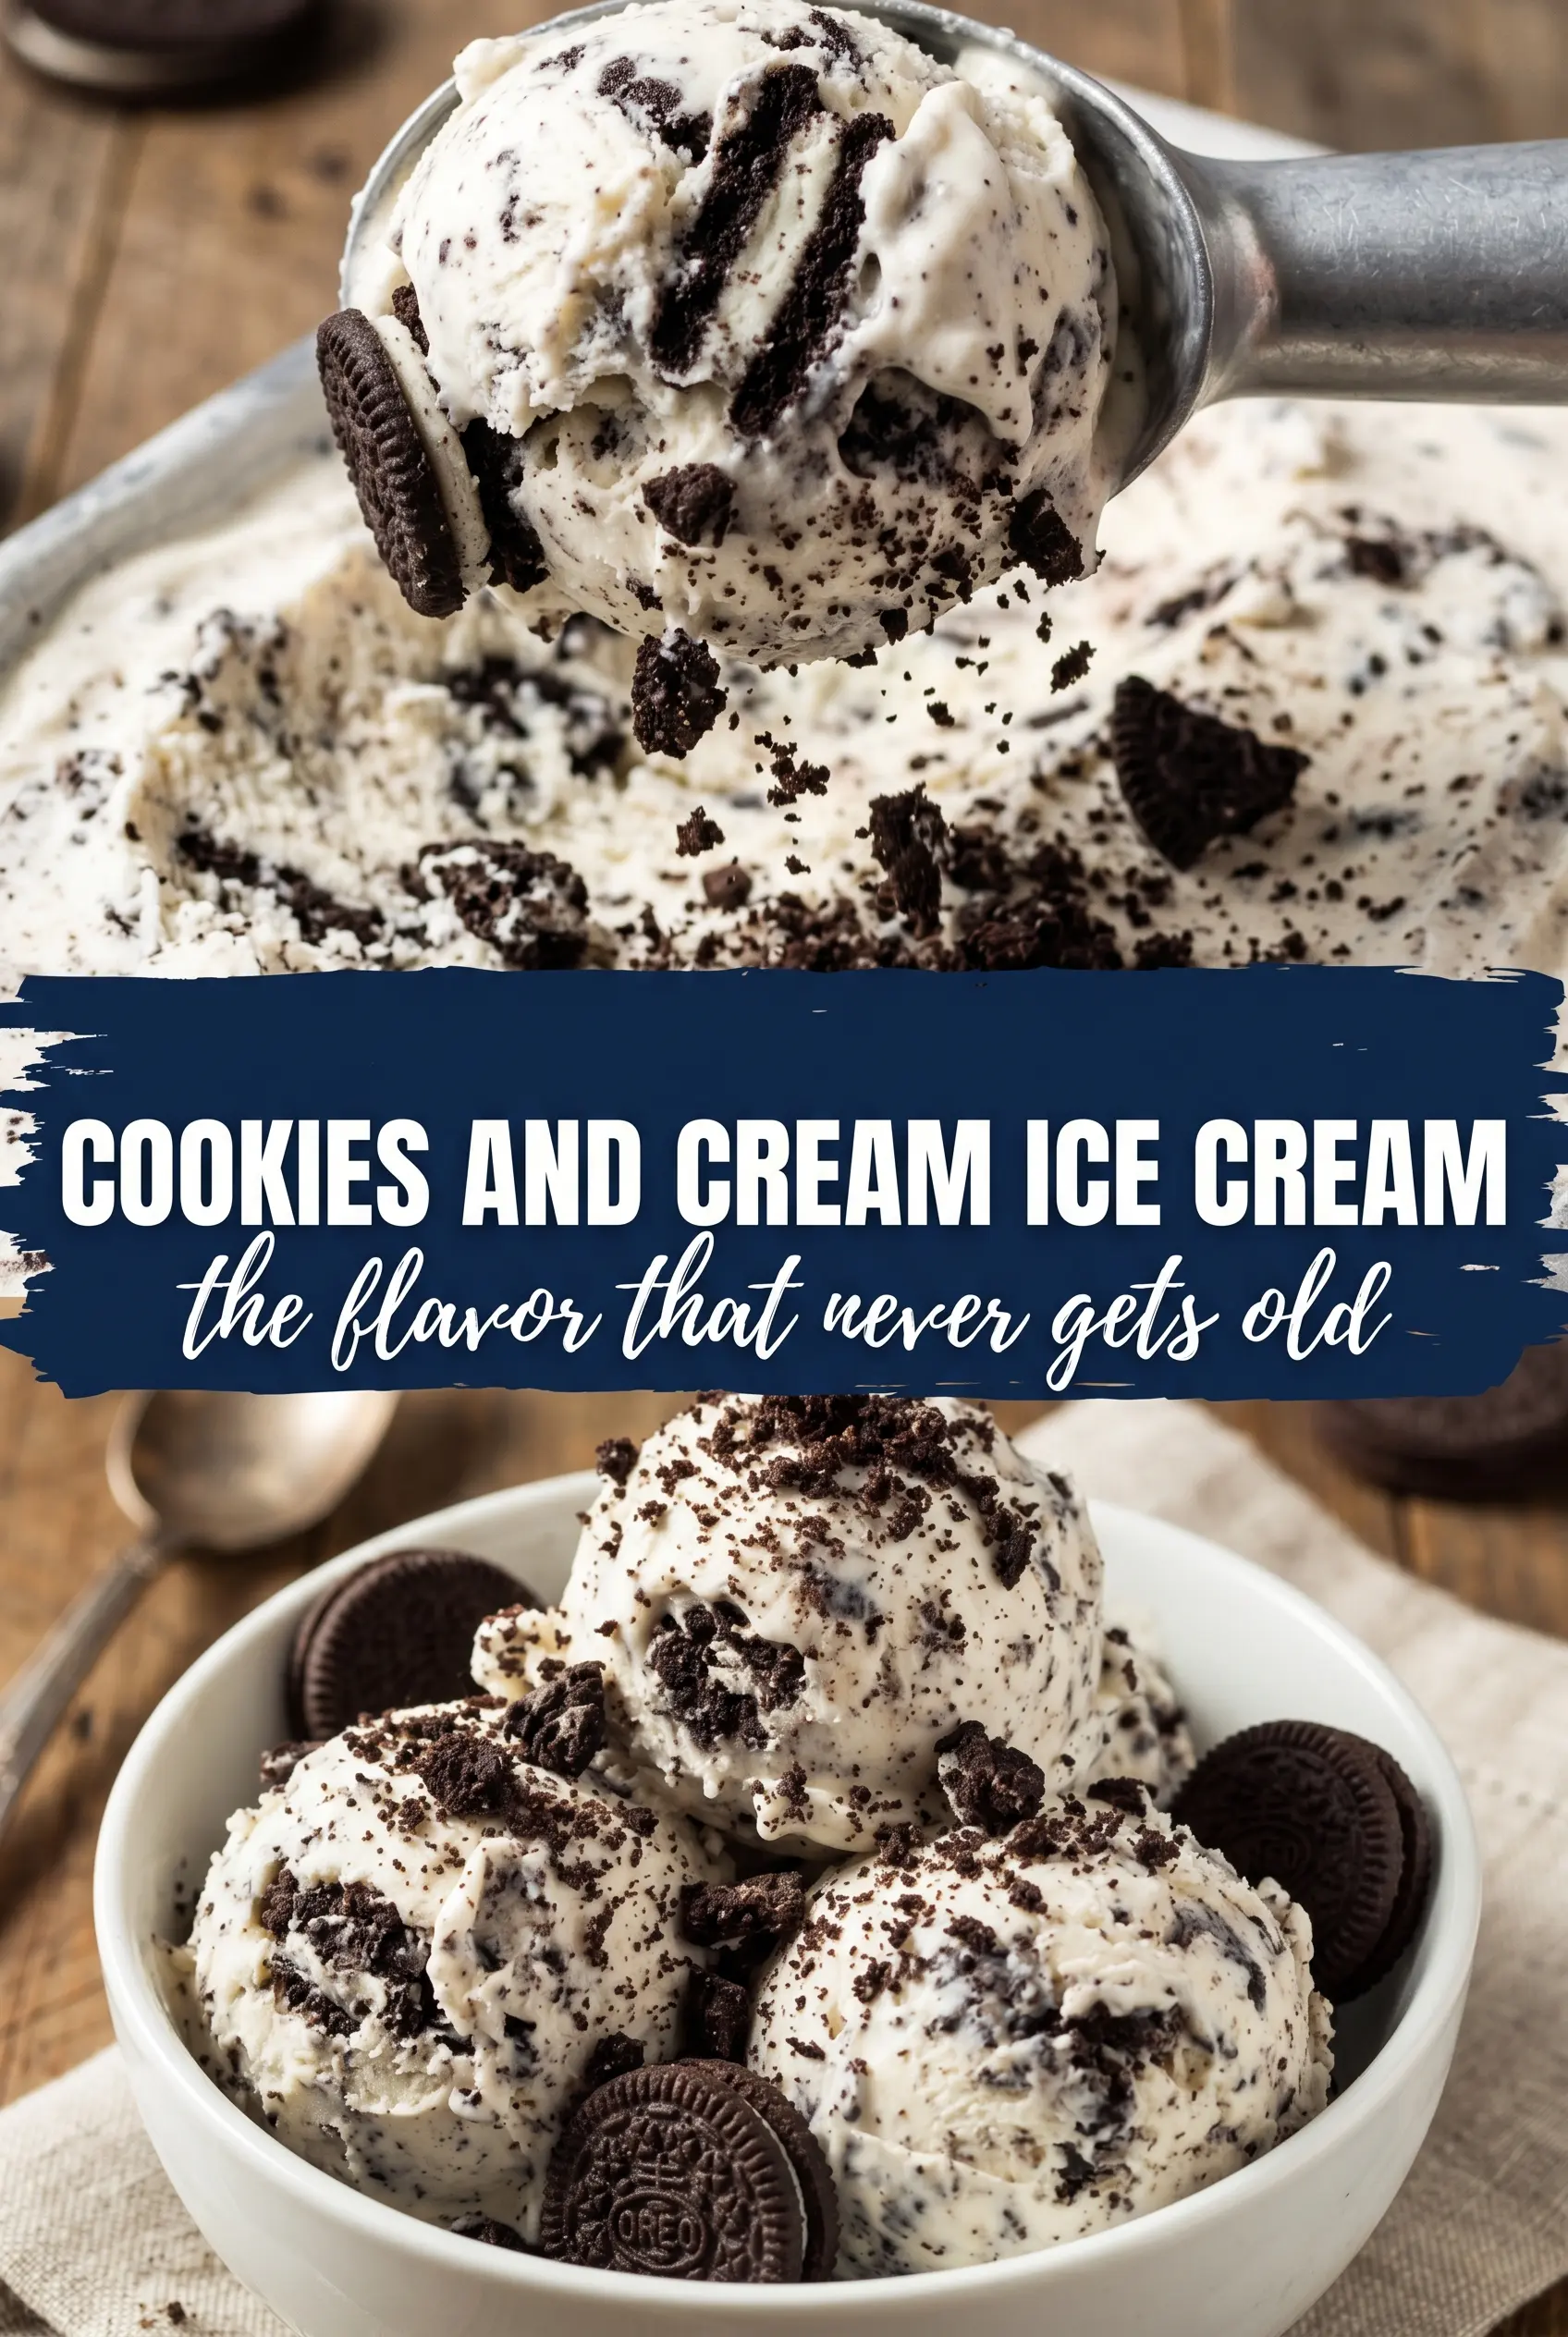
Cookies and Cream Ice Cream
Ingredients
Equipment
Method
- Heat the heavy cream and whole milk in a saucepan until steaming, then reduce to medium-low so it stays hot without boiling. Keep a close eye so it doesn’t foam over.
- In a separate bowl, whisk the egg yolks with the granulated sugar until smooth. Slowly pour in the hot cream mixture while whisking continuously to prevent scrambling.
- Return the mixture to the saucepan and cook over medium-low heat, stirring constantly. Continue until the custard reaches 175F and coats the back of a spoon.
- Strain the custard through a fine mesh sieve into a clean container. This removes any small curdled bits for a smooth, snow-white finish.
- Stir in the vanilla extract and salt until fully combined, then cool completely. Let it cool to room temperature before refrigerating.
- Refrigerate the custard at least 4 hours, until thoroughly chilled. The colder base churns faster and gives a creamier texture.
- Churn the chilled custard in an ice cream maker according to the manufacturer’s instructions. Stop when it reaches a thick, soft-serve consistency.
- In the last 2 minutes of churning, add the crushed chocolate sandwich cookies. Some chunks will stay firm while others dissolve slightly to create a cookies-and-cream swirl effect.
- Transfer the churned ice cream to a container and spread it level. Press a piece of parchment or plastic wrap against the surface to reduce ice crystals.
- Freeze until firm, about 4 hours (or until scoopable). For clean scoops, let it sit at room temperature for 3–5 minutes before serving.