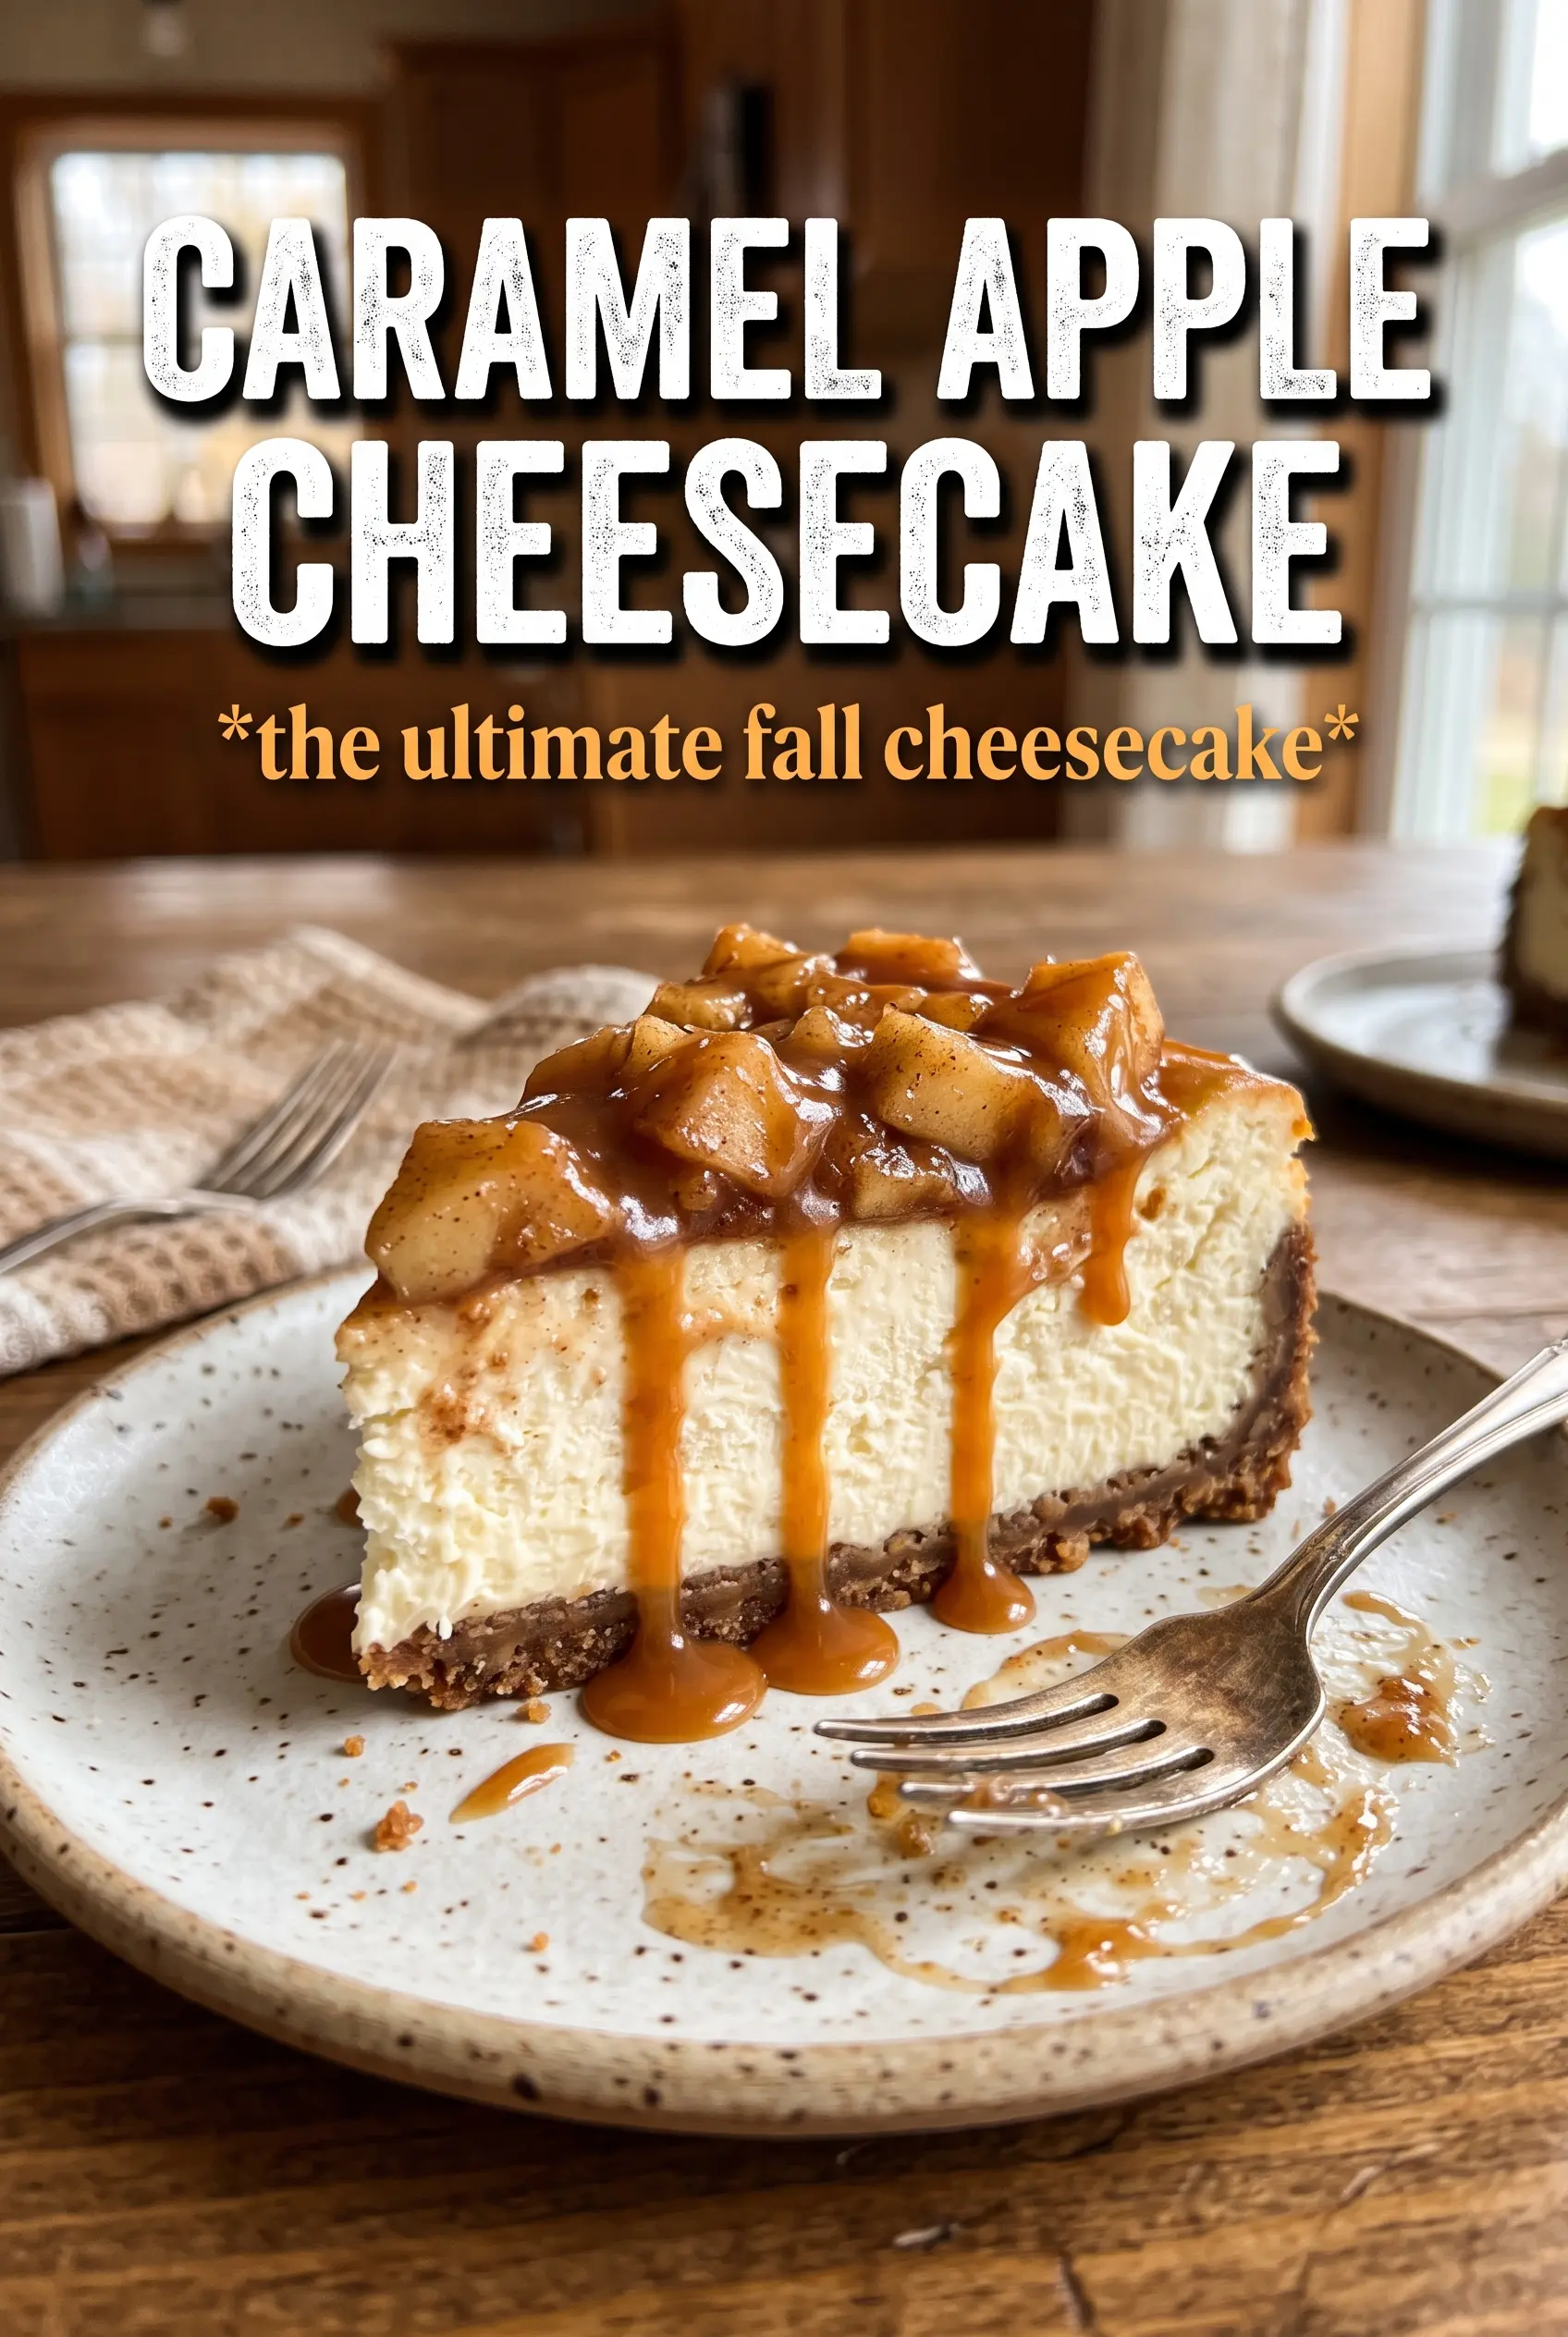
Caramel apple cheesecake lands in that sweet spot between classic bakery dessert and something that feels worth slowing down for. The crust stays crisp, the filling bakes up dense and creamy, and the apple layer gives each slice a little warmth and bite instead of turning the whole thing into one soft, same-textured dessert. The streusel on top keeps it from feeling too polished in the best way.
What makes this version work is the layering. The apples are cooked briefly with brown sugar and cornstarch first, so they thicken before they ever go into the oven. That keeps the cheesecake from getting watery. The water bath also matters here because cheesecake needs gentle heat; push it too hard and the edges set before the center has a chance to bake evenly.
Below, I’ll walk through the part that matters most: how to keep the filling smooth, how to avoid a soggy crust, and how to tell when the cheesecake is done without overbaking the middle.
The apple layer thickened up nicely before baking, and the cheesecake stayed creamy all the way through. The streusel stayed crisp even after chilling overnight, which I never get with layered cheesecakes.
Save this caramel apple cheesecake for the dessert that needs creamy layers, cinnamon apples, and a proper caramel finish.
The Reason Cheesecake Usually Cracks Under the Apple Topping
The filling itself is not the part that causes trouble here. It’s the weight and moisture of the apple layer sitting on top. If the apples go in raw, they release liquid as the cheesecake bakes, and that extra moisture works against the custard-like center you’re trying to set. Cooking the apples first solves that problem and concentrates the cinnamon-brown sugar flavor before they ever meet the oven.
The other thing that matters is temperature control. Cheesecake bakes best when the filling is smooth, the oven is moderate, and the pan is insulated by a water bath. That gentler heat keeps the edges from overcooking before the center is done. When the pan comes out, the middle should still have a slight wobble, not a slosh.
- Pre-cooked apples — This is what keeps the topping from watering down the filling. The cornstarch thickens the juices in the pan, so the apples stay spoonable instead of sliding around.
- Water bath — It gives the cheesecake an even bake and helps prevent cracks. Skip it and the top is more likely to dry out before the center sets.
- Room-temperature dairy — Cold cream cheese is the fastest way to get a lumpy batter. Let it soften until it bends easily when pressed.
What Each Layer Is Doing in the Pan
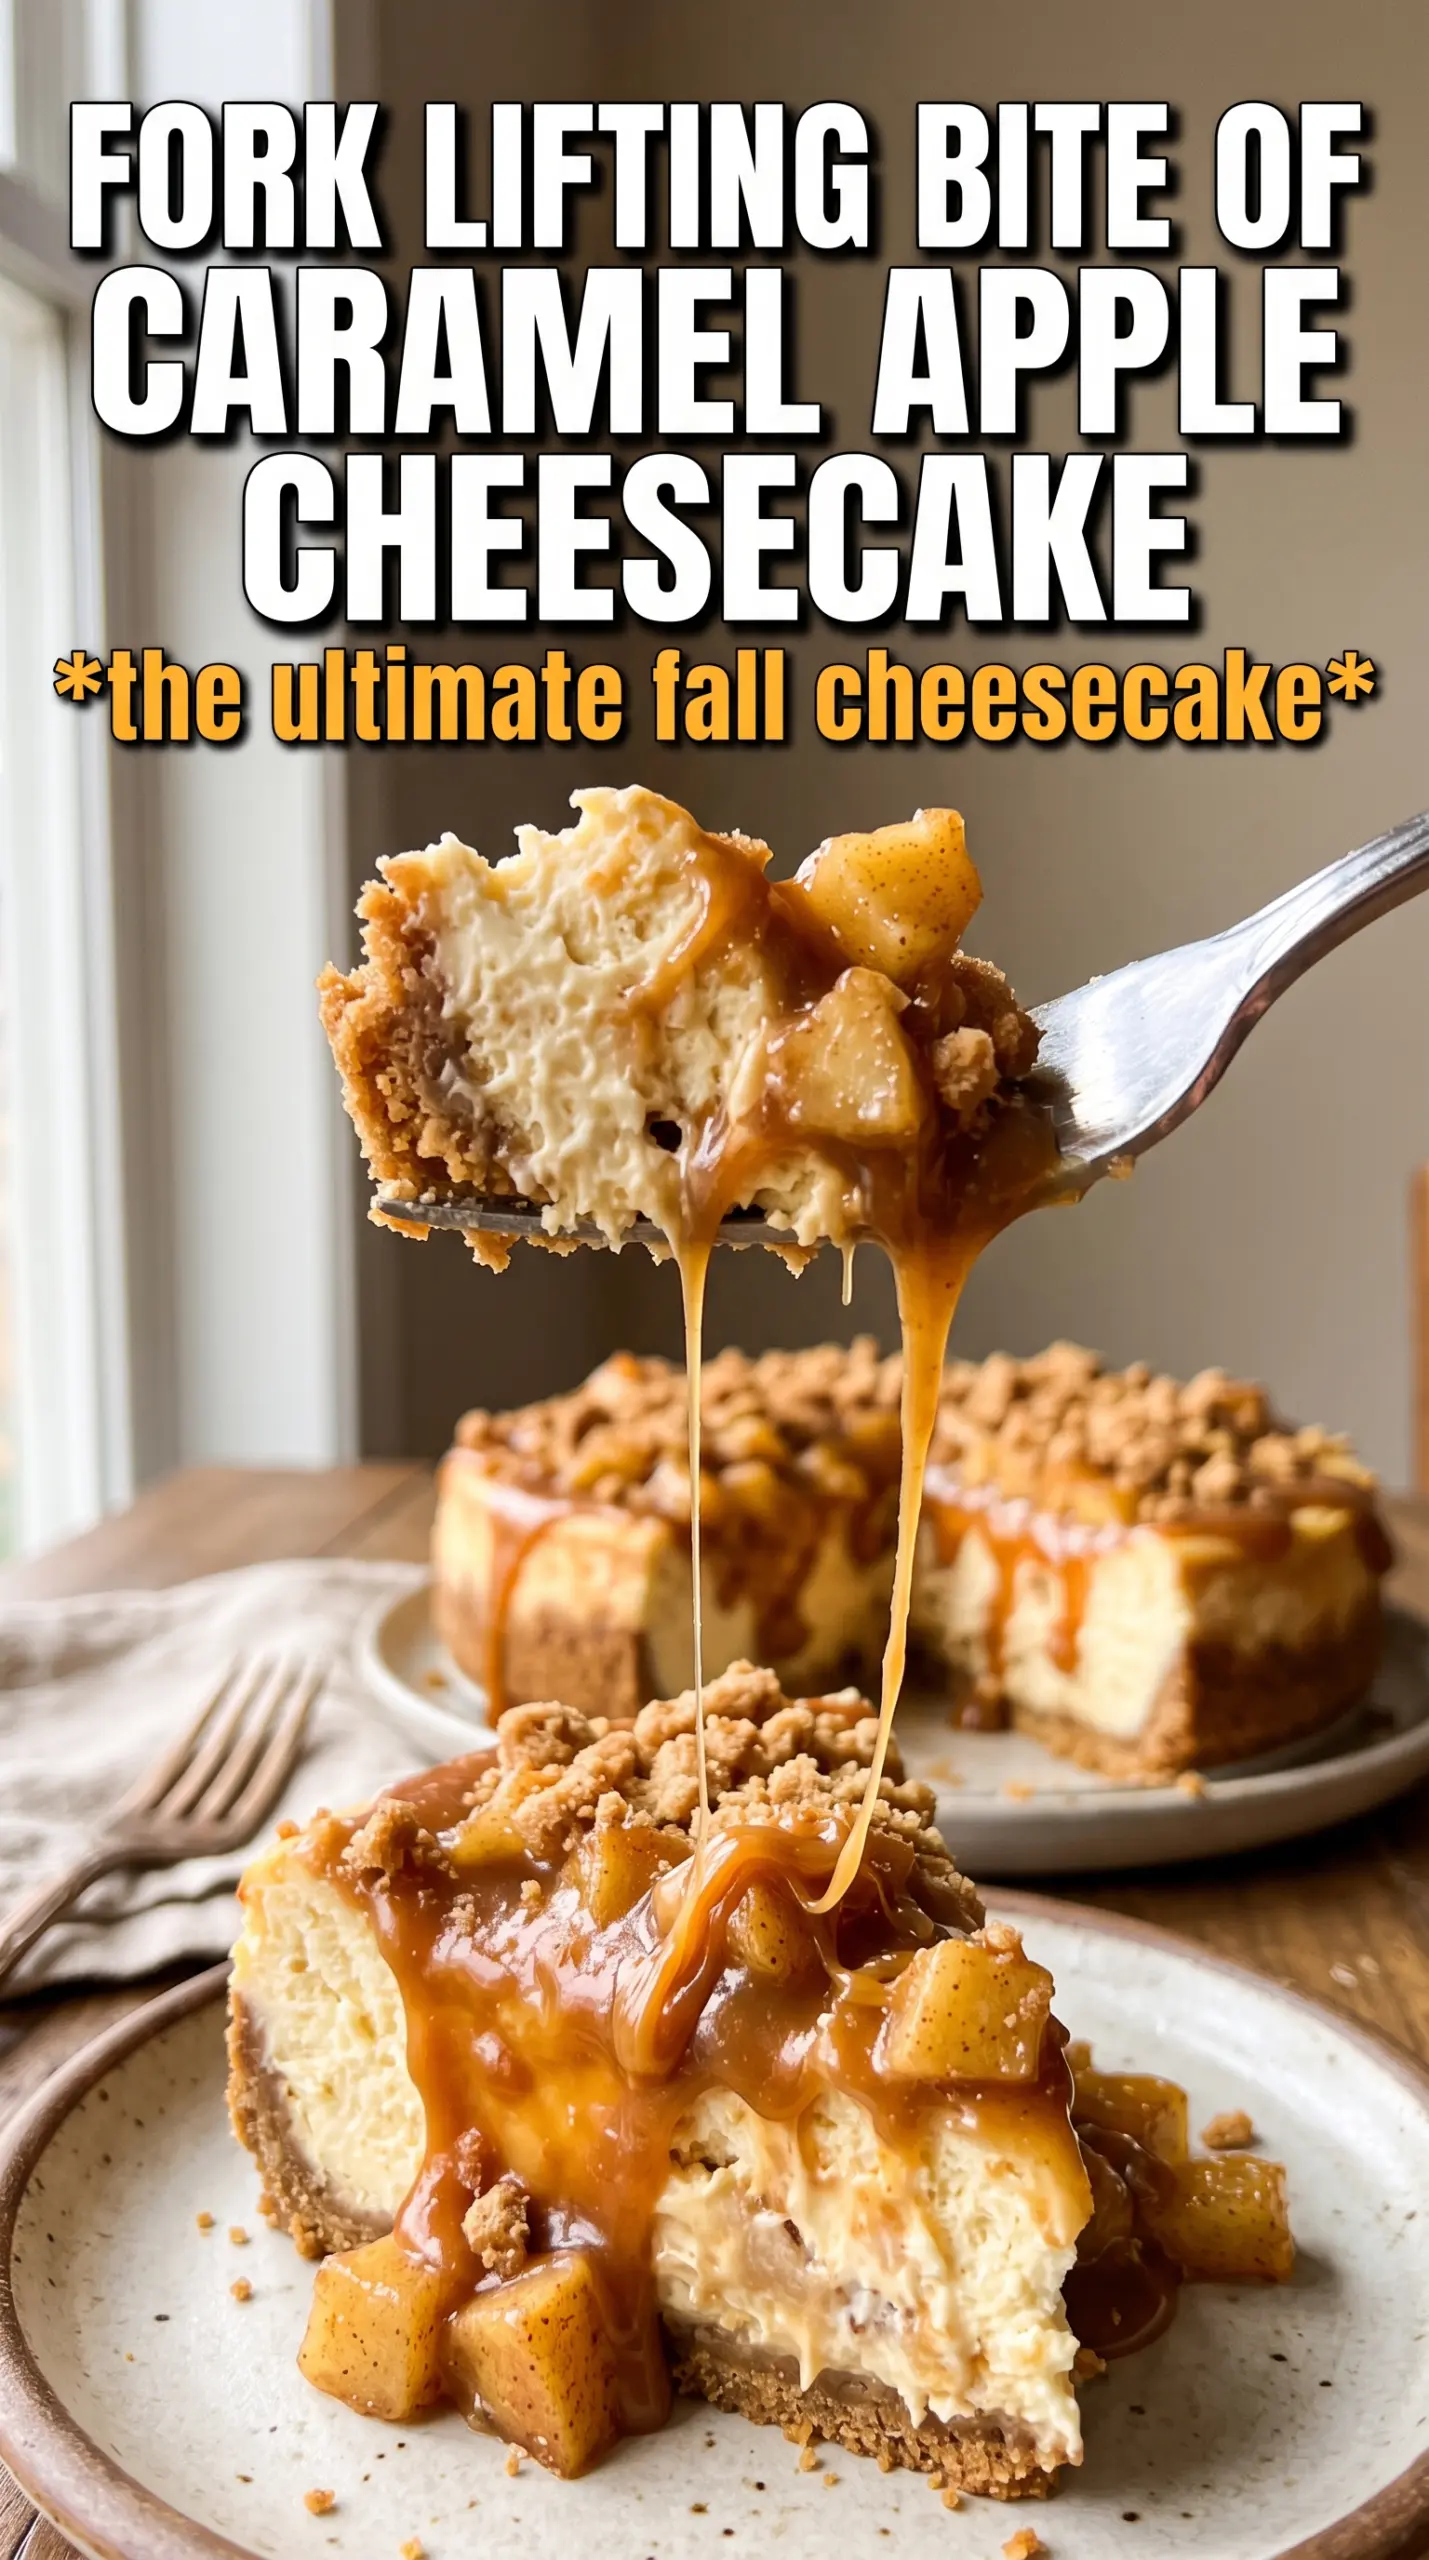
- Graham cracker crumbs — They give you a sturdy base with enough sweetness to stand up to the caramel. Fine crumbs pack best; if the mixture feels sandy and won’t hold together when squeezed, add a touch more melted butter.
- Cream cheese — This is the structure and the tang. Full-fat cream cheese is the right choice here; lighter versions can bake up loose and soft in a way that never quite firms up in the fridge.
- Sour cream — It loosens the batter just enough and adds that slight tang that keeps cheesecake from tasting flat. Greek yogurt can work in a pinch, but it gives a firmer, less classic texture.
- Apples — Use a tart, firm variety that holds its shape, like Granny Smith or Honeycrisp. Soft apples can break down into sauce before the cheesecake even finishes baking.
- Oats and flour in the streusel — The oats add bite, while the flour helps the topping clump into buttery nuggets instead of disappearing into crumbs.
Building the Cheesecake So the Layers Stay Separate
Pressing and Baking the Crust
Mix the graham crumbs, sugar, and melted butter until every crumb looks evenly damp, then press the mixture firmly into the bottom of a 9-inch springform pan. Use the bottom of a measuring cup to pack it tight; a loose crust crumbles when you slice the cake. Ten minutes in the oven is enough to set it without pushing it too dark.
Cooking the Apples Until They Hold Their Shape
Cook the diced apples with brown sugar, cinnamon, butter, and cornstarch for about five minutes, just until the juices thicken and the apples lose their raw edge. You want them softened, not collapsed. If the pan looks watery, keep cooking for another minute or two until the syrup clings to the spoon.
Keeping the Filling Smooth and Creamy
Beat the cream cheese and sugar until the mixture is completely smooth before adding the eggs. Scrape the bowl well, then add the eggs one at a time so the batter stays silky instead of streaky. Overmixing after the eggs go in can pull in too much air, and that air expands in the oven and contributes to cracks.
Baking Until the Center Still Jiggles
Spread the apples over the filling, scatter the streusel on top, and set the pan in a water bath before baking. The cheesecake is done when the edges are set and the center still wobbles slightly when you nudge the pan. Don’t wait for the middle to look fully firm in the oven; it finishes setting as it cools.
Cooling and Chilling Before Slicing
Let the cheesecake cool completely at room temperature before moving it to the refrigerator. If you cut into it too soon, the filling can seem loose and the layers won’t hold their shape. After six hours of chilling, the texture turns dense and clean enough to slice without dragging the topping across the plate.
How to Adapt This Cheesecake Without Losing the Good Parts
Gluten-Free Crust
Swap in gluten-free graham-style crumbs for the crust and use a certified gluten-free flour blend in the streusel. The texture stays close to the original, with just a slightly more delicate crumb. Press the crust firmly so it holds together after chilling.
Dairy-Free Version
Use dairy-free cream cheese and a plant-based butter substitute, but expect a softer set and a slightly less tangy filling. This version still works, but it benefits from a full chill and very clean slicing. Choose a thicker dairy-free sour cream alternative if you can find one.
No Water Bath Shortcut
If you skip the water bath, set a pan of hot water on the rack below the cheesecake to add some moisture to the oven. It won’t protect the cake as well as a true water bath, but it helps. Watch the top closely, since the edges will brown faster.
Storage and Reheating
- Refrigerator: Store covered for up to 5 days. The streusel softens a little over time, but the flavor stays excellent.
- Freezer: Freeze without the caramel drizzle for up to 2 months. Wrap slices tightly and thaw overnight in the refrigerator for the cleanest texture.
- Reheating: Cheesecake is best served cold or just slightly cool, not reheated. If you want the caramel looser, warm the sauce separately and drizzle it on just before serving.