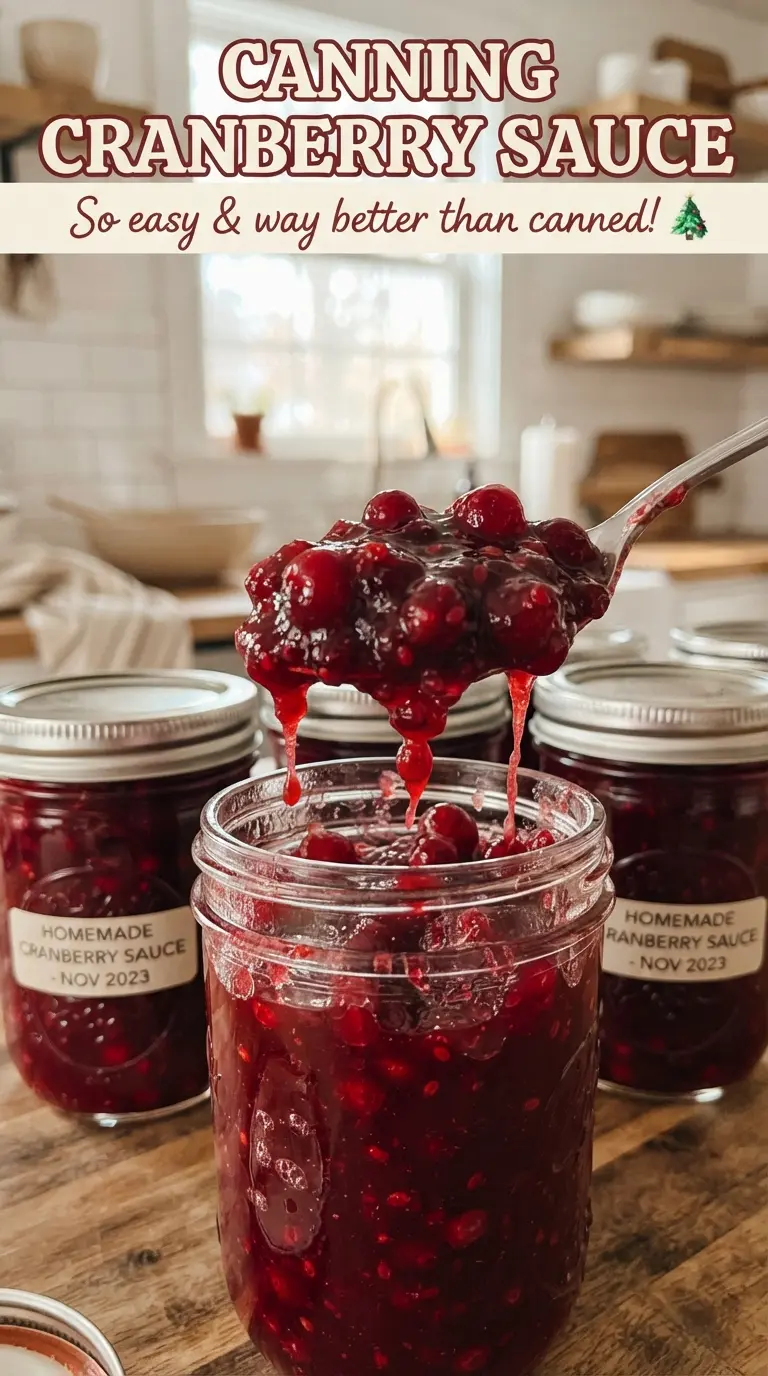
Glossy cranberry sauce that holds its shape on the spoon and sets up beautifully in the jar is one of those recipes that earns its place on the shelf. The berries burst just enough to give you that familiar whole-berry texture, while orange juice and zest keep the flavor bright instead of flat or one-note. When the jars seal properly, you end up with a pantry stash that tastes fresher than the canned jellied version and looks far more inviting on the table.
This version leans on bottled lemon juice for reliable acidity and uses a full amount of sugar to balance the tart cranberries and support safe canning. The sauce thickens as it cooks, but it should still ladle easily while hot; it will firm up more as the jars cool. Keeping the jars hot and the sauce hot matters here, because a big temperature drop can keep the lids from sealing cleanly.
Below, I’m walking through the small details that make the difference between a batch that seals without trouble and one that leaves you guessing. The orange zest goes in at the end for the cleanest citrus aroma, and I’ve included storage notes so you know exactly how long these jars keep once they’re cooled and sealed.
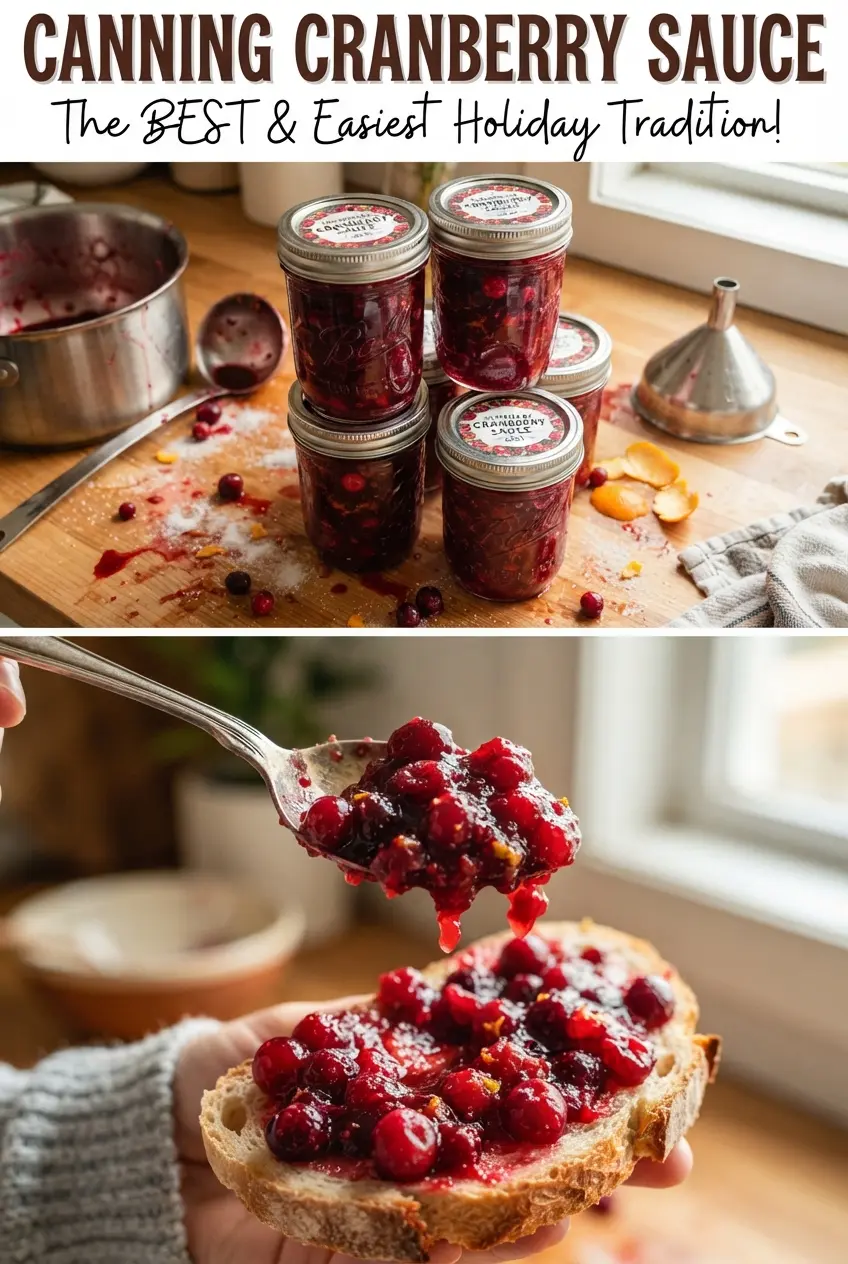
The sauce thickened right in the pot and the jars sealed on the counter without any trouble. The orange zest at the end made it taste bright instead of just sweet, and the whole berry texture stayed perfect after canning.
Canning cranberry sauce with whole berries, citrus, and a glossy set is a smart way to stock your pantry for holiday meals and quick gifts.
The Part That Keeps Cranberry Sauce from Turning Watery
The biggest mistake in canned cranberry sauce is stopping the cook too soon. Cranberries need time to burst and release their natural pectin, and that’s what gives the sauce body without turning it into jam. If you pull it off the heat while the berries still look mostly intact, the finished sauce can be thin in the jar and a little loose on the plate.
The other place people lose the texture is with aggressive boiling. You want a steady, gentle boil after the berries go in, just enough movement to break them down evenly. A hard, rolling boil can push the sauce up the sides of the pot and make it foam more than necessary, which makes judging thickness harder.
- Whole cranberries — Fresh berries give the best texture here. Frozen cranberries also work without thawing; just expect a slightly longer cooking time before they burst.
- Bottled lemon juice — This isn’t just for flavor. Bottled lemon juice gives dependable acidity for canning, which is why I wouldn’t swap in fresh lemon juice unless you’re using it only for flavor in a non-canned batch.
- Orange juice and zest — The juice softens the tart edge, while the zest brings back the bright citrus aroma at the end. Add the zest after cooking so it stays fragrant instead of tasting dulled by the boil.
- Sugar — The sugar balances the cranberries and helps the sauce set with a smoother finish. Cutting it too far changes both the flavor and the texture, and for canning, that balance matters.
How to Keep the Jars, Sauce, and Timing in Sync
- Fresh cranberries — Fresh berries give the best texture and the most even burst. If you use frozen, add them straight from the freezer and cook a few minutes longer.
- Sugar — The full amount keeps the sauce balanced and helps it finish with that glossy, spoonable thickness. Reducing it too much can leave the sauce sharp and thin.
- Bottled lemon juice — Use bottled, not fresh, for the acid portion in a canned recipe. The acidity level is dependable, and that’s what keeps this recipe on the safe side for water-bath processing.
- Orange zest — Stir it in at the end so the citrus stays bright. If it goes in too early, the aroma cooks off and the sauce tastes flatter.
Getting the Fill, Seal, and Water Bath Right
Heating the Jars Before You Ladle
Keep the jars hot in simmering water while the sauce cooks. Hot jars reduce the shock when you add the hot cranberry mixture, which helps prevent breakage and supports a better seal. If a jar cools down on the counter, warm it back up before filling it. Cold glass plus hot sauce is a bad combination.
Cooking the Sauce Until It Looks Slightly Looser Than You Want
Bring the sugar, water, and orange juice to a boil first so everything dissolves cleanly, then add the cranberries and lemon juice. Cook until the berries burst and the mixture thickens enough to coat a spoon, but don’t wait until it looks fully set in the pot. It thickens more as it cools in the jar, and overcooking can give you a stiff, sticky finish.
Filling, Wiping, and Sealing Without Overthinking It
Ladle the hot sauce into the hot jars and leave 1/4-inch headspace. Wipe the rims carefully so no sticky sauce interferes with the seal, then put on the lids and bands fingertip tight. If the bands are cranked down too hard, air can’t escape properly during processing.
Processing and Cooling Without Moving the Jars
Process the jars in a boiling water bath for 15 minutes, adjusting for your altitude. When the timer is up, turn off the heat and let the jars rest in the canner for 5 minutes before lifting them out. Set them on a towel and leave them alone for 24 hours; if you tilt or tighten them while they’re cooling, you can break the seal.
Make It Less Sweet
You can cut the sugar a little for a sharper cranberry flavor, but don’t reduce it aggressively in a canned batch. Sugar balances the tartness and helps the finished sauce texture hold up. If you want a tangier version for serving fresh, that’s the better place to lower it.
Swap the Orange for Apple Juice
Apple juice gives a softer, rounder sweetness if you want the cranberry flavor to lead. The sauce will taste a little less bright and citrusy, so add extra zest only if you’re making a fresh batch for immediate use rather than canning.
Make It Vegan-Friendly for the Whole Table
This recipe is already naturally vegan, which is one reason it works so well for holiday pantry prep. Just stick with the bottled lemon juice and the standard processing time so you keep the canning method consistent and safe.
Storage and Reheating
- Refrigerator: Once opened, keep the jars refrigerated and use the cranberry sauce within 2 to 3 weeks. The texture firms up a bit after chilling.
- Freezer: This sauce can be frozen in freezer-safe containers if you don’t plan to can the full batch. Leave headspace for expansion and thaw it in the refrigerator before using.
- Reheating: Warm gently on the stove over low heat if you want it looser for serving. Don’t boil it hard after opening or the berries can break down into a mushy texture.
Questions I Get Asked About This Recipe
Canning Cranberry Sauce
Ingredients
Equipment
Method
- Wash 12 half-pint mason jars, lids, and bands, then keep the jars hot in simmering water with the lids and bands ready for use.
- Bring sugar, water, and orange juice to a boil in a large pot, stirring until the sugar is fully dissolved.
- Add fresh cranberries and bottled lemon juice, then boil gently for 10-12 minutes until the berries burst and the sauce thickens.
- Stir in orange zest and continue to heat just long enough to distribute it evenly through the sauce.
- Ladle the hot cranberry sauce into the hot jars, leaving 1/4-inch headspace.
- Wipe the jar rims clean, then apply lids and bands fingertip tight.
- Process the jars in a boiling water bath canner for 15 minutes, adjusting processing time for altitude.
- Turn off the heat and rest the jars in the canner for 5 minutes before lifting them out.
- Cool the jars undisturbed for 24 hours to help seals form reliably.
- Check that the lids have sealed, then store sealed jars in a cool dark place up to 1 year.