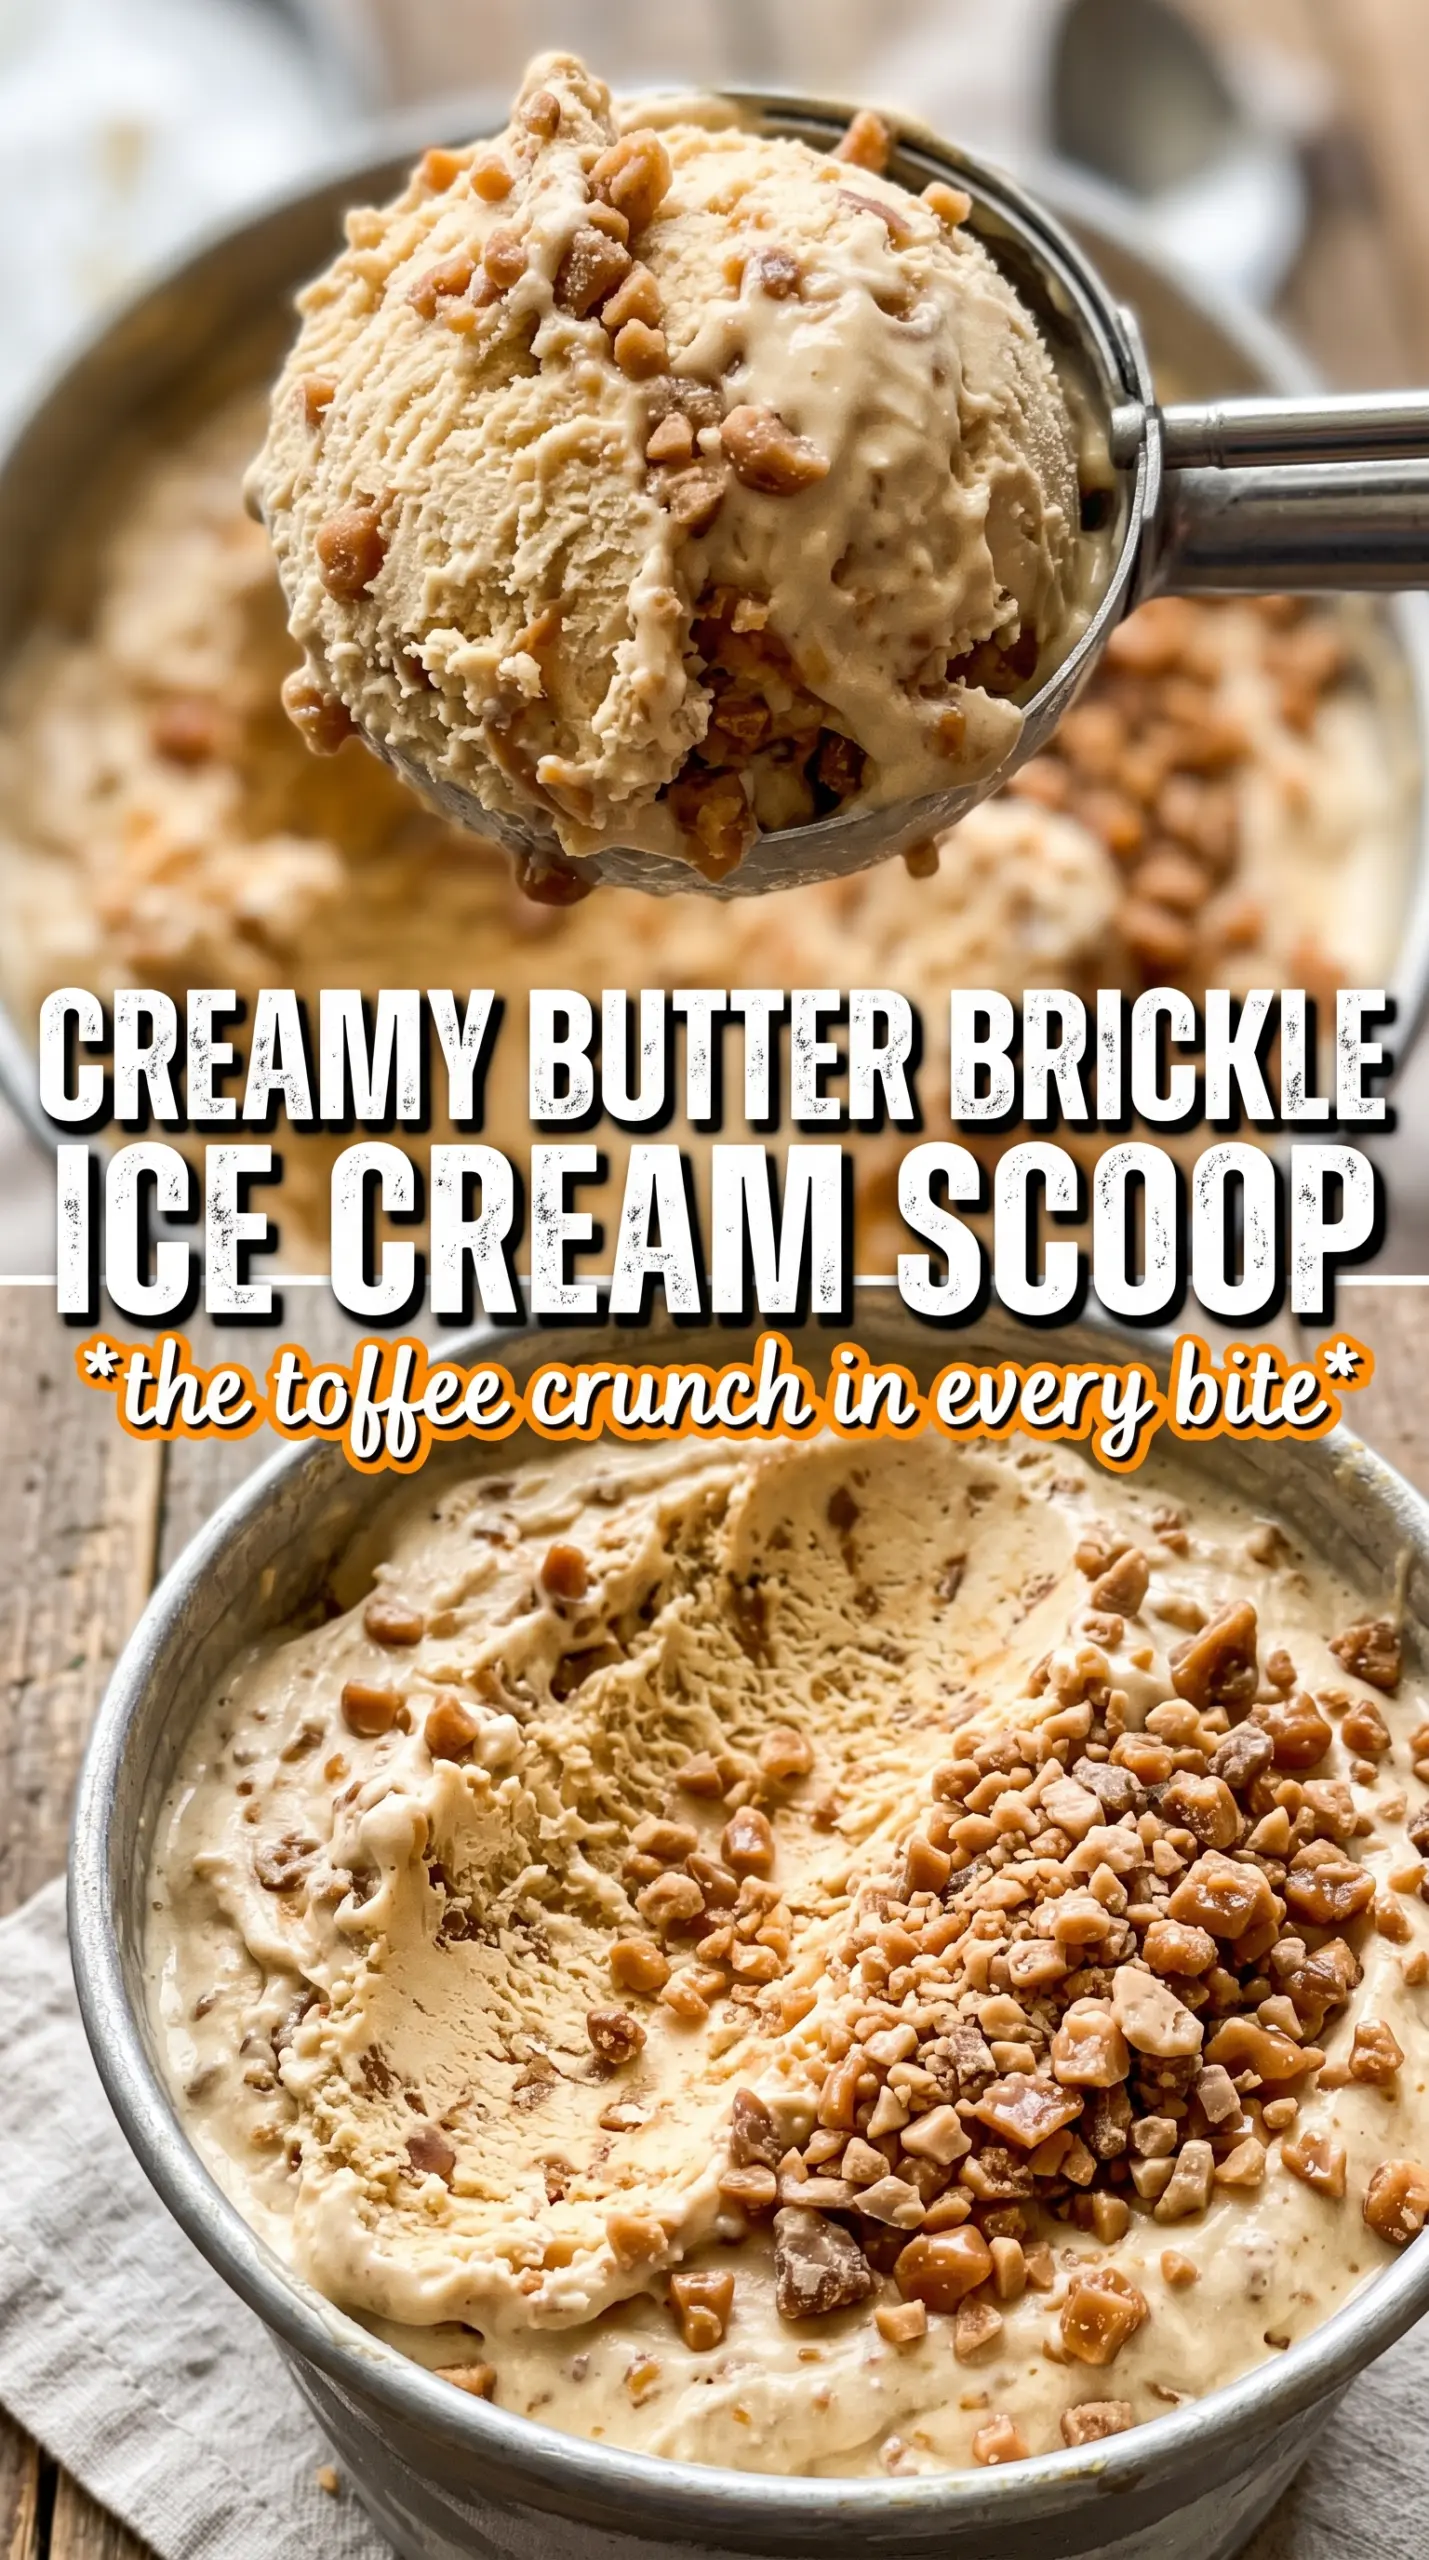
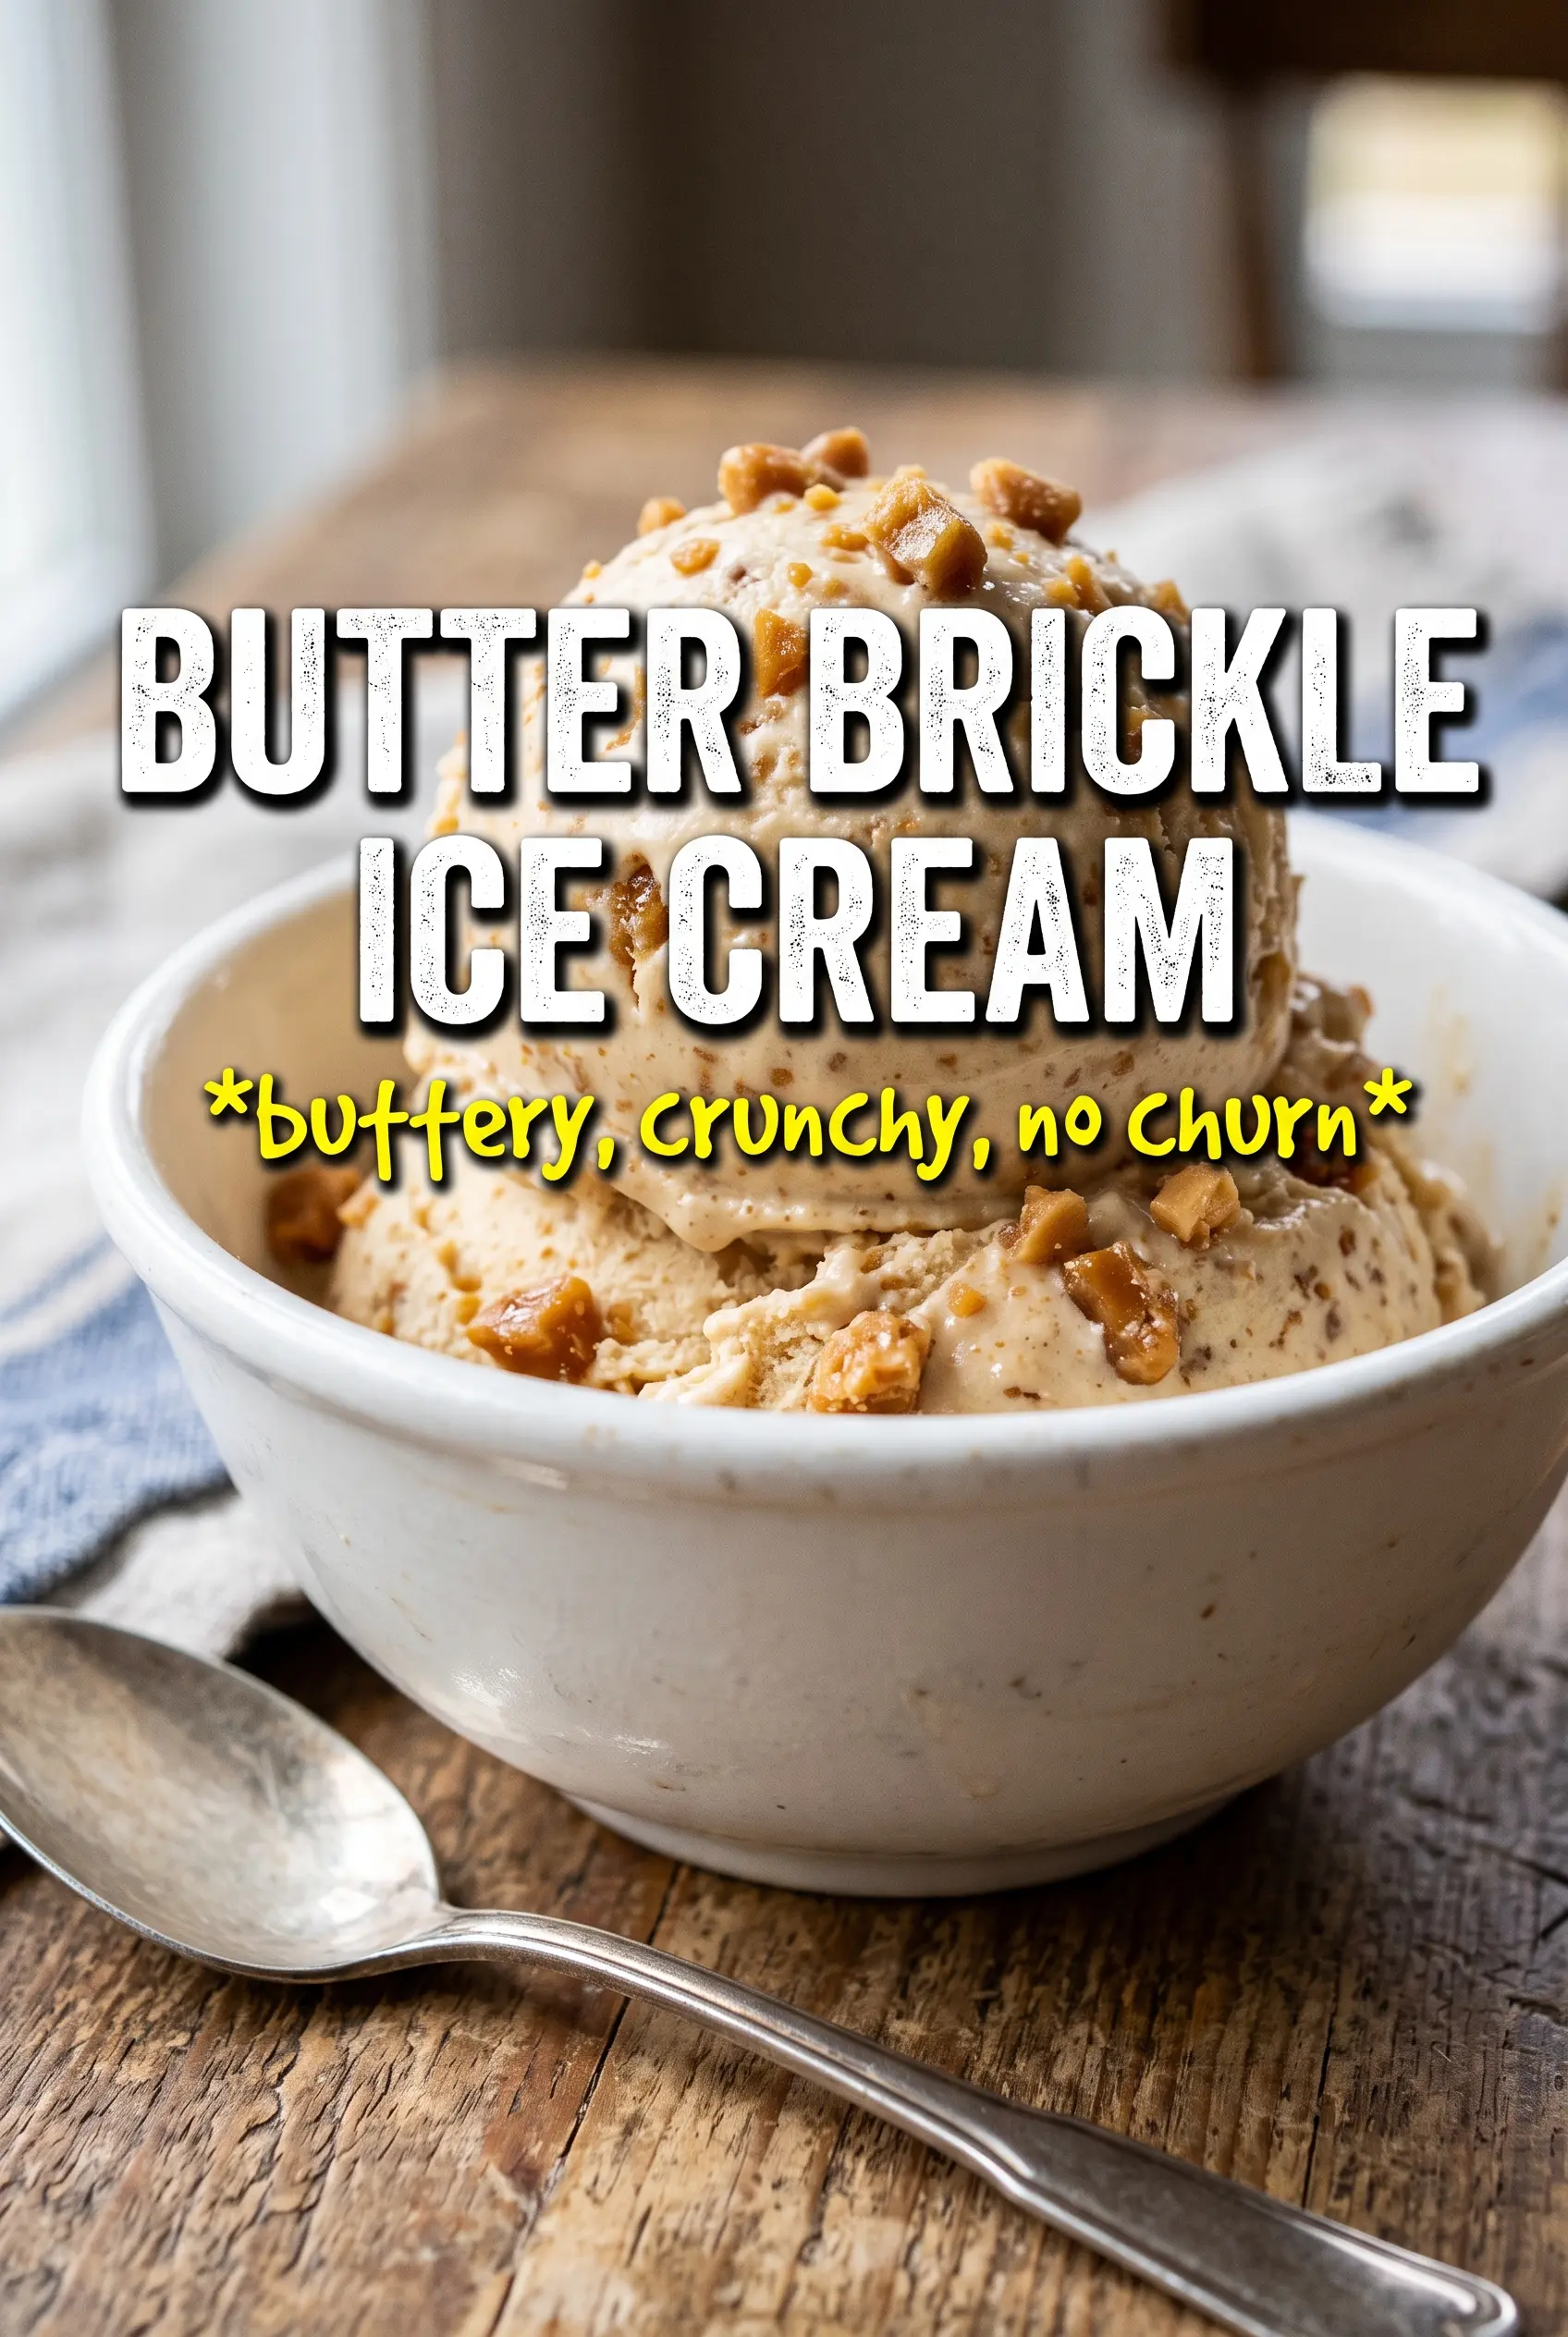
Butter brickle ice cream lands with that perfect contrast that keeps people going back for another spoonful: a silky vanilla custard base threaded with crisp shards of buttery toffee that crack first, then melt into caramel-like streaks on the tongue. The brickle stays bold enough to bring texture, but it softens just enough in the cold cream to taste almost candy-like without turning chewy or sticky.
The trick is treating both parts with respect. The toffee needs to hit hard crack so it shatters cleanly instead of bending, and the custard needs to cook gently so the egg yolks thicken the base without scrambling. I also like adding the brickle pieces at the very end of churning so they stay distinct instead of disappearing into the churn.
Below, I’ve included the exact points where this recipe can go sideways, plus the tiny timing details that keep the toffee crisp and the ice cream smooth. If you’ve ever had homemade ice cream that turned icy or brickle that stuck to the pan, this version will help you avoid both problems.
The brickle shattered into perfect little pieces and stayed crunchy even after a day in the freezer. The custard was smooth and rich, and the toffee gave every bite that buttery crunch I was hoping for.
Love the buttery crunch of this butter brickle ice cream? Save it to Pinterest for the next time you want homemade custard with crackly toffee shards.
The Part That Makes the Brickle Stay Crunchy in Ice Cream
The brickle has to reach hard crack, which means it should be fully cooked and properly brittle before you ever break it up. If it comes off the heat too soon, it stays tacky and turns into chewy little clumps instead of crisp shards, and once that happens the freezer only makes the texture worse.
The other mistake is stirring the vanilla and salt in too early or too aggressively. Add them after the sugar and butter have fully melted and the mixture is at temperature, then pour it out fast. Waiting even a minute too long in the pan can make the candy start setting before it reaches the parchment.
- Hard crack toffee matters here. That final 300F stage is what gives you the clean snap that survives freezing. A lighter caramel won’t hold its texture in the ice cream.
- The custard base needs steady heat, not speed. Egg yolks thicken the ice cream, but only if you keep the burner low enough that they slowly coat the back of a spoon instead of curdling.
- Brown sugar gives the base its butterscotch note. White sugar will sweeten the custard, but it won’t give the same warm, caramel depth.
What Each Ingredient Is Actually Doing in This Custard
- Heavy cream gives the ice cream its rich body and soft scoop. You need the fat here; swapping in half-and-half makes the base icier and thinner.
- Whole milk lightens the custard just enough so it doesn’t feel heavy or greasy. Lower-fat milk works in a pinch, but the texture won’t be as plush.
- Brown sugar brings a deeper butterscotch flavor than plain sugar. Pack it firmly into the measuring cup so the custard tastes balanced and not bland.
- Egg yolks are what make this a true custard ice cream. They thicken the base and help it freeze smoother, and there isn’t a real substitute if you want that same velvety result.
- Butter in the brickle is what makes the candy taste round and rich instead of sharp and one-note. Use unsalted butter so you can control the salt level at the end.
Cooking the Custard Without Scrambling the Yolks
Start with the brickle first
Make the toffee before the custard so it has time to cool completely and harden. Spread it thin on parchment, and don’t crowd the pieces when you break it up later; you want uneven shards, not dust. If the candy looks glossy but still bends, it’s not ready.
Heat the dairy until the sugar dissolves
Warm the cream, milk, and brown sugar together until the sugar disappears and the mixture steams, but don’t let it boil. A boil isn’t helping here; it just pushes the dairy toward a cooked edge before the yolks go in. You’re looking for hot liquid with no grit at the bottom of the pan.
Temper the yolks slowly
Whisk a little of the hot dairy into the egg yolks first, then keep adding in a thin stream. This keeps the yolks from turning into bits of scrambled egg the second they hit the pan. If the mixture looks foamy or lumpy, stop and whisk before moving on.
Cook to the nappe stage
Return everything to the pan and cook until it reaches 175F or coats the back of a spoon. It should look slightly thicker and glossy, not curdled or bubbling hard. Pull it off the heat as soon as it reaches temperature, then strain it right away to catch any tiny cooked bits before they become a problem.
Chill until the base is fully cold
Stir in the vanilla and salt, then chill the custard for the full four hours. Churning warm custard gives you a loose, icy texture, and the machine can’t fix that later. The base should feel cold from top to bottom before it goes into the ice cream maker.
Fold in the brickle at the end
Add the shattered toffee during the last few minutes of churning so it stays visible and crunchy. If you add it too early, the machine grinds it down and the candy melts into the base. Freeze the finished ice cream until firm enough to scoop cleanly.
How to Adapt This Ice Cream When You Need a Different Finish
Dairy-free version
Use full-fat coconut milk in place of the cream and milk, and expect a light coconut note behind the toffee. The custard will be a little softer and less rich than the original, but it still freezes into a scoopable dessert if you chill it thoroughly before churning.
Extra toffee-heavy batch
If you want more crunch in every bite, make a half batch of additional brickle and fold some into the top of the finished ice cream before freezing. That gives you a more dramatic candy texture, but it also means the shards may soften a little faster in the freezer.
No ice cream maker
You can freeze the custard in a shallow pan and stir it every 30 to 45 minutes until it firms up, then fold in the brickle near the end. The texture won’t be as airy as churned ice cream, but the custard flavor and toffee crunch still come through.
Storage and Reheating
- Refrigerator: The finished ice cream base can be held in the fridge for up to 2 days before churning. The brickle should stay at room temperature in an airtight container so it doesn’t pick up moisture.
- Freezer: The churned ice cream keeps well for about 2 weeks. After that, the brickle can start losing its snap and the texture gets a little more icy around the edges.
- Reheating: Not applicable for ice cream. Let it sit at room temperature for 5 to 10 minutes before scooping so the custard loosens without melting into a puddle.
Questions I Get Asked About This Recipe
Butter Brickle Ice Cream
Ingredients
Equipment
Method
- Melt the granulated sugar and unsalted butter in a saucepan over medium heat, stirring, until the mixture reaches 300F (hard crack stage). When it hits 300F, you should see it turn deep amber and look glossy.
- Remove from the heat and stir in the salt and vanilla extract until evenly combined. The mixture should immediately look smooth and fragrant.
- Pour the hot toffee onto parchment and let it cool completely until firm. You’ll know it’s ready to break when it’s set and matte.
- Shatter the toffee into small brickle pieces by breaking it into uneven chunks. Aim for crisp shards so they melt slightly when folded in.
- Heat the heavy cream, whole milk, and brown sugar in a saucepan until the sugar dissolves. Stir until no dark sugar granules remain.
- Slowly whisk the hot dairy mixture into the egg yolks in a steady stream. Keep whisking until the mixture looks smooth and slightly thickened.
- Cook the custard, stirring constantly, until it reaches 175F. Stop when it coats the back of a spoon and holds a line.
- Strain the custard, then stir in the vanilla extract and salt. The strained custard should look silky and uniform.
- Cool the custard to room temperature, then refrigerate for 4 hours. It should be fully chilled before churning.
- Churn the custard in an ice cream maker according to the manufacturer’s instructions until it reaches a soft-serve consistency. The texture should look thick and creamy.
- Fold the butter brickle pieces into the ice cream in the last 5 minutes of churning. The shards should disperse visibly without fully pulverizing.
- Transfer to a container and freeze until firm. It should scoop cleanly with a dense, scoopable texture.