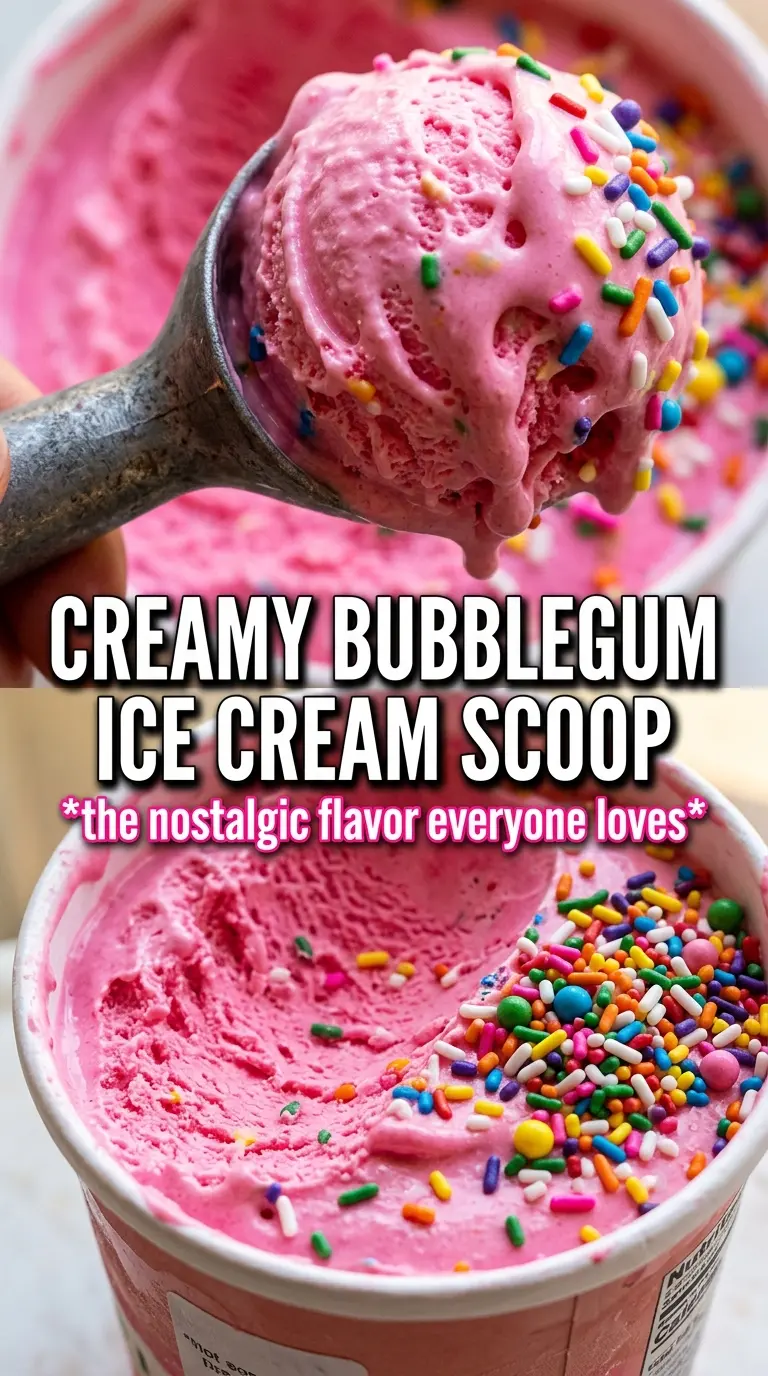
Bubblegum ice cream has a nostalgic, candy-shop flavor that lands somewhere between playful and creamy, with a color that makes people grin before they even take a bite. The base is rich like a classic custard ice cream, but the bubblegum extract turns it into something unmistakably fun, and the sprinkles give every scoop a little crunch and movement. It’s the kind of dessert that disappears fast because it looks as cheerful as it tastes.
The trick is keeping the custard smooth while still getting that bright, punchy flavor. Egg yolks give the ice cream body, but the mixture needs to be cooked gently and strained so you don’t end up with scrambled bits or a grainy finish. Bubblegum extract can get loud in a hurry, so it goes in after cooking, once the base is off the heat, which keeps the flavor clean instead of flat or bitter.
Below, you’ll find the step that keeps the custard silky, the best time to add sprinkles so they stay colorful, and a few variations for changing the color or making it without an ice cream maker.
The custard turned out ultra-smooth and the bubblegum flavor stayed bright after freezing. I added the sprinkles at the end like you said and they didn’t bleed into the ice cream at all.
Love that bright pink bubblegum ice cream? Save it to Pinterest for the days when you want a fun, creamy, sprinkle-studded dessert that feels straight out of a candy shop.
Why the Custard Has to Stay Gentle to Stay Silky
Ice cream custard fails when the heat climbs too fast. Egg yolks thicken beautifully, but once they overcook, the texture turns grainy instead of smooth, and no amount of churning fixes that. The goal here is to bring the dairy up to steaming, then whisk it into the yolks slowly so the eggs warm gradually instead of seizing.
Cooking the mixture to 175F gives you enough body for a scoopable ice cream without pushing the yolks past their comfort zone. If you see the custard coat the back of a spoon and leave a clean line when you drag a finger through it, you’re there. Straining it before chilling catches any tiny bits that went too far, which matters more here than in a lot of other desserts because bubblegum flavor reads best against a smooth base.
What Each Ingredient Is Actually Doing in This Bowl
- Heavy cream — This is what gives the ice cream its lush, scoopable body. Lower-fat dairy makes the finished texture icier, and that matters here because the candy flavor should feel plush, not icy.
- Whole milk — Milk keeps the base from getting too heavy. Don’t swap in skim milk unless you want a thinner, less creamy result.
- Egg yolks — Yolks are what turn this from sweet frozen milk into proper custard ice cream. They thicken the base and help it freeze with a smooth, rich texture.
- Bubblegum flavoring extract — This is the star, and it’s not something you can fully replace with vanilla or candy syrup. Add it after cooking so the flavor stays bright and doesn’t cook off.
- Pink food coloring — The color doesn’t change the flavor, but it absolutely changes the experience. Add it a drop at a time until it looks like the shade you want, because a little goes farther than you’d think.
- Rainbow sprinkles — Fold these in at the end so they stay distinct and don’t melt into streaks. Jimmies work better than tiny nonpareils, which can bleed and soften too much in the churn.
The Churn, the Fold, and the Freeze That Set the Texture
Cooking the Custard Base
Warm the cream and milk until they’re steaming, not boiling, then whisk them slowly into the egg yolks and sugar. That gradual temp rise keeps the yolks from scrambling. Return everything to the pan and cook over medium-low heat, stirring constantly, until it reaches 175F and lightly coats the spoon. If the mixture starts to look speckled or curdled, pull it off the heat right away and strain it.
Adding the Bubblegum Flavor and Color
Once the custard is off the heat, stir in the bubblegum extract, vanilla, salt, and pink food coloring. The extract goes in at the end because heat dulls it, and this recipe depends on that bright, candy-like aroma. Add the coloring slowly. The base will look a touch paler once it’s frozen, so go a little deeper than your final color if you want that vivid pink finish.
Chilling Before Churning
Let the custard cool completely, then refrigerate it for at least 4 hours. Cold base churns faster and freezes with smaller ice crystals, which is what gives you that creamy scoop instead of a hard, icy block. If you churn a warm base, the machine struggles and the texture suffers. Patience here pays off in the final scoop.
Folding in the Fun Stuff
Churn the ice cream until it’s thick and soft-serve-like, then fold in the rainbow sprinkles and bubblegum pieces during the last 2 minutes. That timing keeps the sprinkles bright and stops the gum pieces from sinking straight to the bottom. Transfer the ice cream to a container, press a piece of parchment on top if you want to limit ice crystals, and freeze until firm.
How to Adapt This Bubblegum Ice Cream Without Losing the Fun
Dairy-Free Coconut Version
Use full-fat coconut milk and canned coconut cream in place of the dairy. The texture will still be rich, but the flavor picks up a faint coconut note, so the bubblegum extract should be the main thing you taste. This version won’t be as classic-custard smooth, but it freezes well and keeps the same playful color.
No-Churn Shortcut
Fold the bubblegum extract and color into sweetened whipped cream, then swirl in a can of sweetened condensed milk and the sprinkles. You’ll lose the custard depth, but you’ll gain a faster, softer ice cream that doesn’t need a machine. Add the bubblegum pieces only at the end so they don’t get crushed.
Extra-Colorful Party Batch
Split the finished base into two bowls and tint one a deeper pink and one a lighter pink, then swirl them together in the container. It doesn’t change the flavor, but it gives the finished ice cream a fun marbled look that stands out in cones and sundaes. This is a good move when you’re serving kids and want the color to feel extra special.
Storage and Reheating
- Refrigerator: Not recommended for storing once churned. Ice cream softens too much in the fridge and loses the texture you worked for.
- Freezer: Keeps well for about 2 weeks in an airtight container. After that, the texture gets a little icier and the sprinkles start to lose their snap.
- Reheating: Let it sit at room temperature for 5 to 10 minutes before scooping. If you dig straight in, you’ll just crack the top and smear the scoop instead of getting clean, rounded servings.
Questions I Get Asked About This Bubblegum Ice Cream
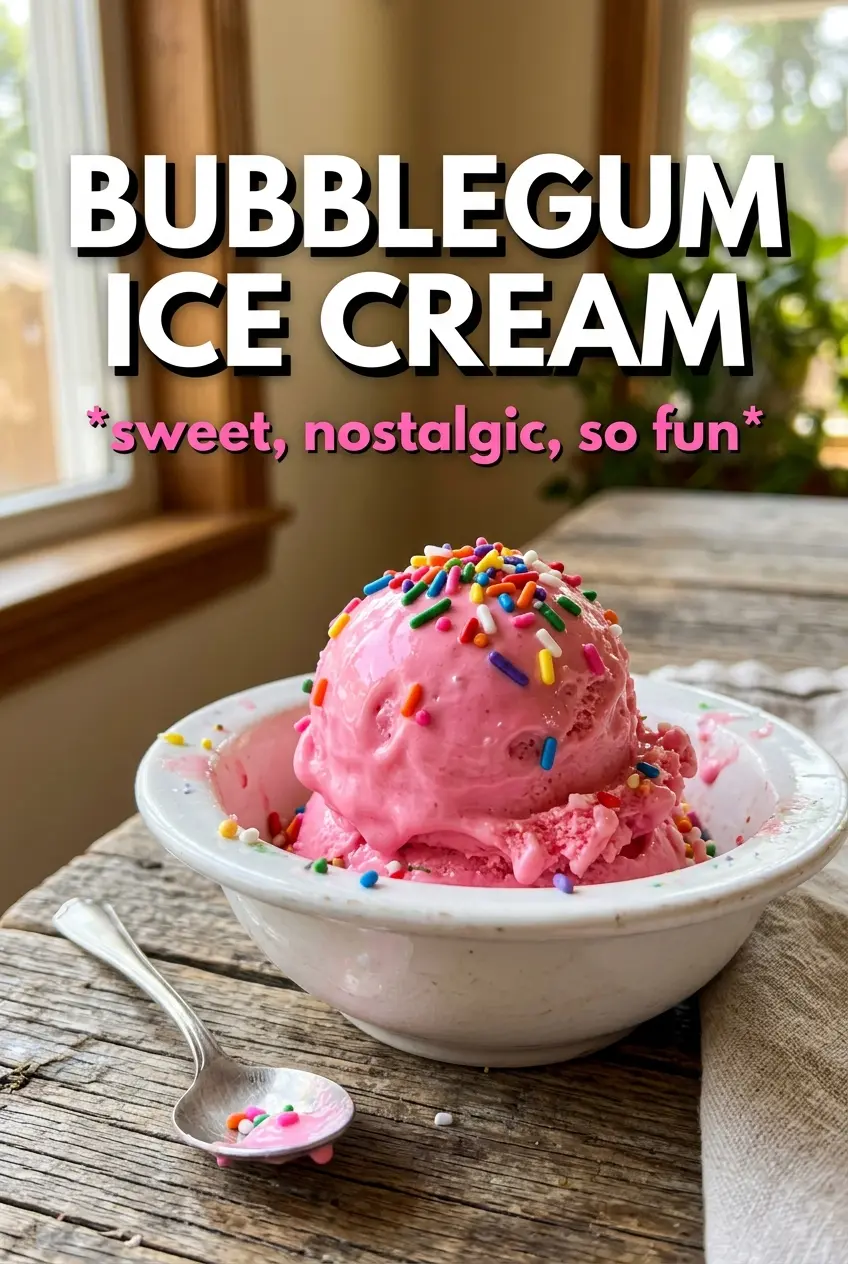
Bubblegum Ice Cream
Ingredients
Equipment
Method
- Warm the heavy cream and whole milk in a saucepan over medium heat until steaming, then whisk constantly for even heating (about 5 minutes). Visual cue: tiny steam bubbles rise at the edges but it does not boil.
- Slowly whisk the steaming dairy into the egg yolks and granulated sugar until smooth and thickened slightly (about 2 minutes). Visual cue: the mixture turns glossy and lighter in color from the aeration of whisking.
- Return the mixture to the saucepan and cook while stirring until it reaches 175F (about 3–5 minutes). Visual cue: the custard coats the back of a spoon and a line drawn with a finger stays for a moment.
- Strain the custard, then stir in bubblegum flavoring extract, vanilla extract, and salt until fully combined (about 1 minute). Visual cue: the custard looks uniform with no streaks or clumps.
- Stir in pink food coloring to your desired bubblegum shade, then cool completely to room temperature (about 30 minutes). Visual cue: the custard becomes a vivid pink with consistent color throughout.
- Cover and refrigerate for 4 hours to chill thoroughly. Visual cue: the custard should be cold all the way through and slightly thicker.
- Churn the chilled custard in an ice cream maker according to the manufacturer’s instructions. Visual cue: it thickens to a soft-serve consistency as it churns.
- Fold in the rainbow sprinkles and optional small bubblegum pieces during the last 2 minutes of churning. Visual cue: sprinkles streak lightly through the pale-pink base without fully disappearing.
- Transfer to a freezer-safe container and freeze until firm. Visual cue: the ice cream becomes scoopable but not icy, holding shape when pressed.