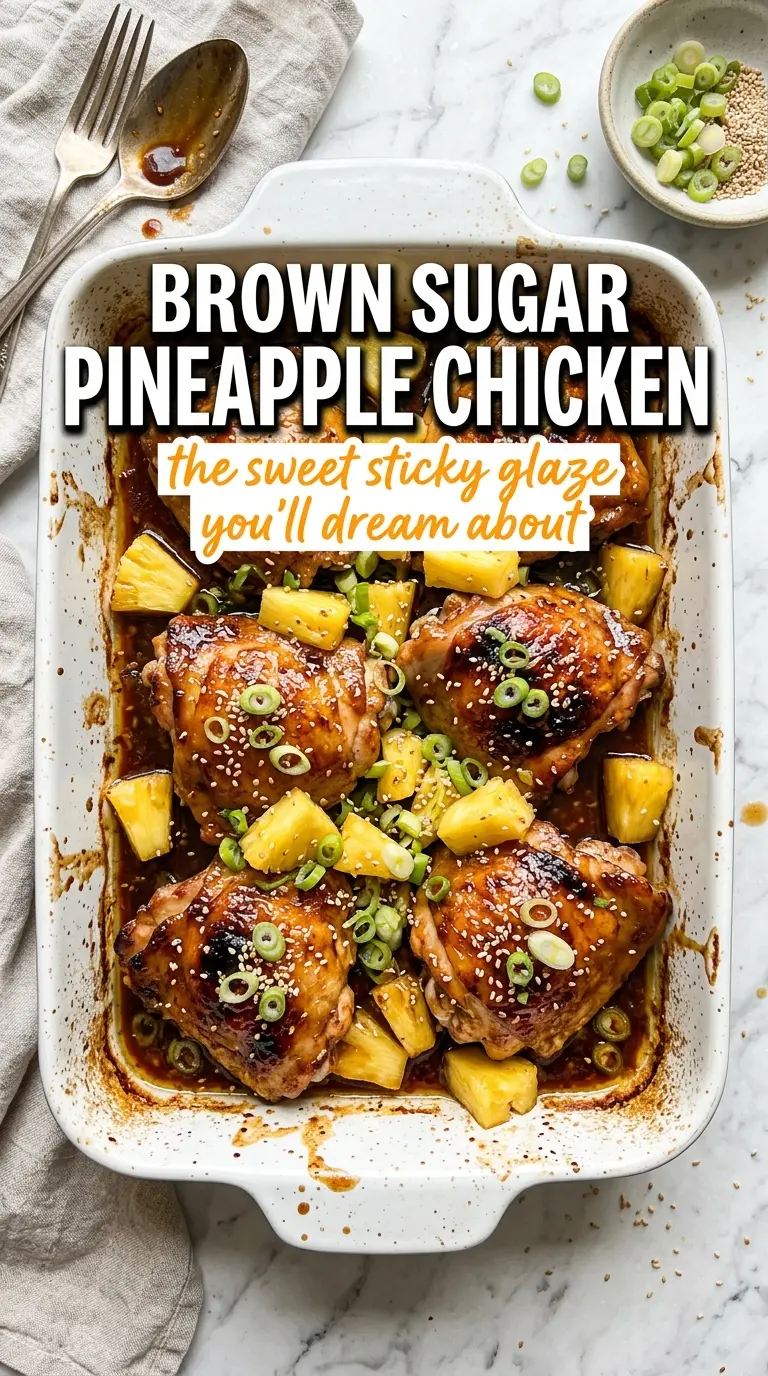
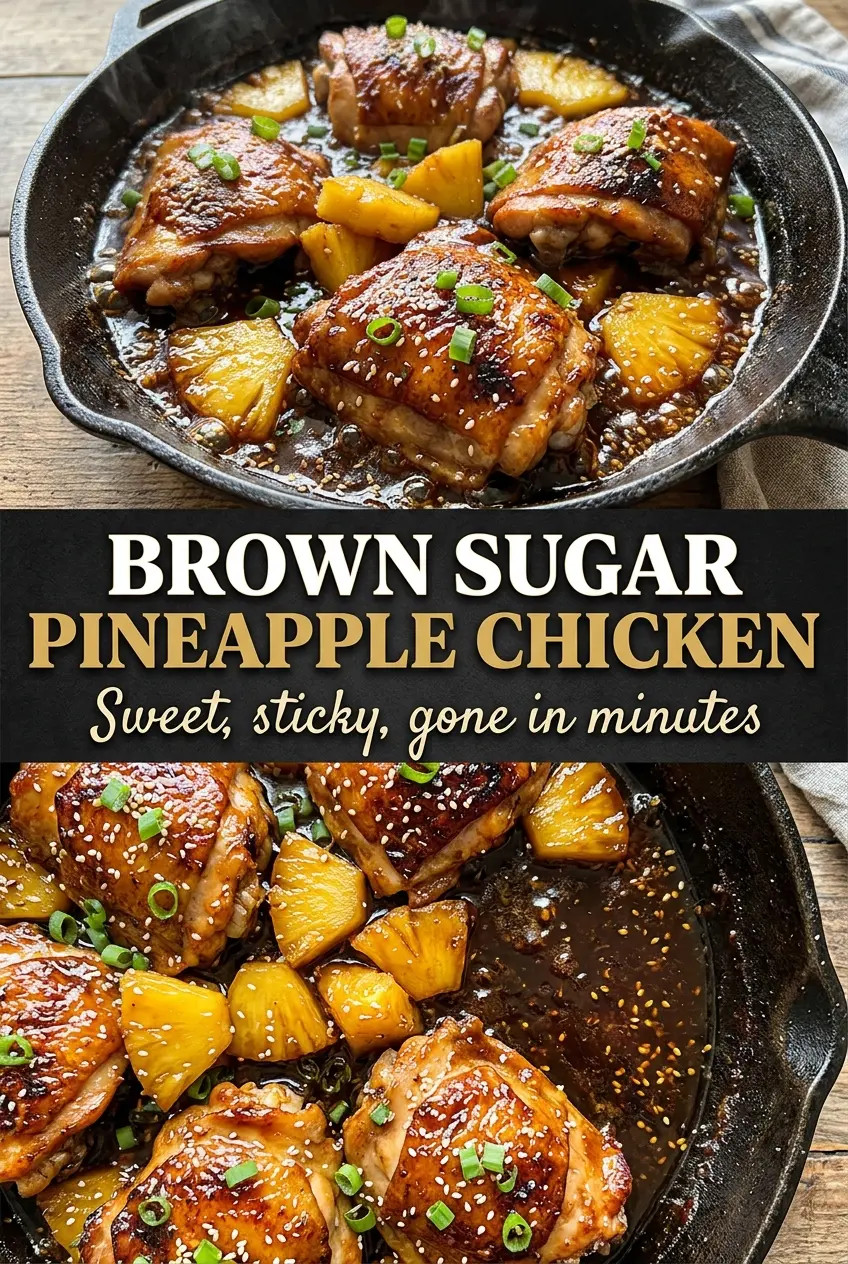
Sticky, glossy brown sugar pineapple chicken earns its place in the dinner rotation because it hits that sweet-savory balance without tasting heavy. The chicken sears first, so you get browned edges under a thick glaze that clings instead of sliding off the pan. Pineapple juice brings brightness, brown sugar gives the sauce body, and a little soy sauce keeps the whole dish from drifting into dessert territory.
The key is building the glaze in the same skillet after the chicken comes out. Those browned bits at the bottom carry a lot of flavor, and the cornstarch slurry only needs a few minutes to turn the sauce from thin and sugary into something lacquered and spoon-coating. Add the pineapple chunks near the end so they stay juicy instead of dissolving into the sauce.
Below, you’ll find the timing that keeps the chicken tender, the one substitution that works if you’re out of fresh ginger, and a few practical variations for changing up the dish without losing that sticky finish.
The glaze thickened up exactly like the photos, and the pineapple chunks stayed bright instead of turning mushy. I served it over rice and my husband went back for seconds before I even sat down.
Brown sugar pineapple chicken keeps that glossy glaze and caramelized edge whenever you need a fast skillet dinner with big sweet-savory payoff.
The Secret to a Glaze That Sticks Instead of Running Off
Most pineapple chicken recipes go wrong when the sauce is treated like a marinade and not a glaze. Pineapple juice has a lot of water, so if you don’t simmer it long enough, it stays thin and the chicken ends up swimming instead of getting coated. The cornstarch slurry is what changes the texture, but it only works after the sauce has come to a simmer and the sugar has dissolved.
There’s another trap here: adding the chicken back too early. If the glaze isn’t already thick, the chicken cools the pan down and the sauce loosens again. Cook it until it looks like a shiny syrup that leaves a trail when you drag a spoon through it. That’s when it’s ready to grab onto the chicken.
- Chicken breasts — Boneless, skinless breasts work well because they sear fast and slice cleanly under the glaze. If yours are thick on one end, pound them to an even thickness so the outside doesn’t overcook before the center reaches 165°F.
- Pineapple juice — This does the heavy lifting for the sauce base. Fresh juice works, but canned is perfectly fine here as long as it’s 100% juice and not a syrupy drink blend.
- Cornstarch slurry — Don’t skip mixing it with cold water first. If you dump dry cornstarch straight into the pan, you’ll get little starchy clumps instead of a smooth glaze.
- Ginger — Fresh ginger gives the sauce a sharp, clean edge that cuts through the sweetness. Ground ginger works in a pinch, but use less because it can taste dusty if you overdo it.
What Each Ingredient Is Actually Doing in This Recipe
- Primary ingredient (the star) — Quality matters most. Choose the best you can find.
- Cooking medium (oil, butter, or broth) — This carries flavors and prevents dryness.
- Seasonings (salt, pepper, spices, herbs) — Layer flavors so nothing overpowers. Build depth gradually.
- Aromatics (garlic, onion, herbs) — Cook with fat to bloom flavors. Become the foundation.
- Supporting ingredients — Complement the main ingredient without overpowering it.
- Sauce or liquid (if applicable) — Brings flavors together. Balance richness with acid.
- Acid (lemon, vinegar, wine, or other) — Brightens and prevents flat-tasting results.
- Final finish (garnish, glaze, or sauce) — Prevents one-dimensional taste and adds visual appeal.
Getting the Chicken Golden Before the Glaze Goes In
Searing the Chicken Properly
Season the chicken well before it hits the skillet. The oil should shimmer, not smoke aggressively, when the chicken goes in. Let it cook undisturbed for 5 to 6 minutes per side so it develops a deep golden crust; if you move it too soon, it will stick and tear. Pull it when the center reaches 165°F, then set it aside so it doesn’t keep overcooking while you build the sauce.
Building the Pineapple Glaze
Use the same pan and leave the browned bits where they are. Whisk in the pineapple juice, brown sugar, soy sauce, ketchup, garlic, and ginger, then let it come to a real simmer. The sauce should smell tangy and savory before it thickens. Once the cornstarch slurry goes in, stir for 2 to 3 minutes until the sauce turns glossy and lightly syrupy. If it still looks watery, give it another minute; the glaze should coat the back of a spoon.
Finishing and Coating
Add the pineapple chunks after the glaze thickens so they warm through without breaking down. Return the chicken and turn each piece through the sauce until the surface is fully lacquered. Let it cook for 2 more minutes so the glaze clings and the chicken reheats through, then garnish with sesame seeds and green onions. Serve it right away over rice while the sauce is still shiny and loose enough to spoon generously.
How to Change the Dish Without Losing the Sticky Finish
Dairy-Free and Naturally Gluten-Free
This recipe already works without dairy, and it can stay gluten-free if you swap the soy sauce for tamari or coconut aminos. Tamari gives the closest salty, savory result. Coconut aminos are a little sweeter, so the glaze will read more mild and less punchy unless you reduce the brown sugar slightly.
Using Chicken Thighs Instead
Boneless thighs bring a juicier, richer bite and are a little more forgiving if you’re distracted at the stove. They need a couple extra minutes on the first sear, but the rest of the method stays the same. The finished dish tastes a little deeper and less lean than it does with chicken breasts.
When You Want More Heat
Add a pinch of red pepper flakes or a small spoonful of chili garlic sauce to the glaze after the garlic and ginger go in. It won’t make the dish spicy-hot unless you push it, but it does sharpen the sweet pineapple and keeps the sauce from tasting flat.
Storage and Reheating
- Refrigerator: Store leftovers in an airtight container for up to 4 days. The glaze will thicken as it chills, which is normal.
- Freezer: It freezes well for up to 2 months, though the pineapple chunks soften a bit after thawing. Freeze in portions with extra sauce so the chicken doesn’t dry out.
- Reheating: Warm gently in a skillet over low heat with a splash of water or pineapple juice. High heat can make the glaze seize up and can push the chicken from tender to stringy.
Answers to the Questions Worth Asking
Brown Sugar Pineapple Chicken
Ingredients
Equipment
Method
- Season the chicken breasts with salt, pepper, garlic powder, and smoked paprika to taste, then let them sit 20 minutes for marinating.
- Heat olive oil in a large skillet over medium-high heat until shimmering.
- Place chicken in the skillet and sear 5-6 minutes per side, until golden and cooked through to 165°F, then remove to a plate.
- Whisk pineapple juice, brown sugar, soy sauce, ketchup, garlic, and ginger in the same pan, then bring to a simmer over medium heat.
- Stir in the cornstarch slurry and cook 2-3 minutes until the sauce thickens into a glossy glaze.
- Add pineapple chunks and stir to coat, letting them warm and start caramelizing in the amber sauce.
- Return the chicken to the pan and turn to coat in the glaze, then cook 2 more minutes so the sauce clings to the edges.
- Garnish with sesame seeds and sliced green onions.
- Serve the brown sugar pineapple chicken over steamed rice.