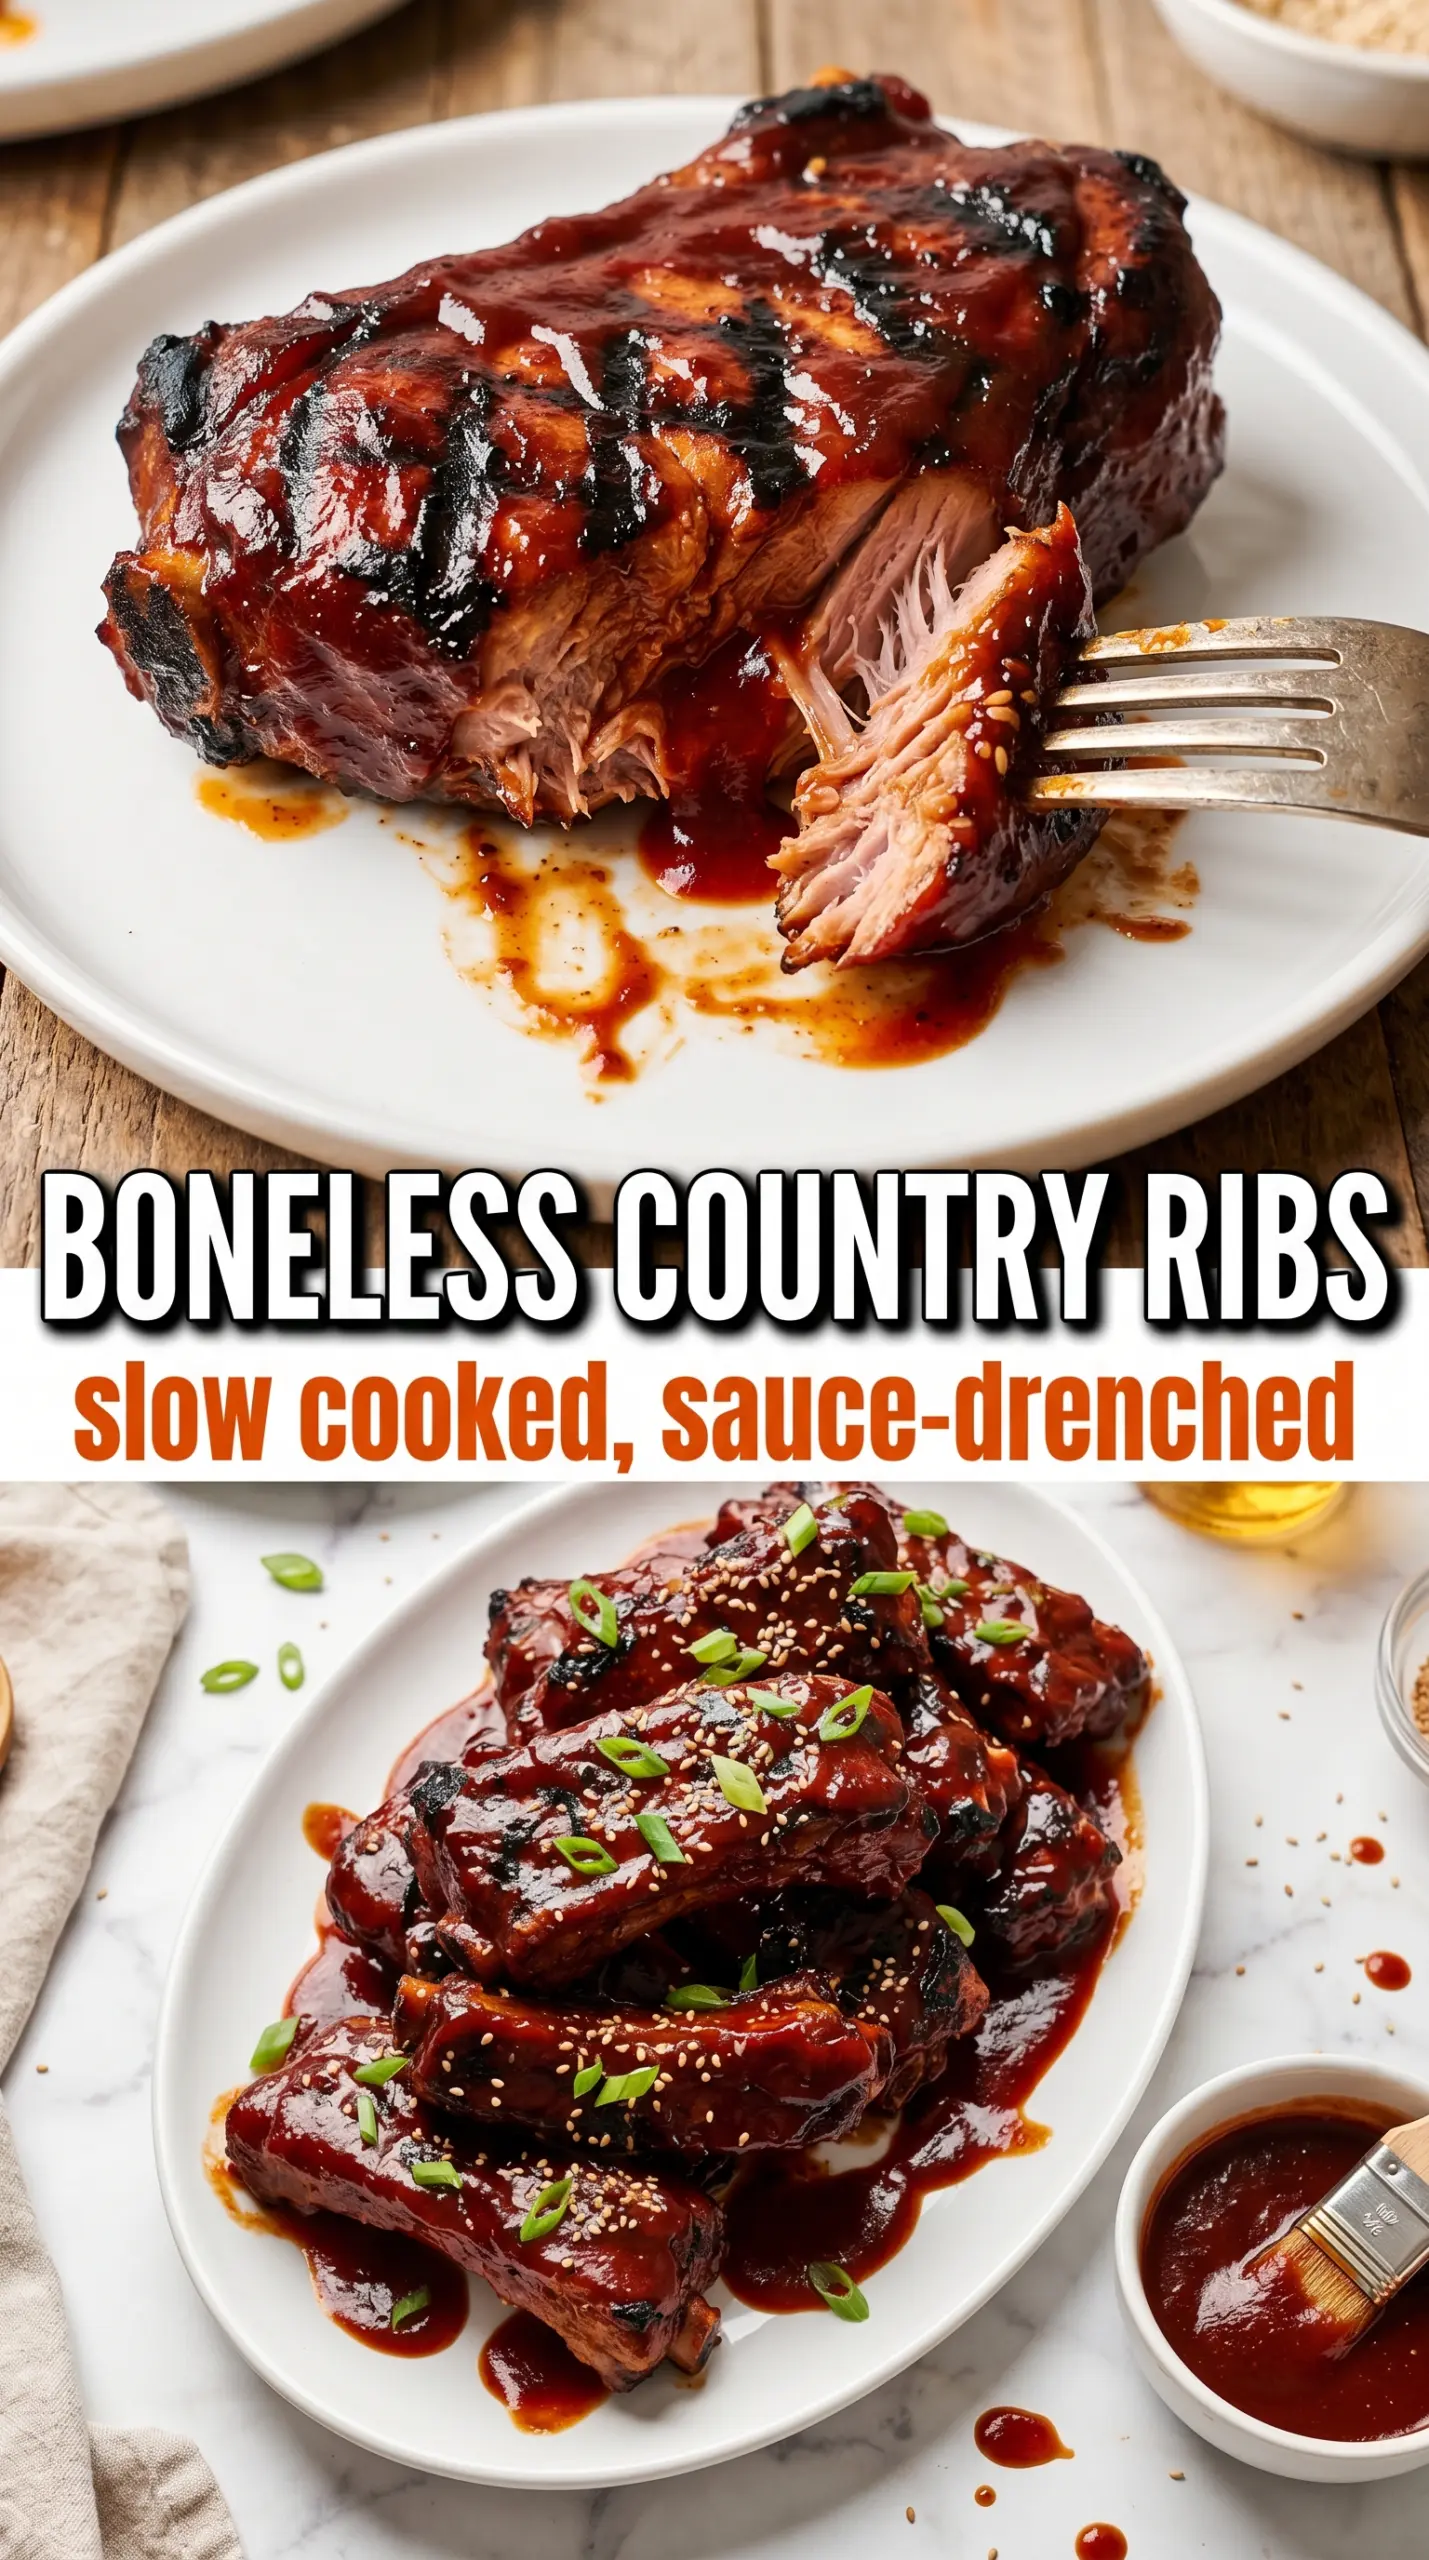
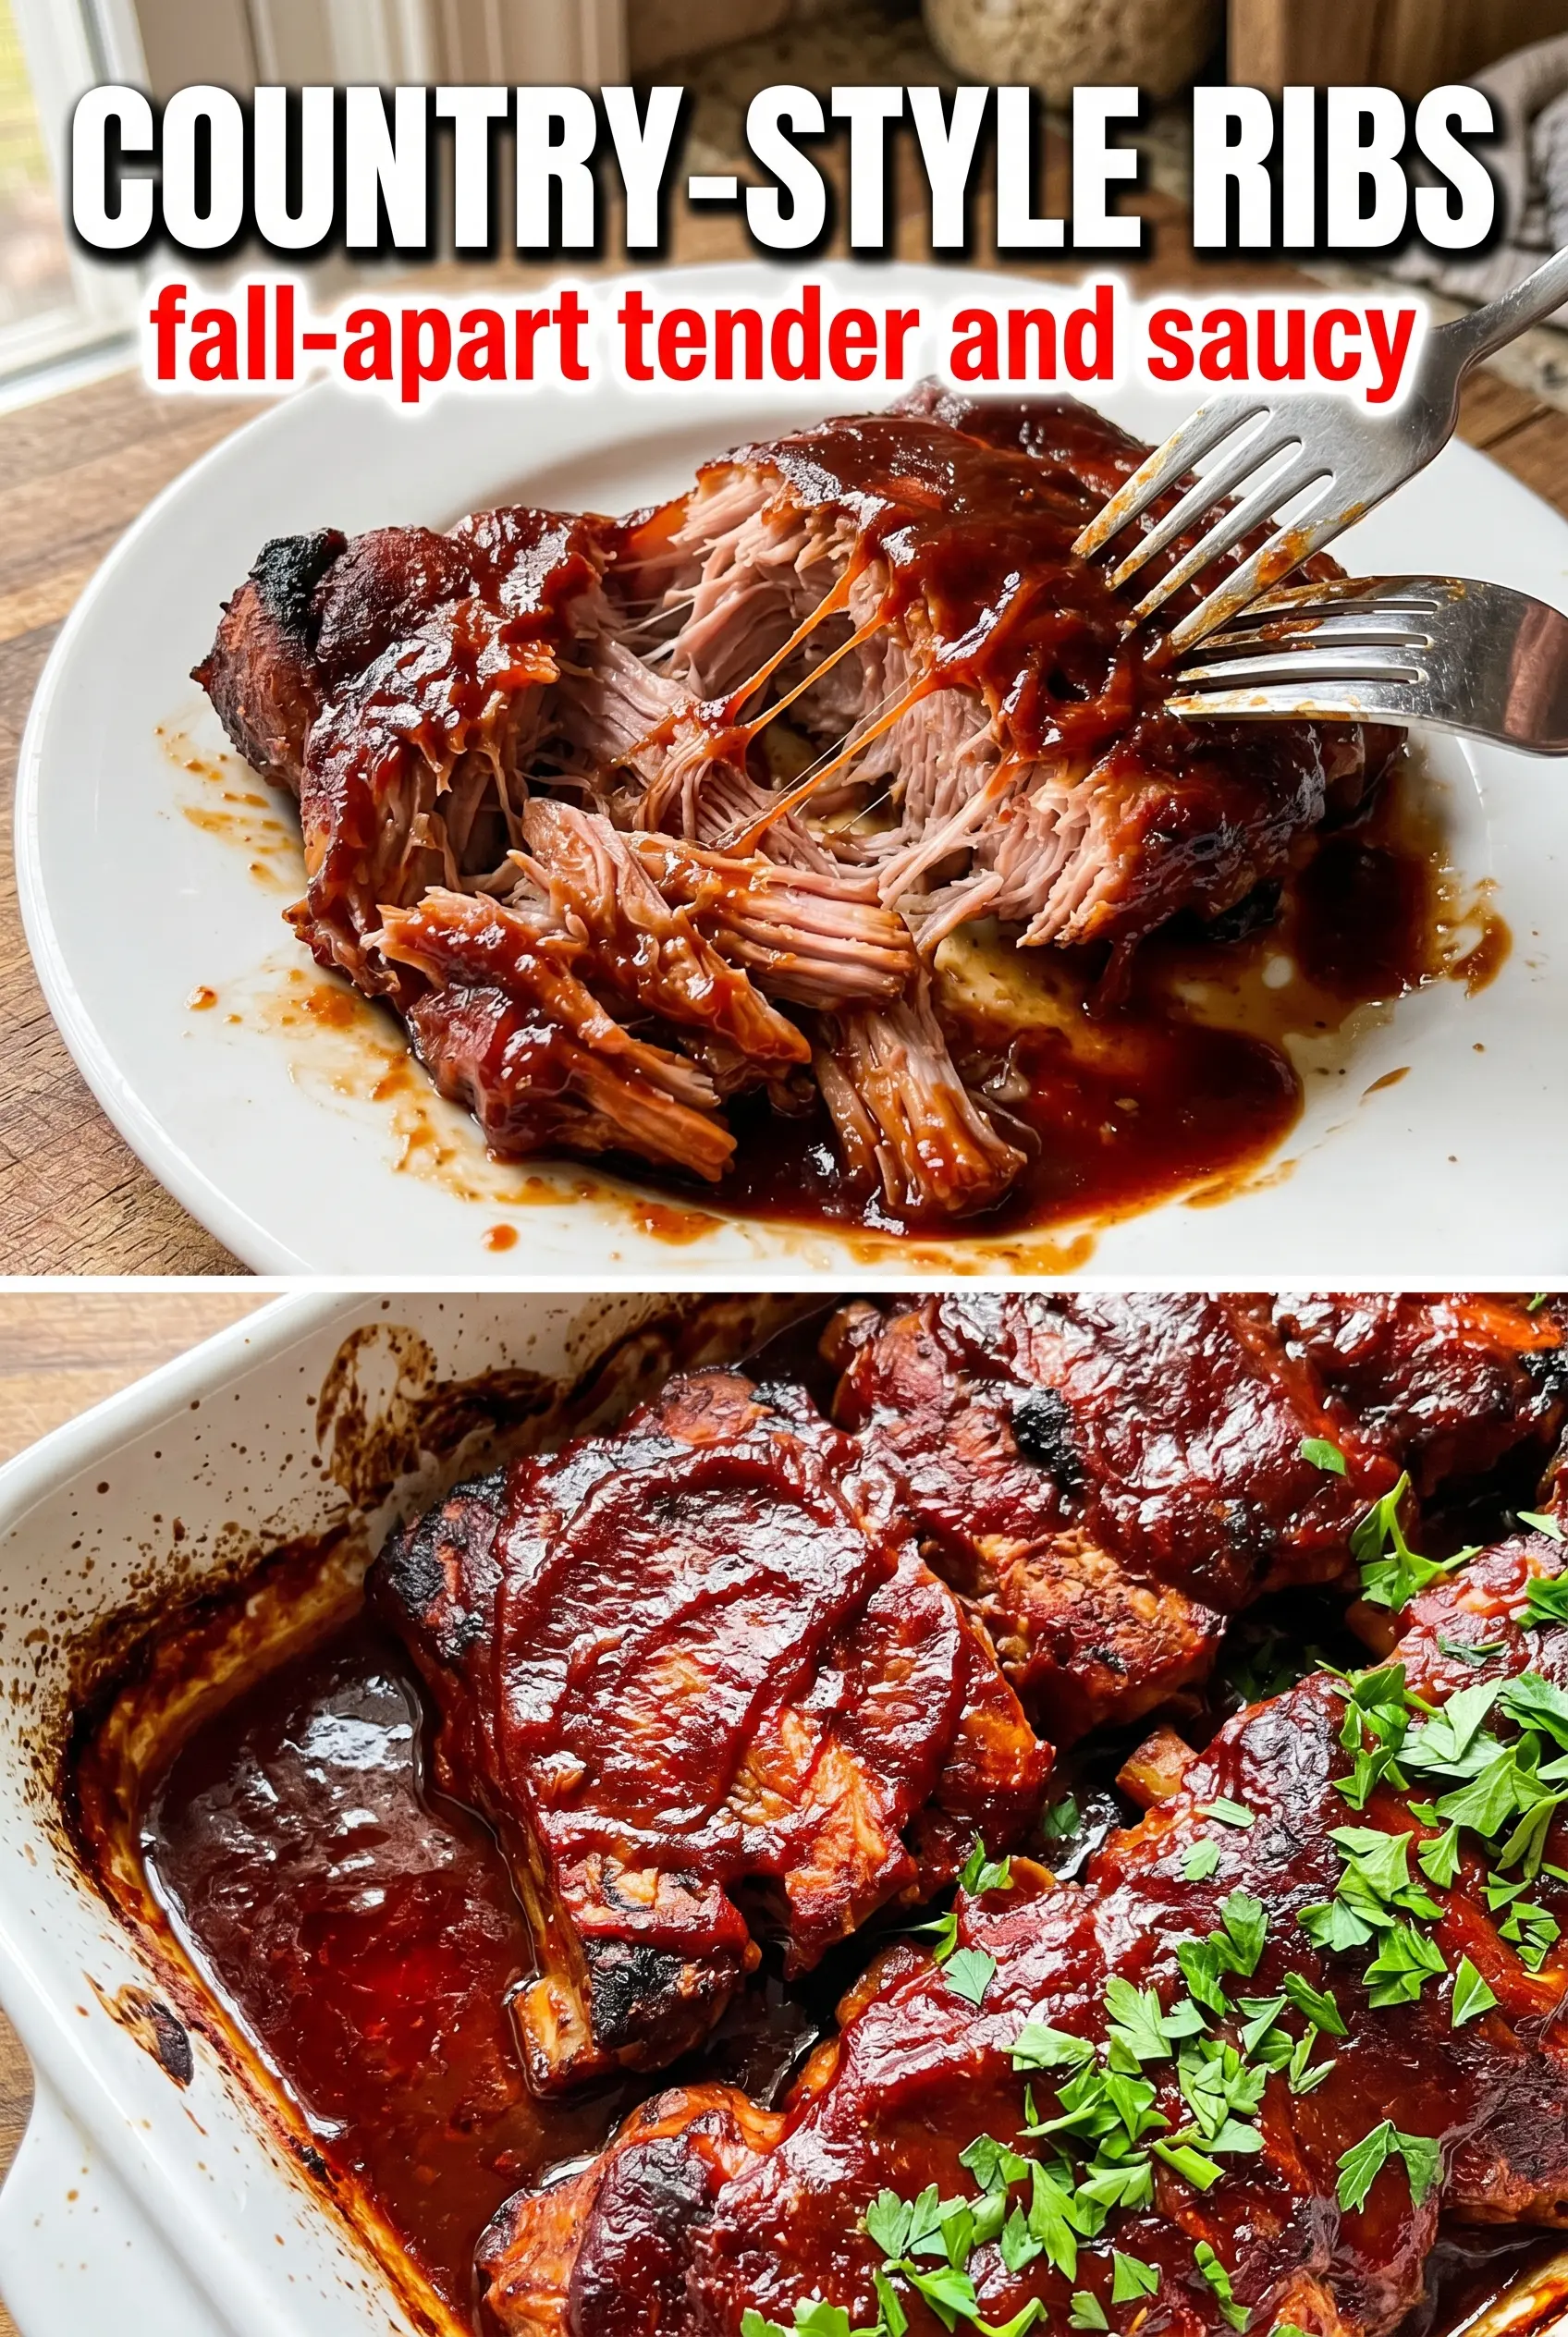
Boneless country-style ribs bake into the kind of sticky, fork-tender dinner that earns repeat requests without much fuss. The outside turns deeply caramelized and a little lacquered from the BBQ sauce, while the inside stays juicy enough to pull apart instead of slice. When they’re done right, you get that sweet-smoky crust and meat that practically falls apart at the touch of a fork.
The part that makes this version work is the low-and-slow first bake. Country-style ribs aren’t the same as baby back ribs; they’re thicker, meatier, and need time for the connective tissue to soften before any sauce goes on. The apple cider vinegar adds just enough steam and tang to keep the pan from drying out, and the final blast of heat is what gives you that dark, sticky finish instead of a pale, saucy coating.
Below, I’ll show you how to keep the ribs tender instead of chewy, how to get the BBQ glaze to cling, and what to change if you want to make them ahead or swap the sauce.
The ribs came out so tender they shredded with a fork, and the sauce caramelized into this sticky layer that clung to every piece. I used the extra BBQ sauce for serving, and that little tang from the vinegar kept everything from tasting flat.
Love a sticky BBQ crust on tender boneless country-style ribs? Save this one for the nights when you want fall-apart pork with almost no hands-on work.
The Mistake That Makes Country-Style Ribs Turn Tough
Boneless country-style ribs need time more than they need heat. If they go into a hot oven right away, the outside can dry out before the collagen has time to soften, which is why people end up with meat that tastes cooked but still chews like it’s resisting you. The low 300°F bake gives the ribs a long, gentle window to turn tender without losing all their juices.
The other common failure is saucing too early. BBQ sauce contains sugar, and sugar burns before the ribs have finished tenderizing. That’s why the sauce goes on only after the long covered bake, when the meat is already close to done and just needs high heat to caramelize.
- Covered baking first — traps moisture and helps the ribs soften evenly instead of drying on the edges.
- Uncovered finish — lets the sauce thicken and darken into a sticky crust.
- Single layer in the dish — gives the heat room to circulate so the ribs braise instead of steaming in a pile.
What Each Ingredient Is Actually Doing in These Ribs
- Boneless country-style pork ribs — these are the heart of the recipe. They’re meatier than rib cuts that look similar, and they need the full covered bake to get tender enough to shred.
- Brown sugar — helps the rub form that deep, sweet crust once the sauce goes on. Dark brown sugar gives a little more molasses flavor, but light brown sugar works fine.
- Smoked paprika — brings the smoky note that makes the ribs taste like they cooked over a fire, even though they’re baked in the oven.
- Apple cider vinegar — adds moisture to the pan and cuts through the sweetness of the BBQ sauce. White vinegar will work in a pinch, but the flavor is sharper and less rounded.
- BBQ sauce — use one you’d actually want to eat straight from the spoon, because its flavor becomes the final glaze. A thicker sauce clings better, while a thinner one may need a few extra minutes to caramelize.
Building Tender Pork and a Sticky Glaze in Two Oven Stages
Season the Ribs Generously
Mix the dry rub until the sugar and spices are evenly blended, then coat the ribs on all sides. You want every surface covered, because that seasoning is what flavors the meat before the sauce ever goes on. Lay the ribs in a single layer so they can cook evenly; if they’re crowded, the edges steam and the rub doesn’t brown the same way.
Cover and Cook Low
Pour the apple cider vinegar into the bottom of the baking dish, then cover it tightly with foil. That tight seal matters more than people think, because it keeps the pan environment humid while the ribs soften. Bake until the meat is very tender and a fork slides in with little resistance. If they still feel firm, give them more time instead of cranking the heat, because toughness means the connective tissue hasn’t broken down yet.
Brush, Raise the Heat, and Caramelize
Uncover the dish and brush the ribs generously with BBQ sauce. Then raise the oven to 400°F and return the pan to the oven until the sauce turns glossy, dark, and a little sticky at the edges. Watch for the sauce to bubble and tighten rather than smoke; if it starts to look dry before it colors, pull the pan out and add another thin coat of sauce.
Serve While the Glaze Is Still Shiny
Let the ribs rest a few minutes before serving so the juices settle back into the meat. Spoon extra BBQ sauce over the top if you want a wetter finish. They’re best when the glaze still looks shiny and the meat pulls apart cleanly without collapsing into mush.
How to Adapt These Boneless Country-Style Ribs for Different Nights
Dairy-Free and Naturally Gluten-Free
This recipe already fits both diets as written as long as your BBQ sauce is gluten-free. The only label to check is the sauce, since some brands use soy sauce, malt vinegar, or thickeners that contain gluten.
Spicier BBQ Ribs
Add cayenne or chipotle powder to the dry rub, or use a spicy BBQ sauce for the final glaze. This keeps the same sticky texture but gives the ribs more heat and a little extra smokiness.
Less Sweet, More Tangy
Use a tang-forward BBQ sauce and cut the brown sugar in the rub by half. You’ll get a sharper, more savory glaze that works well if you’re serving the ribs with rich sides like mac and cheese or mashed potatoes.
Storage and Reheating
- Refrigerator: Store leftovers in an airtight container for up to 4 days. The glaze will thicken as it chills, and the ribs may look more set once cold.
- Freezer: They freeze well for up to 2 months. Wrap tightly and freeze with a little extra sauce so the meat doesn’t dry out during thawing.
- Reheating: Reheat covered in a 300°F oven with a spoonful of extra sauce until hot. The common mistake is blasting them uncovered in the microwave, which dries the edges before the center is warm.
Answers to the Questions Worth Asking
Boneless Country-Style Ribs
Ingredients
Equipment
Method
- Preheat oven to 300°F. This ensures the ribs cook gently for tender, shreddable texture.
- Mix the dry rub ingredients and coat the ribs on all sides. Arrange the ribs in a single layer in a baking dish so they cook evenly.
- Pour apple cider vinegar into the bottom of the dish and cover tightly with foil. Make sure the foil seals to trap steam for very tender ribs.
- Bake for 2 hours at 300°F until very tender. Look for meat that pulls apart easily and shreds with light pressure.
- Uncover the dish and brush generously with BBQ sauce. Coat the tops and any exposed areas so the glaze caramelizes.
- Increase oven to 400°F and bake 20–25 minutes uncovered until the sauce caramelizes. Watch for a dark, sticky glaze and slightly bubbling edges.
- Serve immediately with extra BBQ sauce. The meat should be so tender it shreds at the fork’s touch.