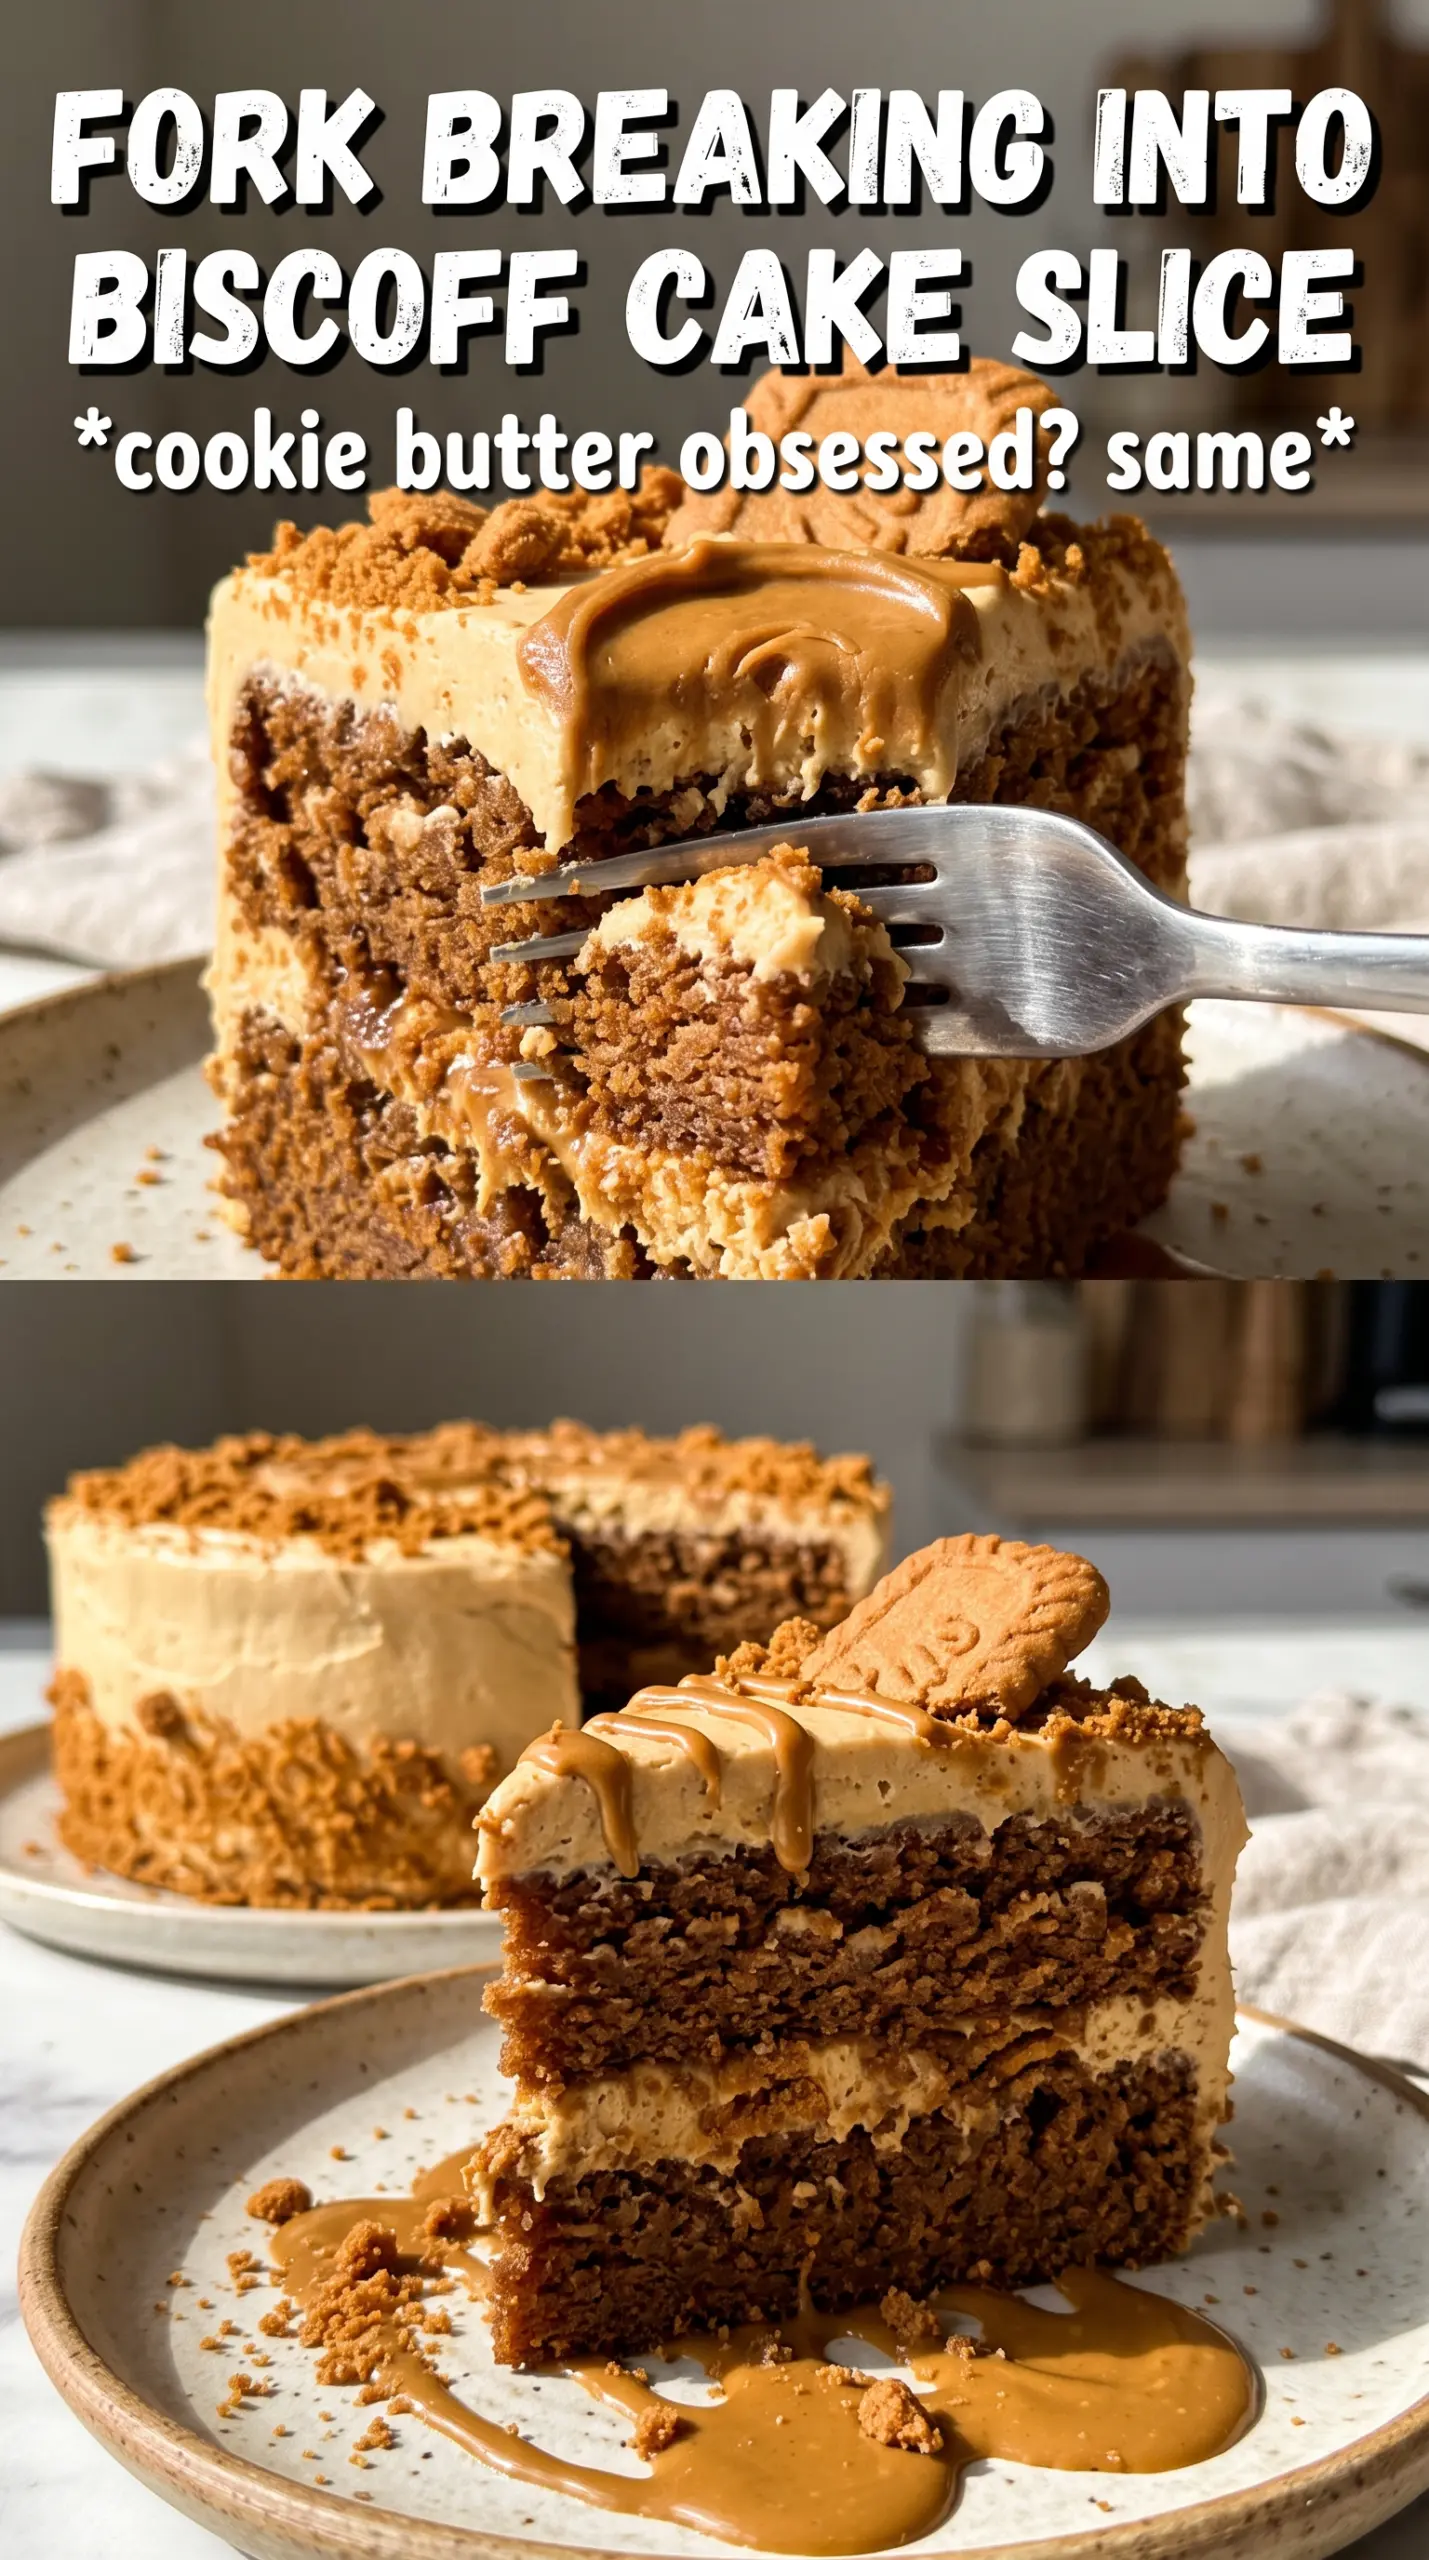
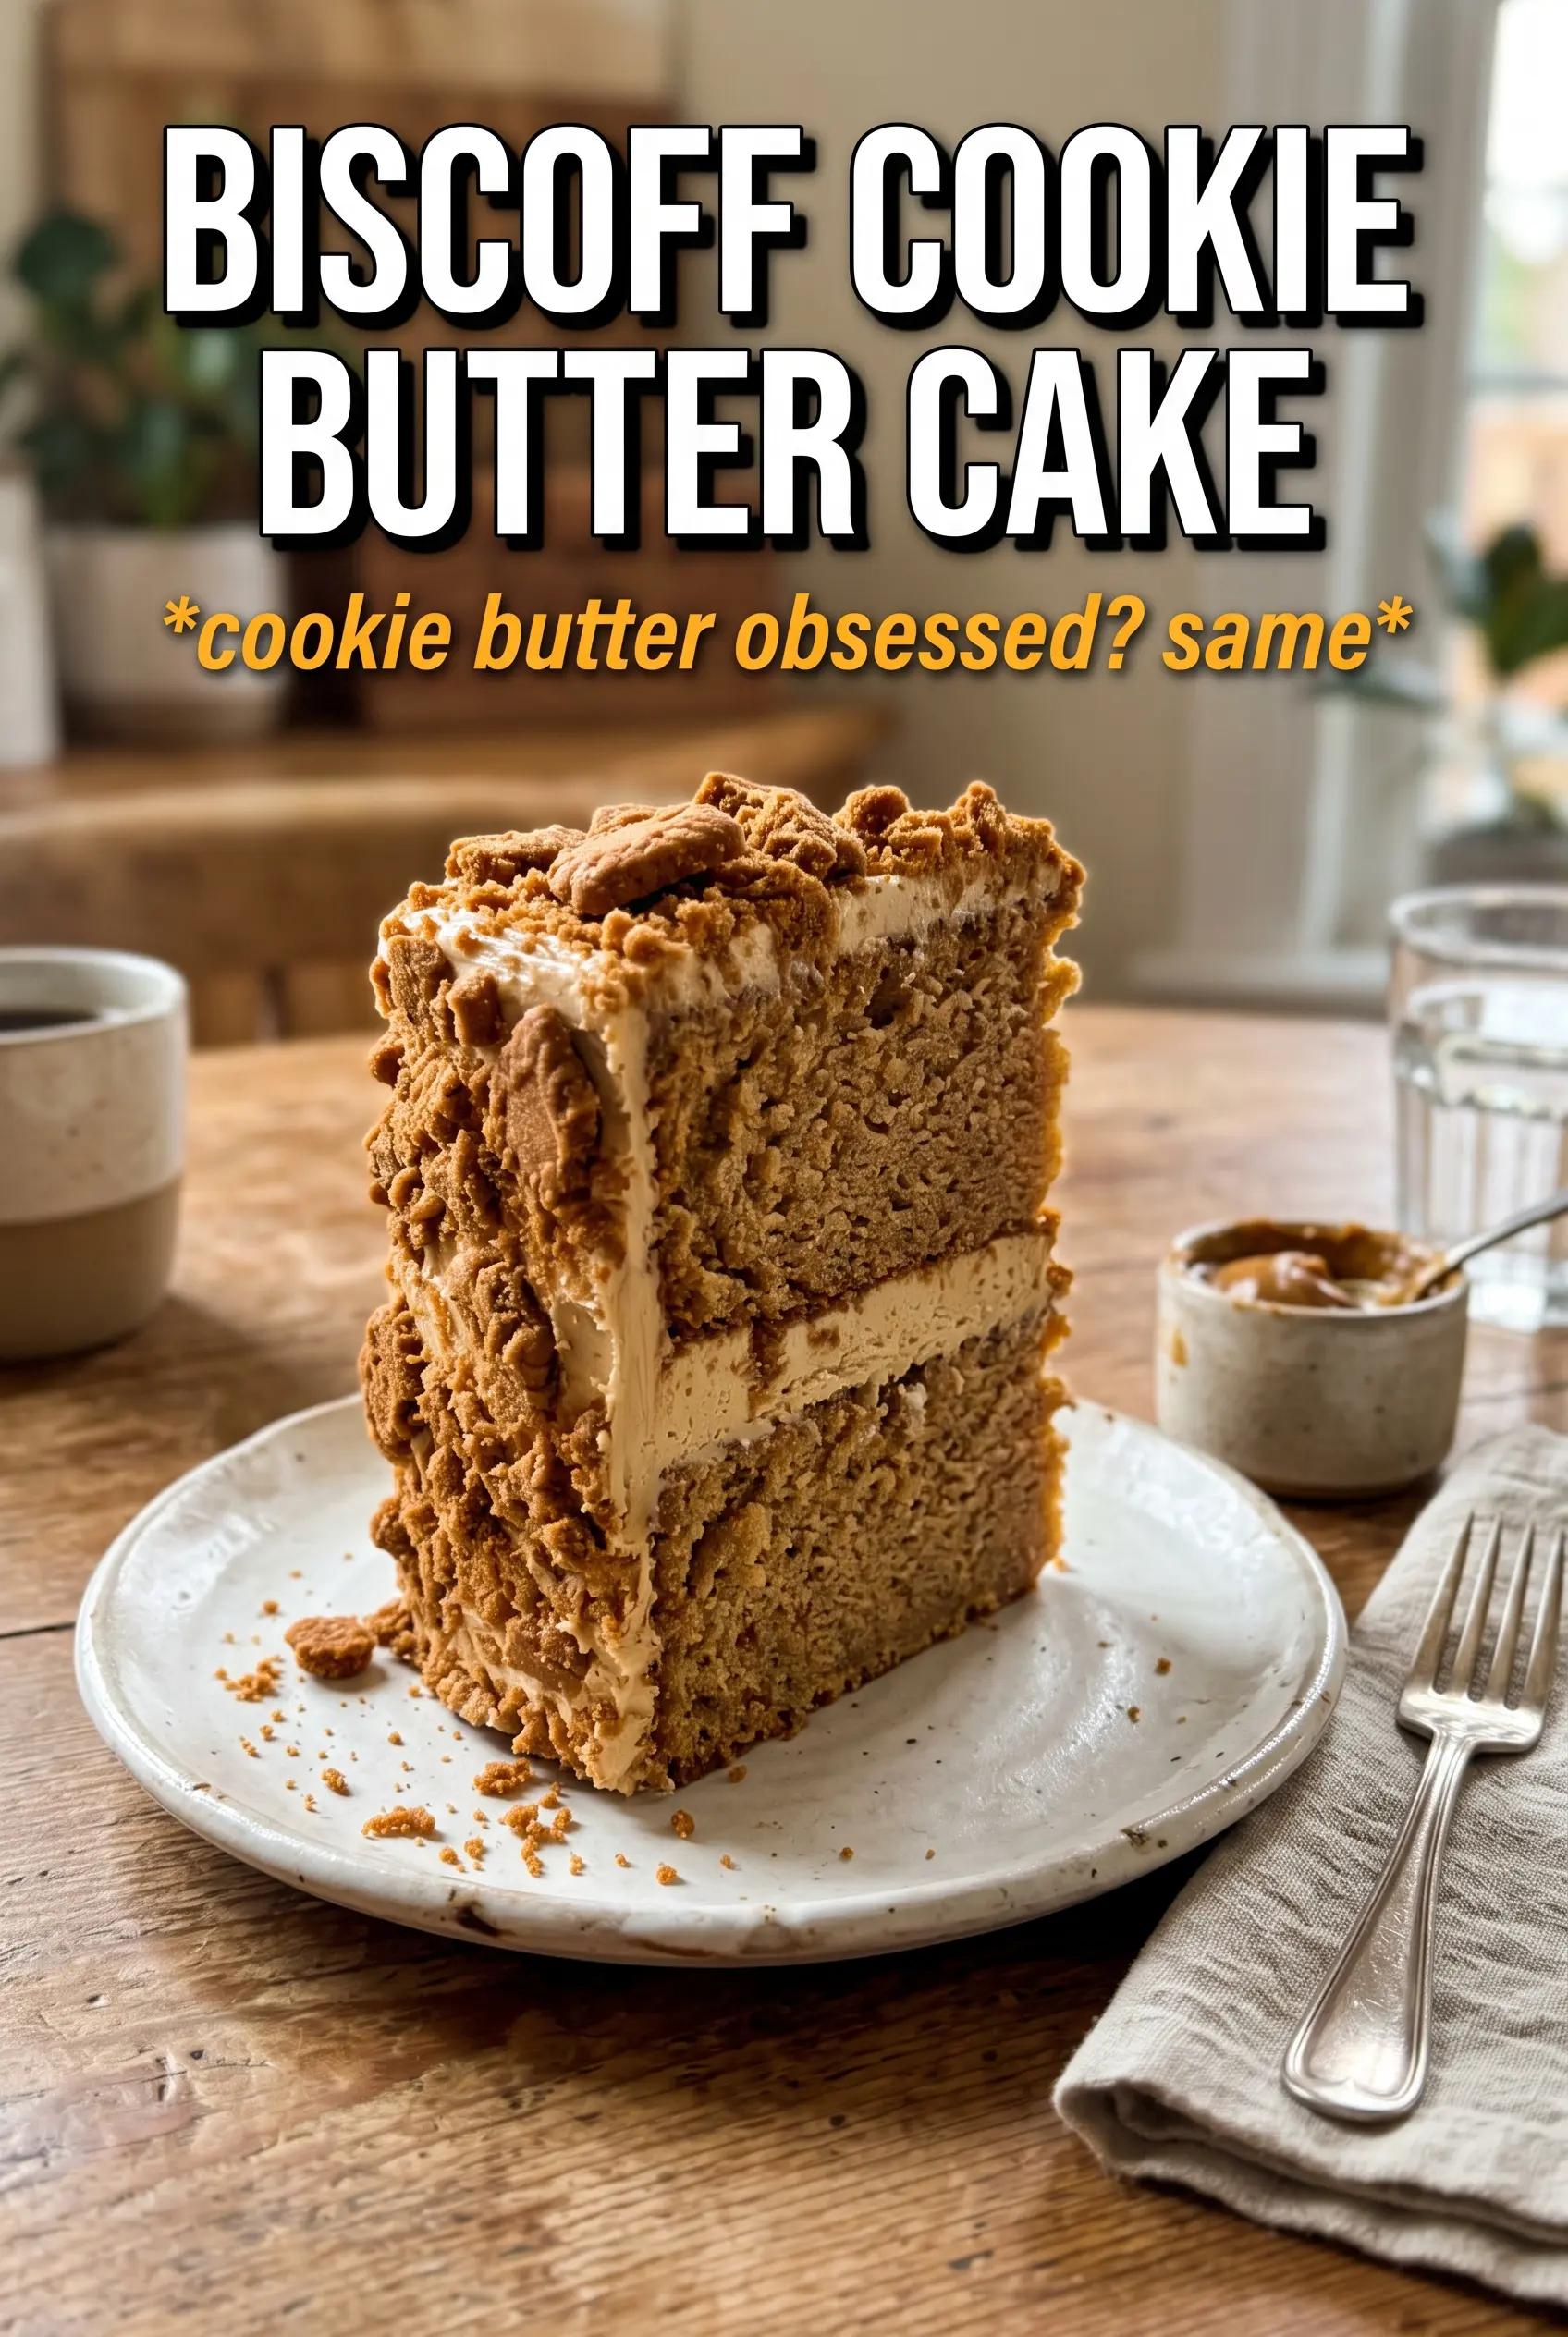
Caramelized spice, tender crumb, and that unmistakable cookie butter richness make this Biscoff Cookie Butter Cake the kind of dessert people remember after the last slice is gone. The cake layers stay soft and sturdy enough to stack, while the frosting brings a smooth, sweet finish that carries the Biscoff flavor all the way through. Crushed cookies on the outside give every slice a little crunch, so you get contrast in every bite.
The balance matters here. Brown sugar deepens the cake, cinnamon warms it up, and buttermilk keeps the crumb light instead of dense. Biscoff spread can get lost in a batter if it’s rushed in, so it helps to cream the butter and sugar properly first, then mix the wet ingredients until the batter looks evenly glossy before the flour goes in. That’s what gives this cake its even texture and keeps the layers from baking up heavy.
Below, you’ll find the exact place where cake layers usually go wrong, why the frosting needs a short beat at the end, and the small timing details that keep the cake clean and sliceable.
The frosting stayed fluffy and the cookie butter flavor came through in both the cake and filling. I chilled the layers for 20 minutes before stacking, and it sliced so cleanly without sliding.
Like this Biscoff Cookie Butter Cake? Save it for the next time you want soft spice cake, fluffy cookie butter frosting, and a crushed-cookie finish that slices cleanly.
The Layer Cake Mistake That Makes Biscoff Flavor Disappear
The biggest risk with a cookie butter cake is treating the Biscoff spread like a swap-in for peanut butter and expecting it to behave the same way. It doesn’t. Cookie butter is softer and sweeter, and if you dump everything together too quickly, the batter can turn loose and the flavor gets spread thin instead of landing in the crumb. Creaming the butter and brown sugar first gives the cake its structure, then the eggs and Biscoff can emulsify into a smooth base before the flour goes in.
That order matters because this is a layer cake, not a loaf. You want enough body for the layers to hold frosting without leaning, but you still want a tender bite. The buttermilk does the quiet work here. It keeps the crumb soft and helps the baking soda do its job, which is why the cake bakes up with a light, even texture instead of something sticky or tight.
- Brown sugar — This adds depth and moisture that plain white sugar can’t match. It also leans into the caramel notes already in the cookie butter.
- Buttermilk — Don’t replace it with regular milk unless you have to. The acidity helps tenderize the crumb and supports the rise. If you’re out, stir 1 tablespoon lemon juice or vinegar into 1 cup milk and let it sit for 5 minutes.
- Biscoff spread — Use the smooth version if you want the cleanest batter and frosting. Crunchy cookie butter can work in the filling, but it won’t blend as evenly in the cake.
- Cinnamon — This is the bridge between the brown sugar and the cookie butter. It keeps the cake from tasting flat or one-note.
What Each Ingredient Is Actually Doing in This Recipe
- Primary ingredient (the star) — Quality matters most. Choose the best you can find.
- Cooking medium (oil, butter, or broth) — This carries flavors and prevents dryness.
- Seasonings (salt, pepper, spices, herbs) — Layer flavors so nothing overpowers. Build depth gradually.
- Aromatics (garlic, onion, herbs) — Cook with fat to bloom flavors. Become the foundation.
- Supporting ingredients — Complement the main ingredient without overpowering it.
- Sauce or liquid (if applicable) — Brings flavors together. Balance richness with acid.
- Acid (lemon, vinegar, wine, or other) — Brightens and prevents flat-tasting results.
- Final finish (garnish, glaze, or sauce) — Prevents one-dimensional taste and adds visual appeal.
Building the Batter and Frosting Without Losing the Texture
Creaming the Base
Beat the butter and brown sugar until the mixture looks pale and fluffy, not just blended. That step traps air, which helps the cake rise without getting dense. If you rush it, the finished layers will bake up heavier and the crumb won’t have that soft, springy feel. Add the eggs one at a time so the mixture stays smooth; if it looks curdled after the eggs go in, keep mixing and it will come back together once the Biscoff and vanilla are added.
Mixing the Dry and Wet Ingredients
Whisk the flour, baking powder, baking soda, cinnamon, and salt before they touch the bowl. That keeps the leaveners evenly distributed, which matters in a cake this tender. Add the dry ingredients in stages and stop mixing as soon as the last streaks disappear. Overmixing here tightens the crumb and can make the layers bake up with a tunneling, bread-like texture instead of a fine cake crumb.
Baking and Cooling the Layers
Divide the batter evenly between the pans so all three layers finish at the same time. The cakes are done when the centers spring back lightly and a toothpick comes out with a few moist crumbs, not wet batter. Let them cool in the pans for about 10 minutes, then turn them out to cool completely on racks. If you frost warm layers, the butter in the frosting softens too fast and the cake can slide.
Whipping the Frosting to the Right Finish
Beat the butter, Biscoff spread, powdered sugar, cream, and vanilla until the frosting turns light and spreadable. If it looks too stiff, add a little more cream a teaspoon at a time; if it looks loose, beat in a bit more powdered sugar. The key is stopping once it’s fluffy and smooth. If you overbeat it for too long, it can turn airy and hard to spread neatly between the layers.
How to Adapt This Cake When You Need a Different Finish
Dairy-Free Version
Swap the butter for a good plant-based baking stick and use an unsweetened dairy-free milk mixed with 1 tablespoon vinegar for the buttermilk. The cake will still be tender, though the frosting won’t have quite the same rich finish as the butter version. Use a dairy-free cookie butter if needed, but check the texture first since some brands are thinner and may need a touch more powdered sugar.
Less-Sweet Frosting
Drop the powdered sugar by 1/2 cup and add a pinch of salt. You’ll get a frosting that tastes a little more like whipped cookie butter and a little less like pure icing sugar, but it will still pipe and spread cleanly. If you cut too much sugar, the frosting gets loose and won’t hold sharp layers.
Cupcake or Sheet Cake Version
Bake the batter in lined cupcake tins or a 9×13 pan for easier serving. Cupcakes will finish faster and need close watching in the last few minutes, while a sheet cake will bake more evenly and give you a slightly less dramatic layer. The flavor stays the same, but you lose the stacked frosting-and-cookie look that makes the layer cake special.
Storage and Reheating
- Refrigerator: Store covered for up to 4 days. The frosting firms up in the fridge, so let slices sit at room temperature for 20 to 30 minutes before serving.
- Freezer: This cake freezes well as whole layers or individual slices. Wrap tightly in plastic, then foil, and thaw overnight in the refrigerator before bringing it to room temperature.
- Reheating: This cake isn’t meant to be reheated. Serve it at room temperature for the best texture; microwaving softens the frosting unevenly and can make the layers greasy.
Questions I Get Asked About This Cake
Biscoff Cookie Butter Cake
Ingredients
Equipment
Method
- Preheat oven to 350F, then grease three 8-inch round pans. Visually check the pans look lightly coated so the layers release cleanly.
- Whisk all-purpose flour, baking powder, baking soda, cinnamon, and salt in a bowl. Mix until the dry spices are evenly dispersed.
- Beat butter and brown sugar until fluffy. Keep mixing until the mixture looks lighter in color and aerated.
- Add eggs one at a time, then mix in Biscoff cookie butter, vanilla, and buttermilk. Stop and scrape the bowl as needed to fully combine.
- Fold the flour mixture into the wet ingredients just until no dry streaks remain. The batter should look smooth and thick.
- Divide the batter evenly between the three pans. Tap each pan once to level the batter surface.
- Bake at 350F for 30-35 minutes, until a toothpick in the center comes out clean. The tops should look set and lightly browned.
- Cool the cakes completely before frosting. Wait until the layers feel fully room temperature to prevent the frosting from melting.
- Beat butter, Biscoff spread, powdered sugar, cream, and vanilla until fluffy. Keep beating until the frosting looks thick, smooth, and spreadable.
- Spread frosting between the cooled cake layers and then over the top. Smooth the surface so the sides have an even base for decoration.
- Press crushed Biscoff cookies onto the frosting for decoration around the sides and top. Press gently so the cookie pieces adhere without losing frosting.