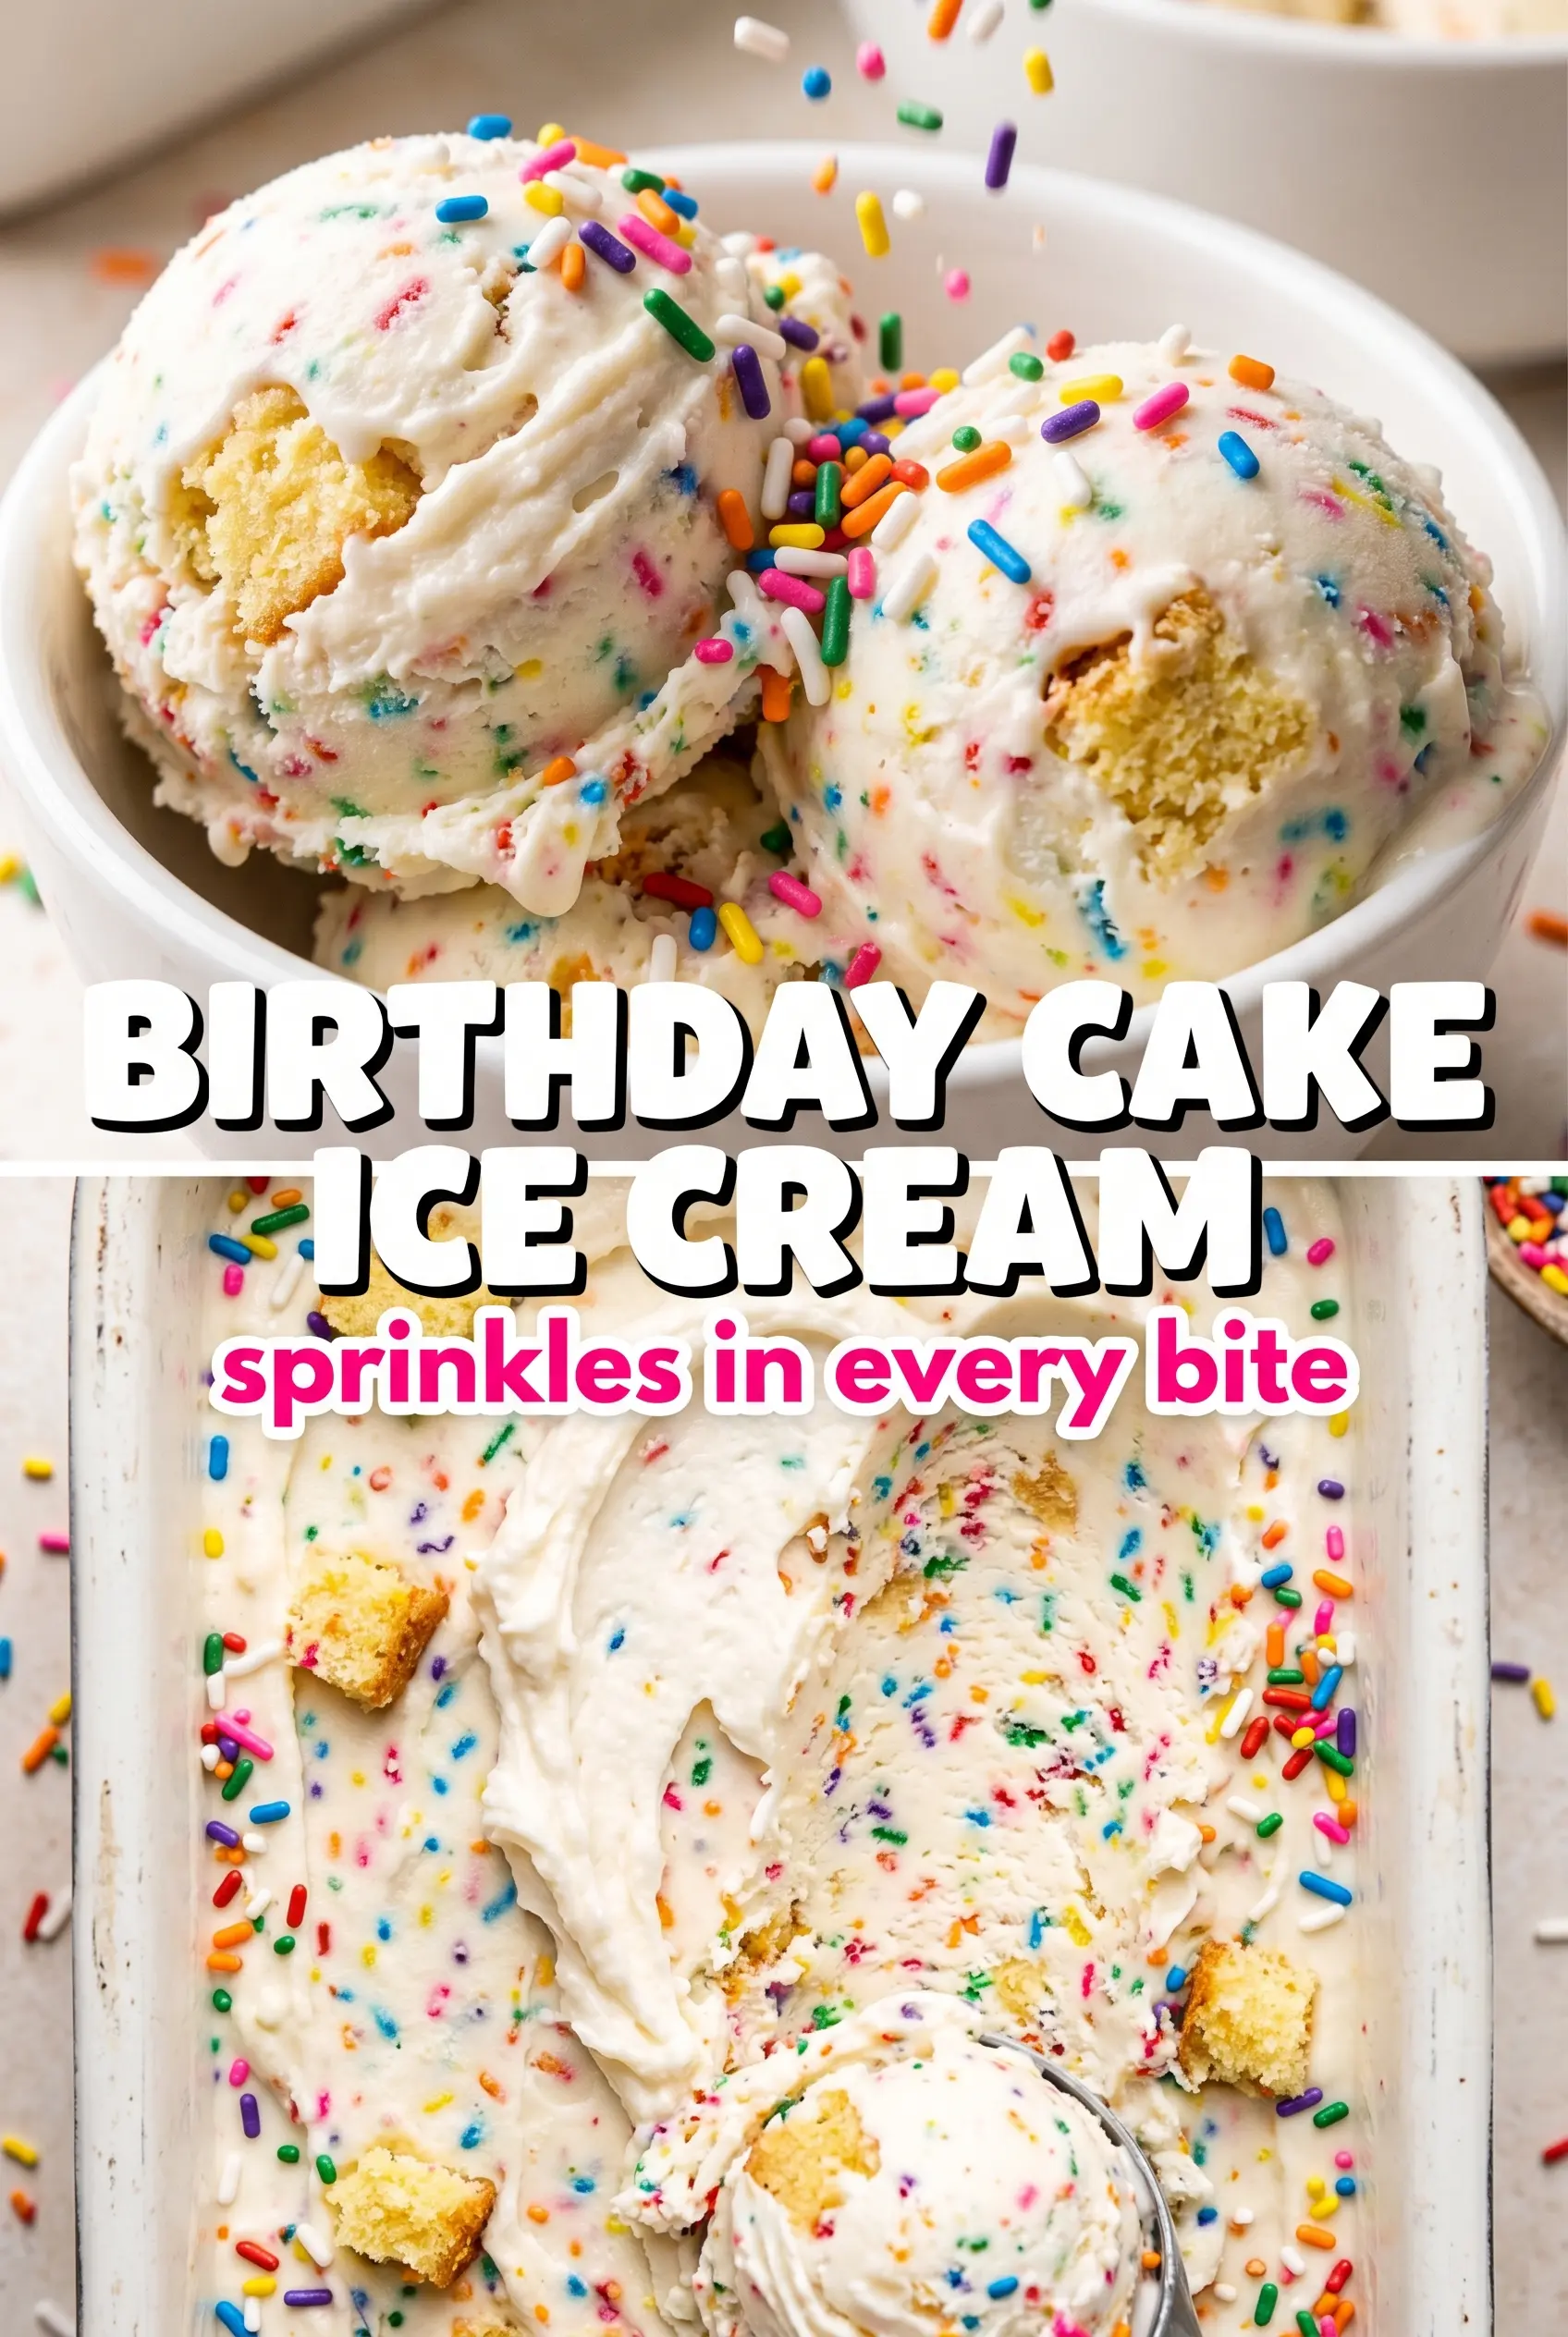
Creamy, pale golden birthday cake ice cream hits the spoon with that nostalgic cake-batter flavor people expect, but the texture is what makes it worth the churn. It’s rich without being heavy, sweet without turning cloying, and packed with rainbow sprinkles that stay bright instead of bleeding into the base.
The key is building a real custard, not just sweetened cream. Egg yolks give the ice cream body and help it freeze with a smooth, scoopable texture, while butter extract does the heavy lifting for that unmistakable boxed-cake flavor. Vanilla rounds it out, almond adds the bakery note, and the salt keeps the sweetness from flattening out.
Below, I’ll walk you through the part that matters most: cooking the custard to the right temperature, when to add the extracts so the flavor stays clean, and why the sprinkles go in at the very end.
The custard was silky and the sprinkle color stayed separate instead of turning muddy. I let it chill overnight and it churned into the creamiest birthday cake ice cream I’ve made at home.
Like this birthday cake homemade ice cream? Save it to Pinterest for the custard base, rainbow sprinkle finish, and party-ready scoops.
The Custard Temperature That Keeps This Ice Cream Smooth
Ice cream gets grainy or icy when the base never fully thickens before freezing. This recipe avoids that by cooking the custard to 175F, which is hot enough to coat a spoon and give the yolks a chance to do their job without scrambling them. The second you see steam and steady thickening, stay on it — the jump from perfect to overcooked can happen fast.
The other place people lose texture is the chill time. Warm custard goes into the machine like a weak base and turns out loose and soft, even if it tastes right. A full chill gives the fat time to settle and the mixture enough coldness to churn into something dense and creamy instead of slushy.
What the Butter Extract Is Doing Here

- Heavy cream — This brings the fat that makes the ice cream taste rich and freeze with a softer scoop. Don’t swap in half-and-half unless you want a lighter base that turns icier.
- Whole milk — It keeps the custard from becoming too dense. Lower-fat milk works, but the finished texture won’t feel as plush.
- Egg yolks — These thicken the base and give it that custard-style body. They’re what separate homemade ice cream from sweet frozen cream.
- Butter extract — This is the ingredient that pushes the flavor toward birthday cake batter instead of plain vanilla ice cream. If you skip it, you lose the bakery note that makes this recipe special.
- Almond extract — Use a light hand here. It adds the classic cake shop flavor, but too much will take over fast and make the ice cream taste like marzipan.
- Rainbow sprinkles — Add them at the very end of churning so they stay bright and distinct. Jimmies work best; nonpareils tend to bleed color and can turn the base muddy.
Building the Base Without Scrambling the Yolks
Warming the Dairy
Heat the cream and milk until steaming, not boiling. You want little wisps of steam and tiny bubbles around the edge of the pan, because that temperature is hot enough to temper the yolks without shocking them. If the dairy boils hard, you’ll spend the rest of the process fighting curdled bits.
Tempering the Egg Yolks
Whisk the yolks and sugar until smooth, then drizzle the hot dairy in slowly while whisking constantly. That gradual addition raises the temperature of the yolks in stages so they stay creamy instead of turning into scrambled bits. If the mixture looks foamy and thin at this point, that’s fine; it thickens on the stove.
Cooking to Spoon-Coating Thickness
Return the mixture to the pan and cook, stirring constantly, until it reaches 175F and lightly coats the back of a spoon. Pull the pan off the heat as soon as it hits that point. If you wait for it to look thick in the pan, you’ve already gone too far.
Finishing the Flavor and Cooling Down
Strain the custard into a clean bowl, then stir in the butter extract, vanilla, almond extract, and salt. Add extracts off the heat so their flavors stay bright instead of cooking off. Chill the base completely before churning; warm custard freezes sluggishly and gives you a softer, less defined texture.
How to Adapt This Birthday Cake Ice Cream for Different Needs
Use jimmies for the cleanest sprinkle look
Rainbow jimmies hold their color and stay pleasantly soft in the churn. Nonpareils will tint the base and can go hard in the freezer, which changes both the look and the bite.
Make it dairy-free with full-fat coconut milk
Use canned coconut milk in place of the cream and milk, then keep the custard method the same. The texture will still be creamy, but the flavor shifts slightly toward coconut, so the butter extract and almond become even more important.
Cut the almond extract if you want a milder cake flavor
You can reduce the almond extract to a few drops or leave it out entirely for a softer vanilla-cake profile. The result is less bakery-like and more straight birthday vanilla, which some people prefer.
Storage and Reheating
- Refrigerator: Store the churned base only before freezing for up to 2 days if needed. Once frozen, keep the ice cream in an airtight container and expect the texture to firm up more over time.
- Freezer: It freezes well for about 2 weeks with good texture. Press parchment or plastic wrap directly on the surface to help prevent ice crystals.
- Reheating: Not applicable. For serving, let the container sit at room temperature for 5 to 10 minutes so the first scoop doesn’t shatter into hard shards.
Questions I Get Asked About This Recipe
Birthday Cake Homemade Ice Cream
Ingredients
Equipment
Method
- In a saucepan, heat the heavy cream and whole milk until steaming, not boiling, around 180°F. Keep it hot and ready while you prepare the yolks.
- In a bowl, whisk the egg yolks and granulated sugar until smooth and slightly thickened. This should look pale and glossy.
- Slowly whisk the steaming cream mixture into the egg yolks in a thin stream. Whisk constantly to prevent scrambling.
- Return the mixture to the saucepan and cook to 175°F, stirring constantly. Stop when it coats the back of a spoon and the custard looks custardy, not curdled.
- Strain the custard into a clean container and stir in butter extract, vanilla extract, almond extract, and salt. Make sure the mixture is evenly smooth.
- Cover and refrigerate the base for 4 hours until completely chilled. Chill until it is cold all the way through.
- Churn the chilled custard in an ice cream maker until it thickens to soft-serve consistency. In the last 2 minutes, fold in the rainbow sprinkles so they stay suspended.
- Transfer the churned ice cream to a container and freeze until firm. It should hold shape when scooped.
- Serve immediately and top with additional rainbow sprinkles if desired. The visual cue is a pale golden base packed with confetti-like sprinkles.