Golden baked chicken breasts live or die by two things: even thickness and honest timing. When those two are right, the meat stays juicy, the outside takes on a fragrant herb crust, and every slice looks clean instead of dry and stringy. This version keeps the seasoning simple on purpose, which lets the chicken taste like chicken instead of getting buried under a heavy coating.
Pounding the breasts to an even 3/4-inch thickness is what keeps the thinner end from drying out before the thicker end finishes. The olive oil helps the spices bloom in the oven and gives the surface enough coverage to brown instead of turning dusty. A hot oven at 425°F moves the chicken along fast enough to set the crust before the interior has time to lose too much moisture.
Below, you’ll find the one detail that matters most if your chicken usually comes out bland or dry, plus the small changes that help this recipe work with whatever you have in the pantry.
I always had trouble with baked chicken turning dry, but pounding it to an even thickness made all the difference. The crust got golden in 20 minutes and the juices stayed in the meat after resting.
Love a juicy herb crust on baked chicken breasts? Save this one for the nights when you want a fast main dish that still feels pulled together.
The Reason Chicken Breasts Dry Out Before They Brown
Chicken breasts are lean, which means there isn’t much fat inside the meat to protect it once the heat starts climbing. The usual mistake is putting uneven pieces into the oven and waiting for the thickest spot to hit 165°F while the thin edges keep cooking past the point of juiciness. By the time the center is done, the smaller end has already tightened up.
Even thickness fixes that problem before it starts. The second piece of the puzzle is oven temperature: 425°F is hot enough to encourage browning quickly, but not so slow that the chicken sits in the oven long enough to dry out. If your chicken is still pale at the end of baking, it’s usually a sign the oven was too cool or the pieces were crowded in the dish.
- Pounding the breasts evens out the cook so the whole piece reaches temperature at the same time.
- Olive oil carries the seasonings and helps the surface color instead of looking chalky.
- Smoked paprika adds color and a subtle savory edge without needing a long marinade.
- Resting after baking lets the juices settle back into the meat instead of running out on the cutting board.
What Each Seasoning Is Doing on the Chicken
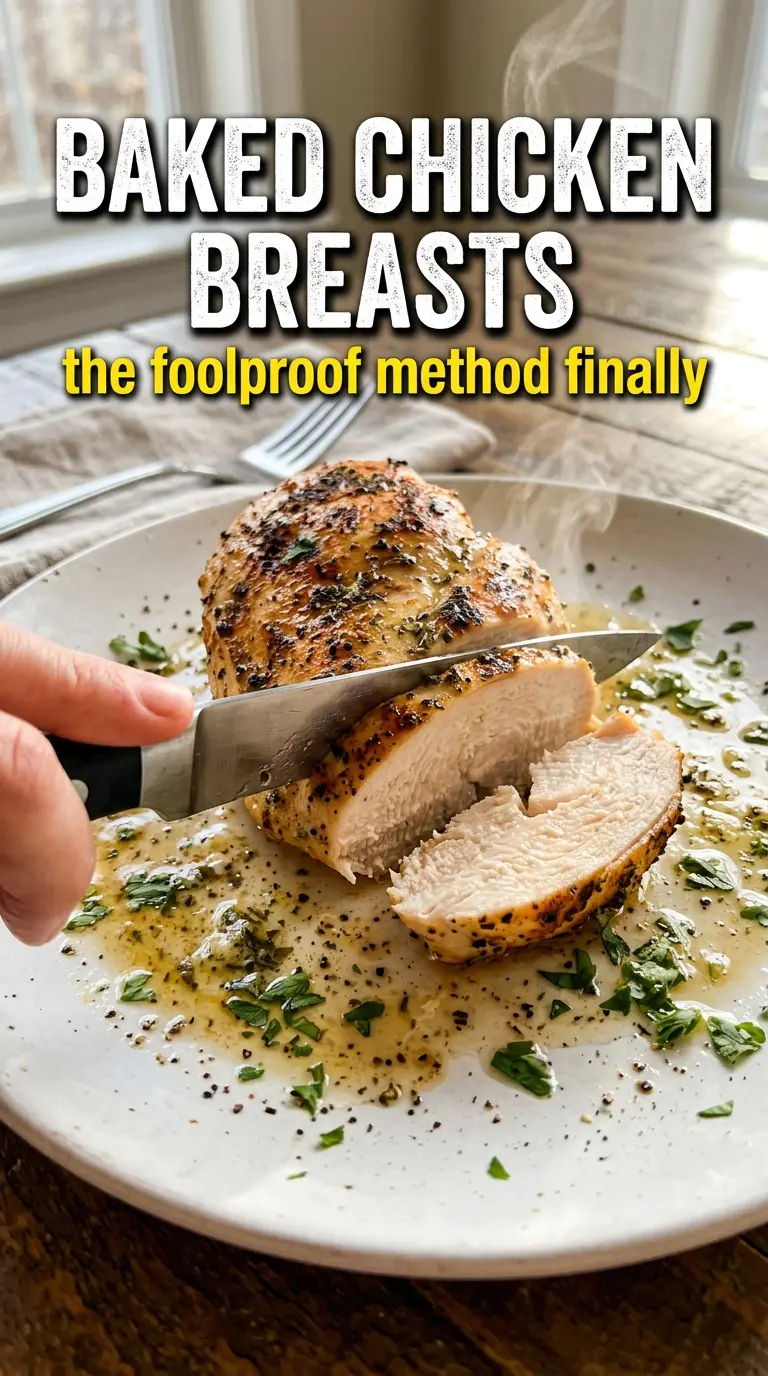
- Chicken breasts need the even pounding more than almost any other cut. Boneless, skinless breasts cook fast, but they punish uneven thickness, so the prep step matters more than any spice blend.
- Olive oil gives the seasonings something to cling to and helps the surface brown. A neutral oil works in a pinch, but olive oil adds just enough richness to round out the spices.
- Garlic powder, onion powder, smoked paprika, and Italian seasoning build a savory crust without adding moisture that can steam the surface. Use dried herbs here, not fresh ones, because fresh herbs can scorch before the chicken is done.
- Salt and cracked black pepper pull the seasoning blend together and wake up the chicken’s flavor. If your salt is coarse, measure by weight or use a light hand, since different crystals pack differently.
- Lemon wedges and parsley are for the finish. The lemon cuts through the richness and the parsley makes the plate taste fresher, but neither one should go into the oven.
How to Bake Chicken So It Stays Juicy All the Way Through
Getting the Breasts Ready
Start by preheating the oven to 425°F and lightly greasing the baking dish. If the chicken breasts are uneven, pound them to an even 3/4-inch thickness, focusing on the thicker side until the whole piece looks uniform. That single move is what keeps the narrow end from drying out while you wait for the center to catch up. Pat the chicken dry if it looks wet on the surface; extra moisture keeps the seasoning from sticking cleanly.
Coating for Color and Flavor
Brush both sides with olive oil, then rub on the seasoning mixture until every bit of the surface is covered. You want a thin, even coat, not clumps of spices sitting on top, because clumps can taste bitter once they bake. Put the chicken in the dish with a little space around each breast so the hot air can move around them. If the pieces are crowded, they steam instead of browning.
Knowing When to Pull It
Bake for 18 to 22 minutes, depending on thickness. The tops should look golden and the thickest part should reach 165°F on an instant-read thermometer. If you wait for the chicken to look completely firm and opaque all the way through, you’ve already gone too far. Pull it the moment it reaches temperature, then let it rest for 5 minutes before slicing so the juices stay in the meat.
How to Adapt These Baked Chicken Breasts Without Losing the Juicy Texture
Dairy-Free and Naturally Gluten-Free
This recipe already fits both of those needs as written. The only thing to watch is any seasoning blend that includes hidden fillers; plain spices and dried Italian seasoning keep the flavor clean and the texture untouched.
Swap the Italian Seasoning for a Different Herb Profile
Use dried thyme, rosemary, or oregano if that’s what you have. Rosemary brings a stronger piney note, thyme stays softer, and oregano makes the chicken lean more savory and Mediterranean. Keep the amount the same so the crust doesn’t get overloaded with herbs.
Chicken Cutlets for a Faster Dinner
If you slice the breasts horizontally into cutlets, the cook time drops a few minutes and the texture stays tender because the pieces are thinner and more even. Watch them closely, though, since cutlets can go from done to dry fast in a hot oven.
Storage and Reheating
- Refrigerator: Store for up to 4 days in an airtight container. The chicken stays moist, though the crust softens a bit as it sits.
- Freezer: Freeze cooked chicken breasts for up to 2 months, wrapped tightly and then sealed in a freezer bag. Thaw overnight in the refrigerator for the best texture.
- Reheating: Warm gently in a 300°F oven, covered loosely with foil, just until heated through. High heat is the fastest way to turn leftover chicken stringy.
Answers to the Questions Worth Asking
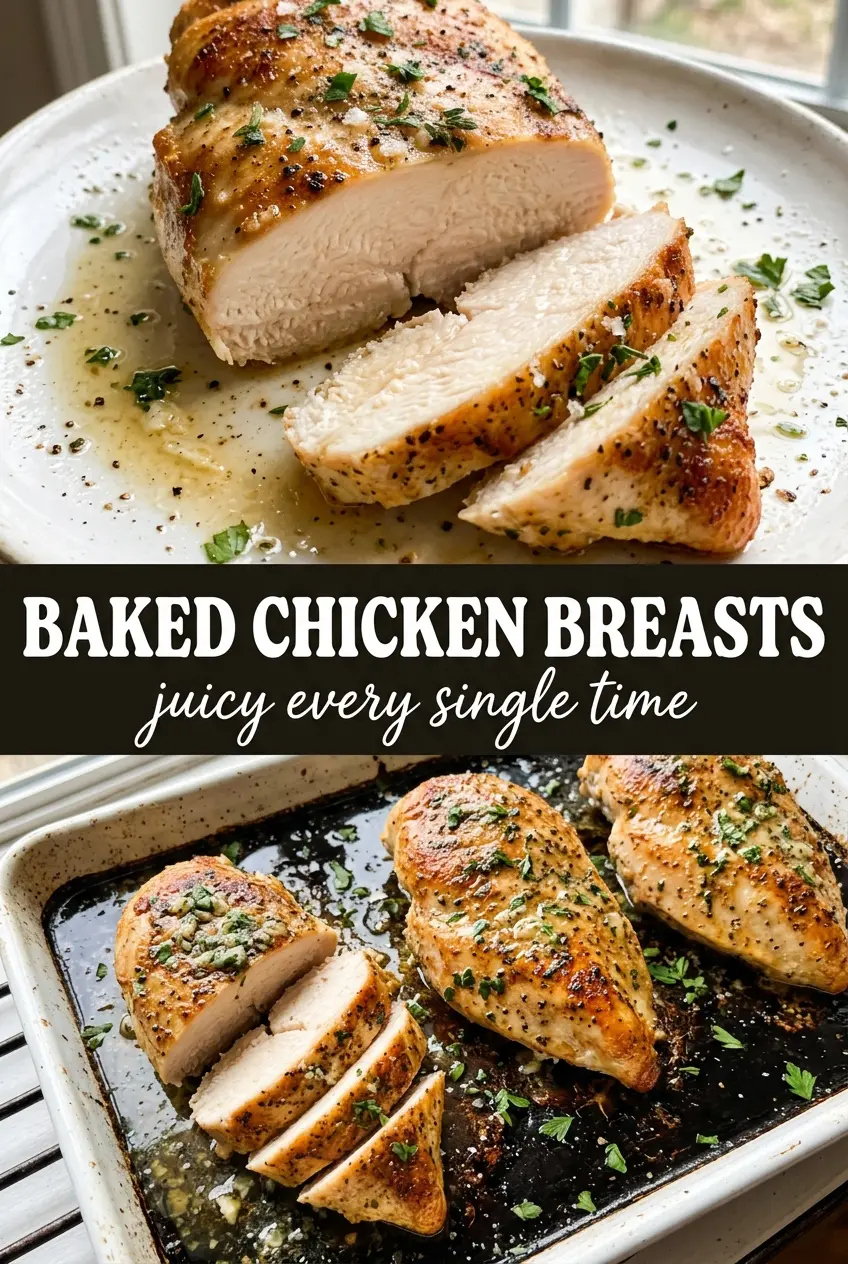
Baked Chicken Breasts
Ingredients
Equipment
Method
- Preheat the oven to 425°F and lightly grease a baking dish or sheet pan.
- Pound the chicken breasts to an even 3/4-inch thickness if they vary in size to help them cook evenly.
- Brush both sides of each chicken breast with olive oil so the seasoning adheres.
- Mix garlic powder, onion powder, smoked paprika, Italian seasoning, salt, and cracked black pepper.
- Rub the seasoning mixture evenly over both sides of the chicken and press lightly to form a fragrant crust.
- Bake for 18-22 minutes at 425°F until the internal temperature reaches 165°F and the tops are golden; do not overbake.
- Rest the baked chicken breasts for 5 minutes before slicing so juices redistribute.
- Garnish with fresh parsley and lemon wedges and serve hot.