Apple Pie Cheesecake earns its place on the table because it gives you the best part of two desserts in one clean slice: a buttery cinnamon crust, a smooth baked cheesecake, and a tender apple topping that tastes like pie filling instead of watery fruit. The streusel on top adds the last bit of crunch, and the caramel drizzle ties the whole thing together without making it overly sweet.
What makes this version work is the layering. The apples are cooked first with brown sugar, cinnamon, nutmeg, and cornstarch so they thicken before they ever hit the cheesecake. That keeps the filling from turning loose and soggy in the oven. The water bath matters too. It gives the cheesecake a gentler bake, which is how you get a creamy center instead of cracked edges and a grainy texture.
Below, I’ll walk through the one detail that keeps the cheesecake from splitting, plus the few ingredient choices that make the apple layer taste like real pie filling instead of just spiced fruit.
The apple layer set up beautifully and the streusel stayed crisp even after chilling overnight. I was nervous about the water bath, but the cheesecake came out smooth with no cracks at all.
Like this Apple Pie Cheesecake? Save it to Pinterest for the days when you want a creamy baked cheesecake with a spiced apple layer and caramel on top.
The Water Bath Is What Keeps the Cheesecake Creamy
Cheesecake cracks when it bakes too fast or dries out at the edges before the center has a chance to set. The water bath buffers the heat, which gives the filling a slow, even bake and a smoother texture from edge to middle. That matters even more here because the apple layer and streusel sit on top, and you want the cheesecake beneath them to stay silky instead of turning dense.
Pull the pan when the edges look set and the center still has a soft wobble. If the whole top is firm in the oven, it’s already overbaked. The cheesecake finishes setting as it cools, then firms up fully in the fridge.
What Each Layer Is Doing in This Dessert
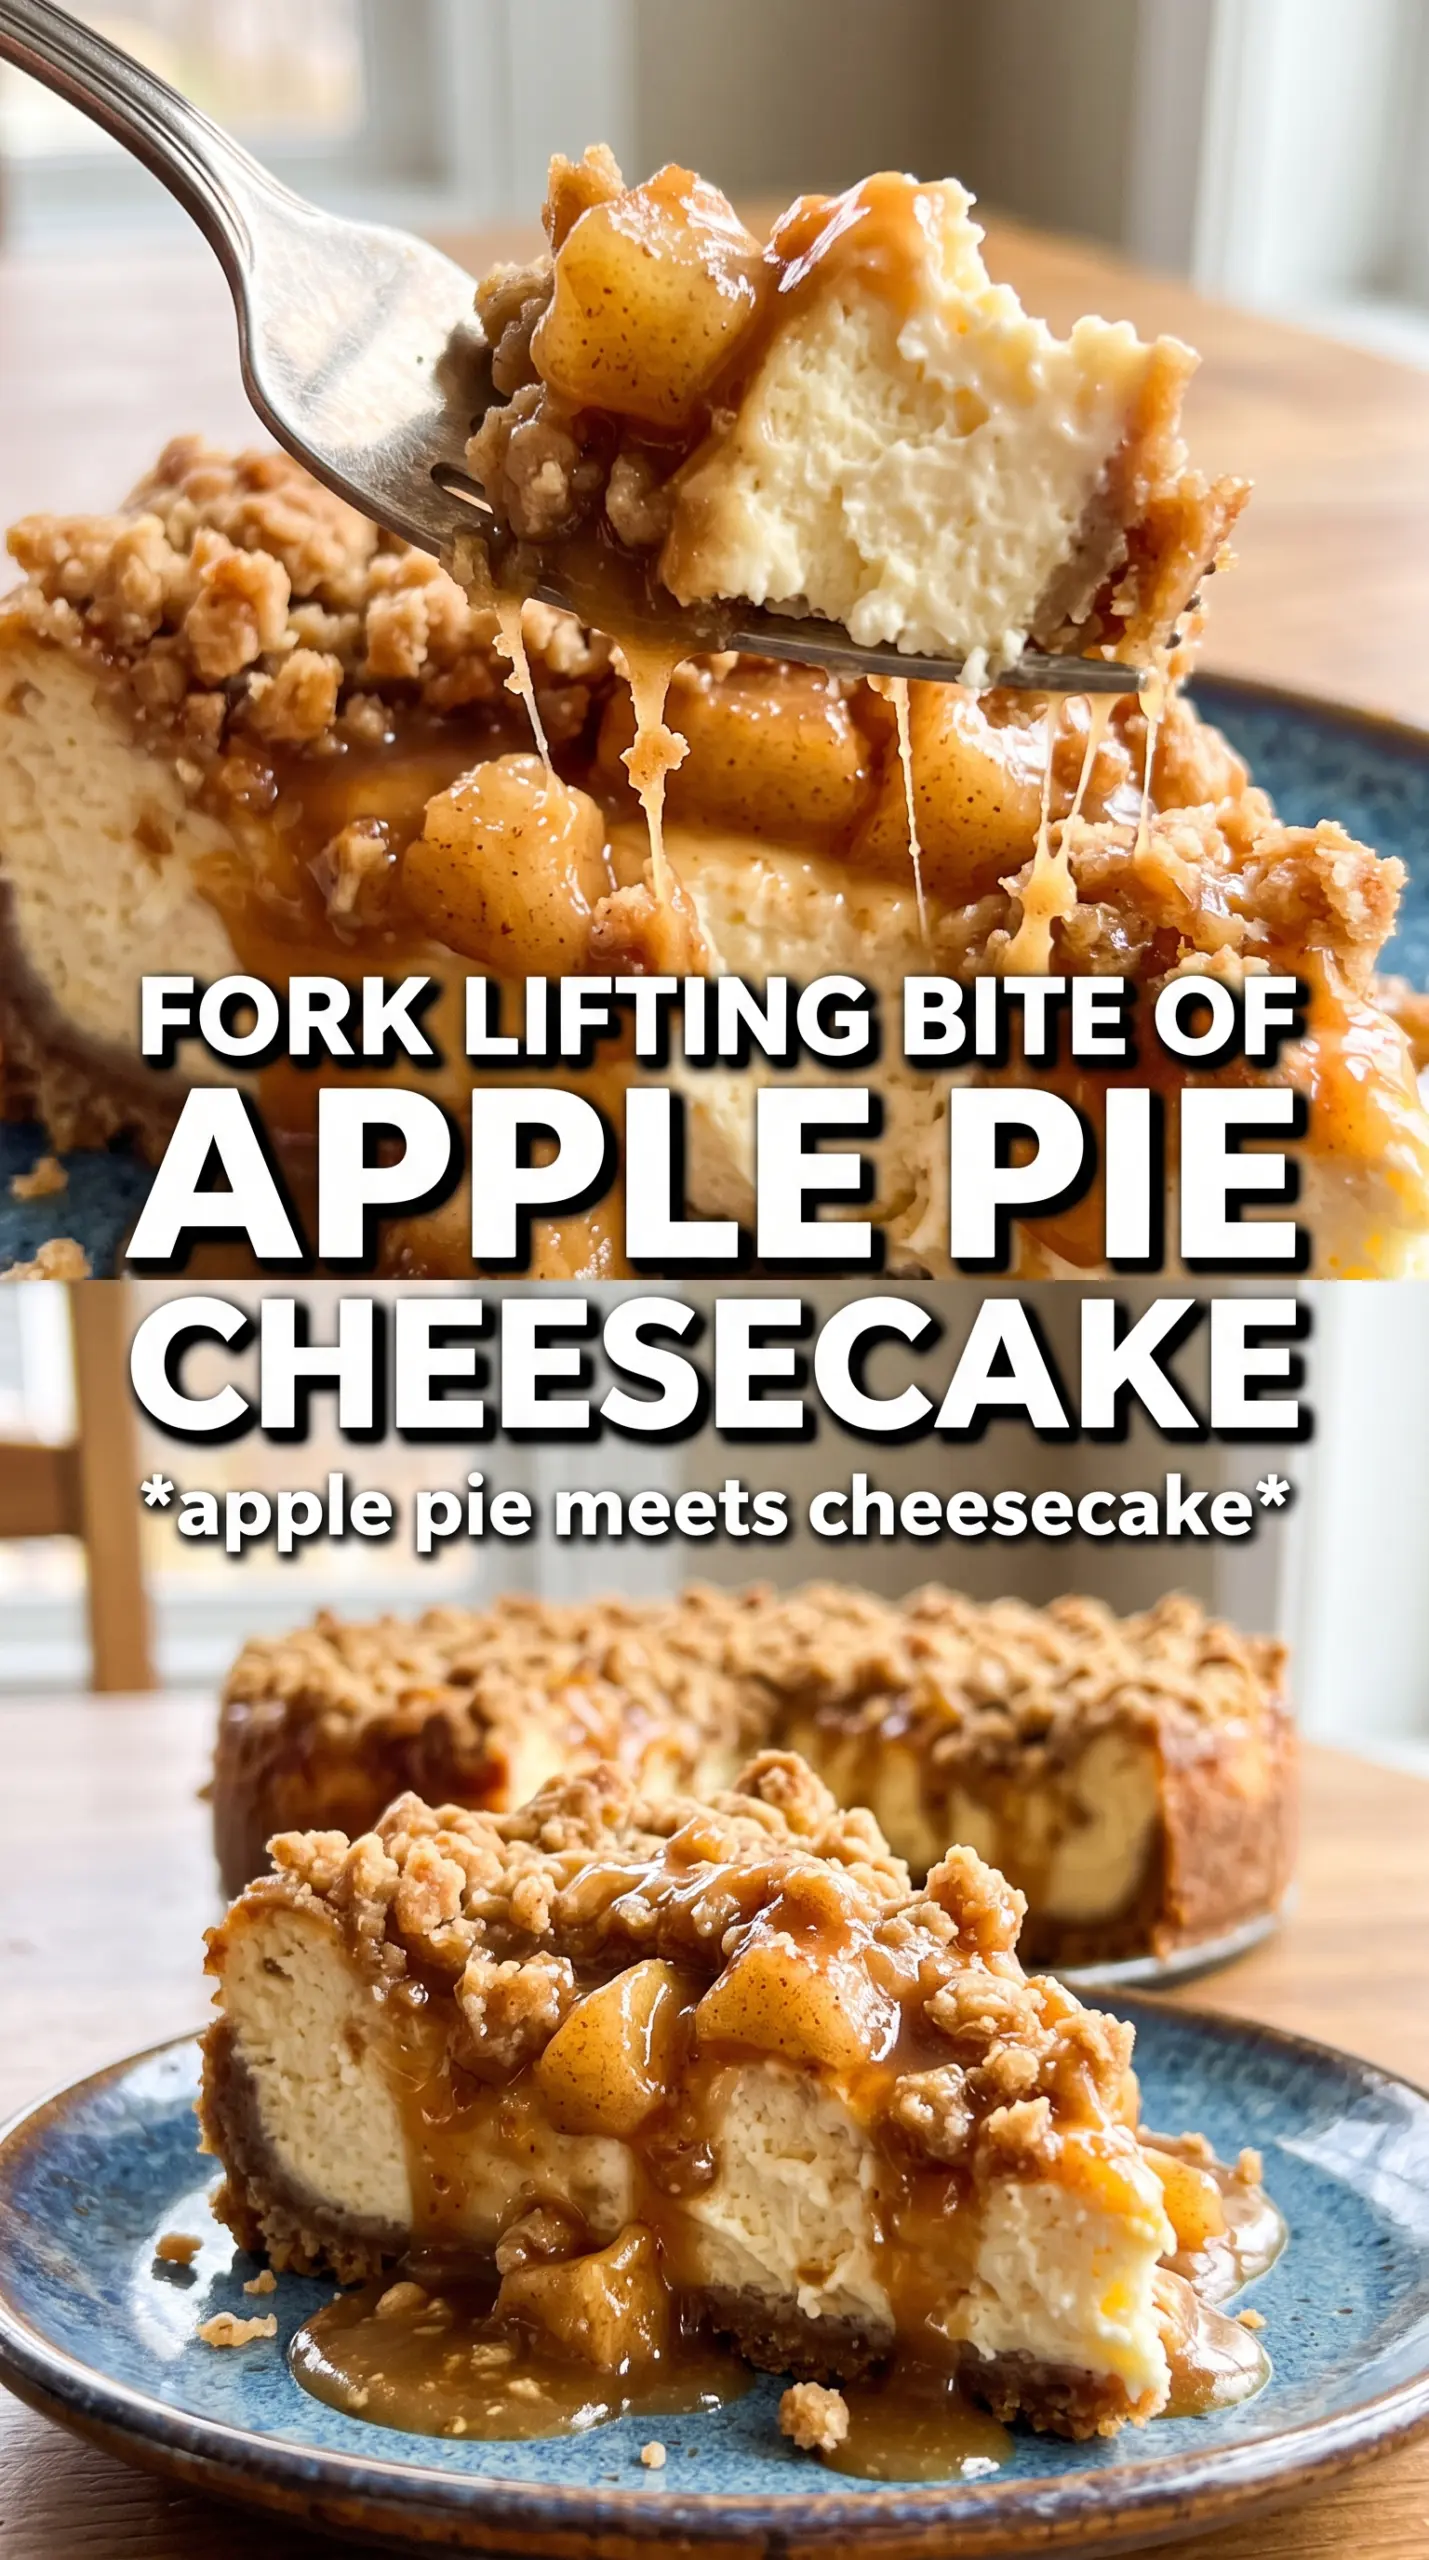
- Cinnamon graham cracker crumbs — These give the crust a warm, pie-like base without having to bake a separate pastry shell. Plain graham crackers work in a pinch, but the cinnamon version makes the whole dessert taste more intentional.
- Cream cheese — Full-fat block cream cheese is the one ingredient that really matters here. Whipped or tub-style cream cheese holds too much air and can make the filling looser, which is not what you want in a layered cheesecake.
- Sour cream — This keeps the filling tangy and softens the richness. Greek yogurt can work, but it tastes a little sharper and the texture is slightly less plush.
- Apples — Use a firm baking apple that holds its shape, like Granny Smith, Honeycrisp, or a mix of the two. Softer apples turn mushy once they’re cooked and baked again.
- Cornstarch — This is what turns the apple mixture into pie filling instead of juice with fruit floating in it. Don’t skip the short simmer on the stove, or the filling can seep into the cheesecake layer.
- Streusel — Cold butter is what gives you crumbs instead of a paste. If the butter softens too much, the topping melts into the apples instead of staying crumbly and crisp.
Building the Layers Without Ending Up With a Soggy Middle
Press and Bake the Crust First
Mix the cinnamon graham crumbs, sugar, and melted butter until every crumb looks evenly moistened, then press it firmly into the springform pan. Bake it for 10 minutes so it sets before the filling goes in. If the crust is underbaked, it can turn soft after the cheesecake and apple layers are added.
Cook the Apples Until They Tuck In on Themselves
Cook the diced apples with brown sugar, cinnamon, nutmeg, cornstarch, and butter until the juices thicken and the apples start to look glossy. You want them softened, not falling apart. If the mixture still looks thin in the pan, it’ll leak into the cheesecake while it bakes.
Mix the Cheesecake on Low Drama
Beat the cream cheese and sugar until smooth before adding the eggs one at a time, then stir in the sour cream, vanilla, and cinnamon just until combined. Don’t whip air into the batter or the cheesecake will puff, then sink and crack as it cools. Scrape the bowl well so there aren’t streaks of unmixed cream cheese hiding at the bottom.
Layer and Bake Gently
Spread the cheesecake filling over the crust, then spoon the cooled apple layer over the top and finish with the streusel. Set the pan in a water bath and bake until the edges are set and the center still has a slight jiggle. If you overbake past that point, the texture goes from creamy to chalky fast.
Chill Before You Drizzle
Let the cheesecake cool completely, then refrigerate it for a full 6 hours so the layers can firm up cleanly. Cut it only after it’s fully chilled or the slices will slump. Add the caramel right before serving so the topping stays visible and the crust stays crisp.
How to Adapt This Cheesecake for Different Kitchens and Crowds
Gluten-Free Version
Use gluten-free graham-style crumbs for the crust and swap the flour in the streusel for a 1:1 gluten-free baking blend. The texture stays close to the original, though the topping may brown a little faster, so keep an eye on it near the end of baking.
Dairy-Free Cheesecake Swaps
Use dairy-free cream cheese and plant-based butter, but keep the structure the same. The filling won’t taste quite as rich, and the texture may be a little softer, so chill it an extra hour before slicing.
Using a Different Apple Mix
A tart apple plus a sweeter one gives the best balance, but if you only have one variety, use whatever is firm and bakeable. Very sweet apples can make the filling taste flat, so keep the cinnamon and nutmeg in place to give the apple layer more edge.
Storage and Reheating
- Refrigerator: Store covered for up to 5 days. The streusel softens a little, but the cheesecake itself stays sliceable and rich.
- Freezer: It freezes well without the caramel drizzle. Wrap individual slices tightly and freeze for up to 1 month, then thaw overnight in the refrigerator.
- Reheating: Serve chilled or let a slice sit at room temperature for 15 to 20 minutes. Don’t microwave it, or the cheesecake layer can turn greasy while the apple topping loosens up.
Answers to the Questions Worth Asking
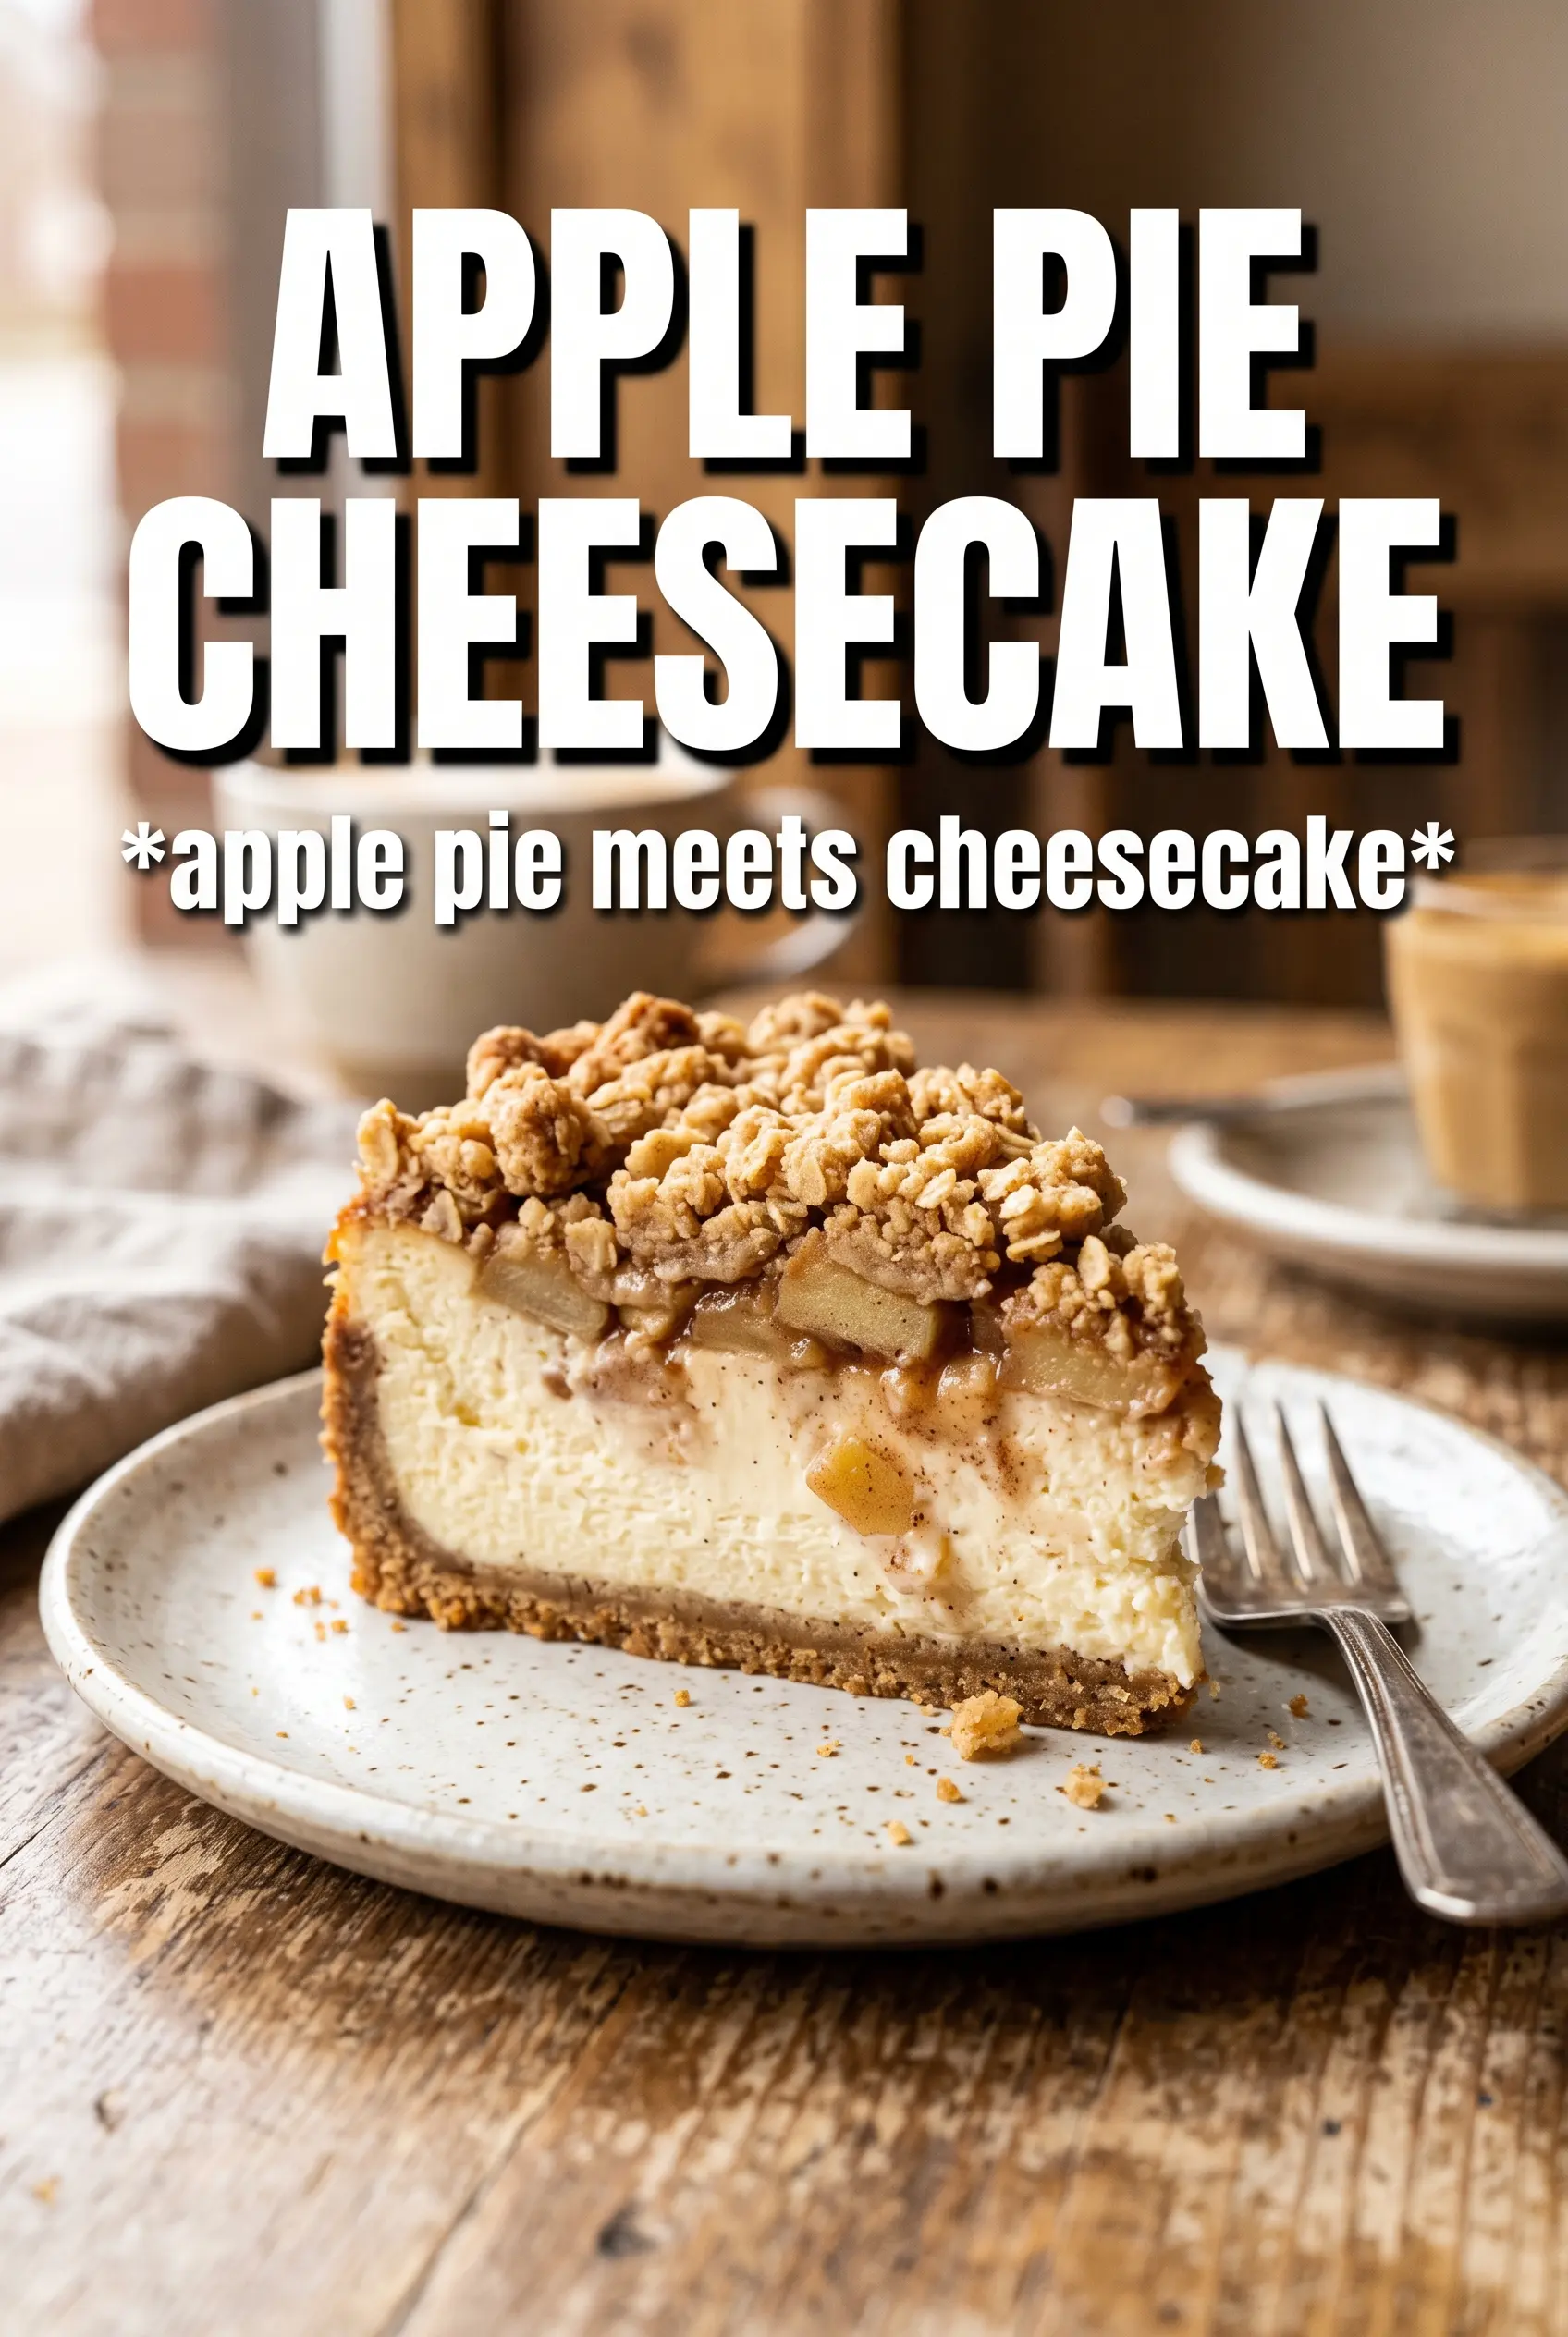
Apple Pie Cheesecake
Ingredients
Equipment
Method
- Preheat the oven to 325F, then press the cinnamon graham crust mixture into a 9-inch springform pan and bake for 10 minutes.
- Remove the pan and let the crust cool while you prepare the apple filling.
- Cook the apple layer over heat until it thickens, stirring as needed so the pieces turn glossy and the juices reduce.
- Cool the thickened apple filling completely before assembling.
- Beat the cheesecake filling until smooth, then pour it over the cooled crust and spread evenly.
- Spread the cooled apple layer over the cheesecake, then scatter the streusel topping evenly across the surface.
- Set the springform into a roasting pan and pour hot water into the roasting pan to come partway up the sides.
- Bake at 325F for 65-70 minutes, until the center is just set and the edges look firm but the middle still has a slight jiggle.
- Cool the cheesecake completely on the counter before chilling.
- Refrigerate the cheesecake for 6 hours to fully set and firm up for slicing.
- Drizzle caramel sauce over each slice right before serving.