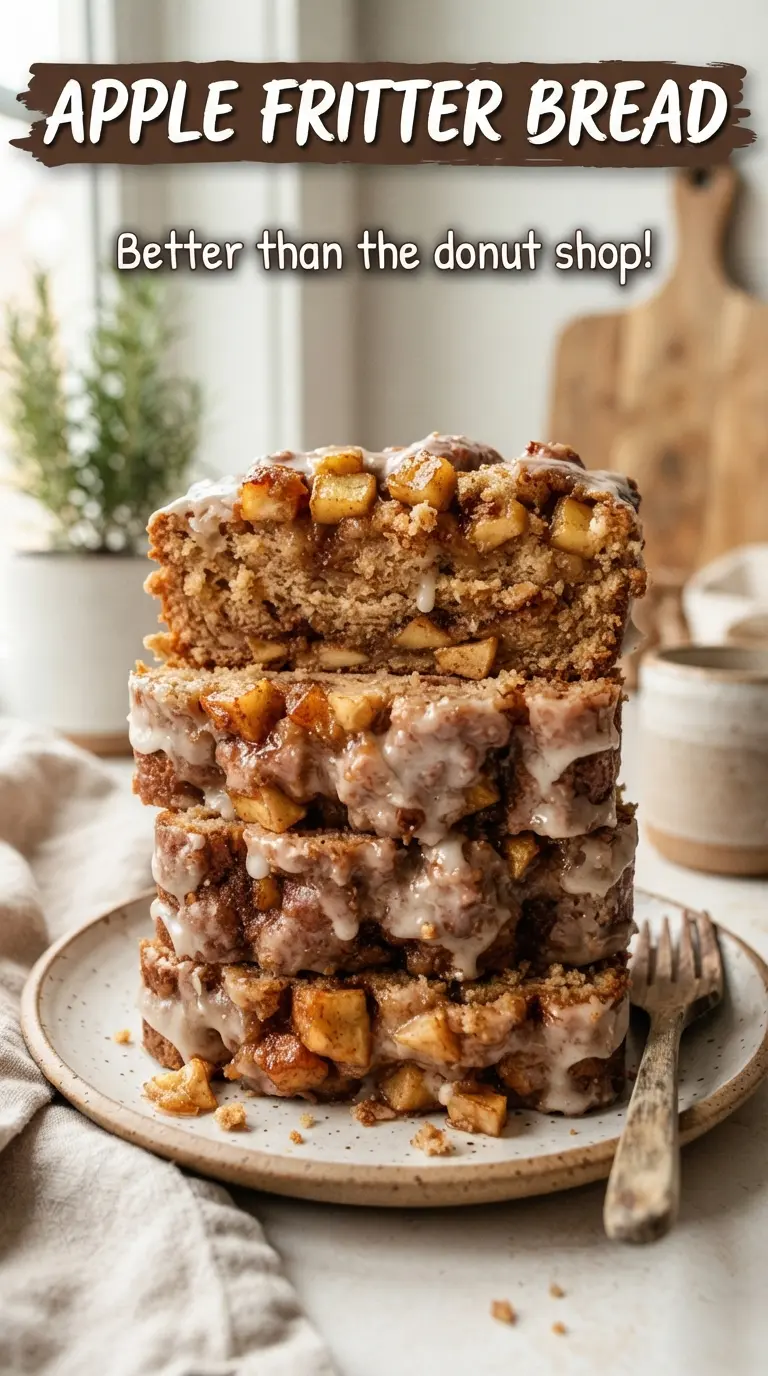
Apple fritter bread lands in that perfect middle ground between a quick loaf and a bakery-style treat. The crumb stays soft and buttery, the apples turn tender without disappearing, and the cinnamon-sugar layers melt into little ribbons that taste like the best part of a fritter without the frying. The glaze on top finishes it with that familiar sweet snap that makes each slice feel special enough for dessert but still right alongside coffee.
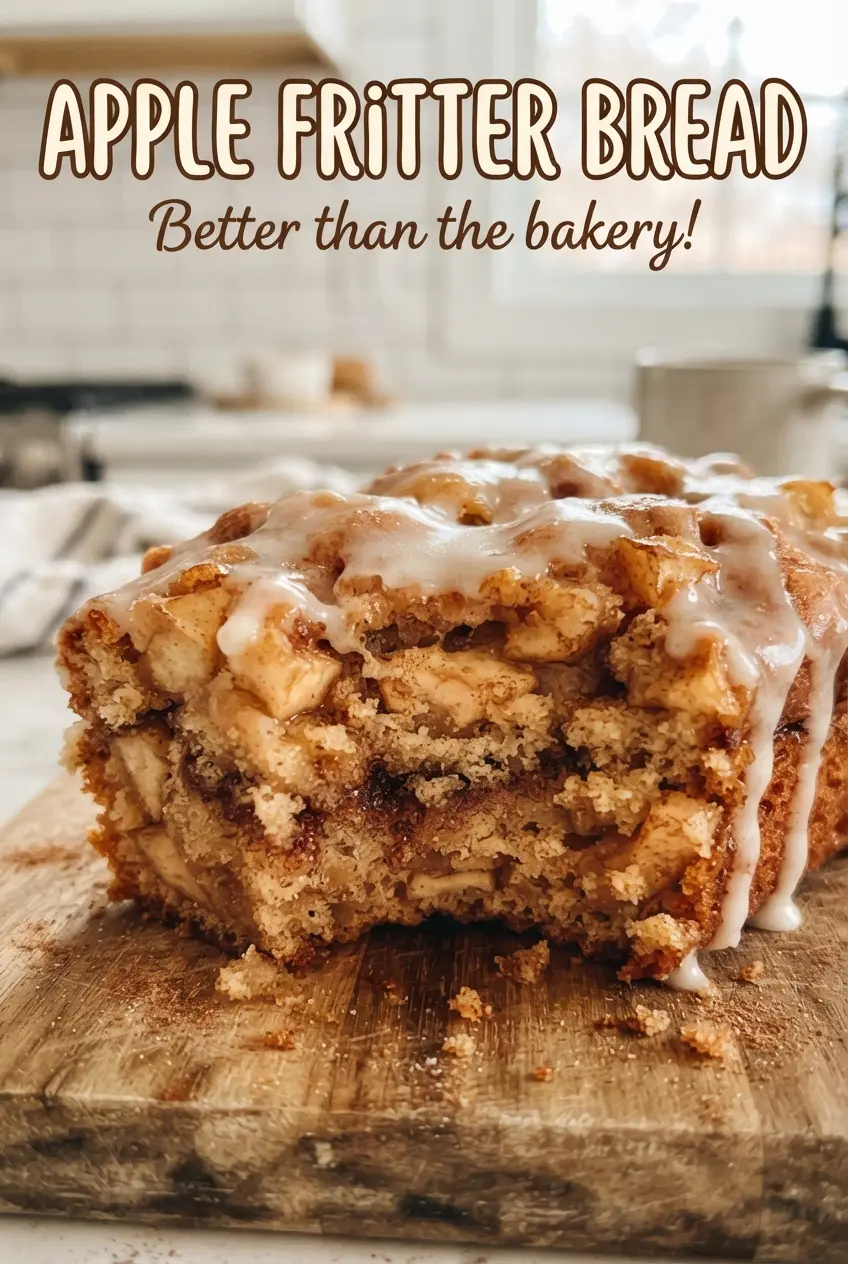
What makes this version work is the layering. Tossing part of the apples in cinnamon sugar pulls out their juices and keeps the flavor from sitting only on the surface. Then the batter goes in two stages, which helps create those distinct streaks instead of one uniform apple cake. A gentle swirl is enough; if you drag the knife too much, the layers blur and you lose the look and the contrast.
Below, you’ll find the exact points that matter most: how to keep the loaf from sinking in the center, why room-temperature butter helps the batter hold air, and what to watch for when the glaze hits the warm bread.
The cinnamon sugar sank into the batter just enough to make those sweet little pockets, and the glaze set up instead of sliding off. I sliced it while it was still a bit warm and it held together beautifully.
Save this apple fritter bread for the mornings when you want tender apple layers, cinnamon-sugar swirls, and a thick vanilla glaze in one slice.
The Swirl Matters More Than the Batter
The biggest mistake with apple fritter bread is treating the filling like a marbling job. This loaf needs visible layers. The cinnamon sugar and apples should sit in bands through the batter so each slice tastes like a bite of fritter instead of plain spice cake with a few apple pieces scattered around.
That means the swirl stays gentle. A knife dragged through once or twice is enough to create movement without blending everything into one color. If you overmix at this stage, the sugar melts too far into the batter and the top loses those baked-in pockets that make this bread feel special.
What Each Ingredient Is Actually Doing in the Loaf
- Apples — Use firm apples that hold their shape, like Granny Smith, Honeycrisp, or a mix of both. Softer apples can turn mushy and disappear into the crumb. Chop them small enough to layer easily, but not so fine that they melt into the batter.
- Brown sugar and cinnamon — This is the flavor engine. Brown sugar brings a deeper caramel note and a little moisture, which helps the cinnamon cling to the apples and form those sticky pockets in the loaf.
- Butter — Softened butter traps air when you beat it with the sugar, which gives the bread a lighter crumb. Melted butter won’t give the same structure, and cold butter won’t cream properly.
- Milk — The milk loosens the batter just enough to keep it tender. Whole milk gives the richest result, but 2% works fine. If you use a non-dairy milk, choose one that isn’t strongly flavored.
- Powdered sugar — This makes the glaze smooth and fast-setting. Granulated sugar won’t dissolve properly here, and you’ll end up with a gritty drizzle instead of a clean finish.
Building the Layers So the Loaf Bakes Evenly
Creaming the Butter and Sugar
Beat the softened butter and granulated sugar until the mixture looks pale and fluffy, not just combined. That step gives the loaf lift before the flour goes in. If the butter is too cold, the mixture stays dense and the bread bakes up heavy. If it’s greasy and over-soft, it won’t hold air well.
Mixing the Dry Ingredients and Milk Alternately
Add the flour mixture and milk in alternating additions so the batter stays smooth and doesn’t break. This keeps the loaf tender instead of tough. Stop mixing as soon as the flour disappears; a thick, slightly lumpy batter is better than one beaten into submission.
Layering the Apples and Cinnamon Sugar
Spread half the batter into the pan, then add half the apples and half the cinnamon sugar. Repeat with the remaining batter and topping. The goal is even coverage, not perfect precision. If the apples clump in one corner, those bites will bake unevenly and the center can sink where the batter gets overloaded.
Baking Until the Center Sets
Bake until a toothpick comes out clean or with a few moist crumbs, and the center no longer jiggles when you nudge the pan. The top should be deeply golden and set. If the outside browns too quickly, tent it loosely with foil for the last 10 to 15 minutes so the middle can finish without overbaking the crust.
Glazing the Warm Loaf
Let the bread cool for about 15 minutes before you drizzle on the glaze. Too hot, and the glaze melts straight off the sides; too cool, and it sits on top without soaking in a little. Whisk the powdered sugar with just enough milk to make a thick drizzle, not a runny icing.
How to Adapt This Loaf for Different Apple Cakes and Different Kitchens
Dairy-Free Version
Swap the butter for a plant-based butter stick and use an unsweetened non-dairy milk in both the batter and glaze. The loaf will still be tender, though the flavor loses a little of the classic bakery-style richness that real butter gives.
Extra-Cinnamon Version
Add another 1/2 teaspoon of cinnamon to the brown sugar mixture if you want a stronger spice note. The loaf will taste closer to a classic fritter coating, but don’t push it much further or the cinnamon starts to dominate the apples.
Glaze-Free Breakfast Loaf
Leave off the glaze and serve the bread plain if you want something less sweet for breakfast. The cinnamon sugar layers still give it plenty of character, and the slices hold up especially well for toasting the next day.
Storage and Reheating
- Refrigerator: Keep covered for up to 4 days. The crumb stays moist, though the glaze softens as it sits.
- Freezer: Freeze slices wrapped tightly and tucked into a freezer bag for up to 2 months. Thaw at room temperature so the texture stays soft instead of rubbery.
- Reheating: Warm slices in the microwave for 10 to 15 seconds or in a low oven. Heat just enough to take the chill off; too much heat dries out the loaf and makes the glaze sticky.
Answers to the Questions Worth Asking
Apple Fritter Bread
Ingredients
Equipment
Method
- Preheat your oven to 350F. Grease and line a 9x5-inch loaf pan.
- Mix the brown sugar and ground cinnamon together. Toss the chopped apples with 2 tablespoons of the cinnamon sugar.
- Beat the softened butter and granulated sugar until fluffy. Beat in the eggs and vanilla extract.
- Whisk the all-purpose flour, baking powder, and salt together. Add the dry mixture to the batter alternately with the milk, mixing just until combined.
- Spread half of the batter in the loaf pan. Top with half the apples and half the remaining cinnamon sugar, then repeat the layers with the remaining batter, apples, and cinnamon sugar.
- Swirl the top gently with a knife. This should create visible ribbons of cinnamon sugar through the loaf.
- Bake at 350F for 50-55 minutes, until a toothpick comes out clean. Look for a set top and lightly golden edges.
- Cool the loaf for 15 minutes. Whisk powdered sugar with 2-3 tablespoons milk until smooth, then drizzle over the warm loaf so the glaze settles on top.