Apple Crisp Shortbread Bars bake up with a buttery base, tender spiced apples, and a crumble top that stays sandy and crisp instead of turning soggy. The whole thing slices cleanly once cooled, which is exactly why this dessert earns a permanent spot in my fall baking rotation. You get the flavor of apple crisp, but in a bar you can cut, serve, and pack without a spoon.
The trick is using the same mixture for both the base and the topping, then baking the crust first so it can hold up under the apples. Cold butter matters here. It keeps the shortbread layer flaky and the crumble from melting into a paste, while the cornstarch in the filling catches the apple juices before they soak through the bottom.
Below you’ll find the exact timing that keeps the base crisp, plus the apple choice and cooling step that make the bars slice neatly instead of collapsing at the edges.
The crumble stayed crisp even under the apples, and the caramel on top made them taste like a bakery bar. I chilled them overnight and the slices came out perfectly clean.
Save these apple crisp shortbread bars for the kind of dessert that slices cleanly, travels well, and finishes with a caramel drizzle.
The Reason the Bottom Stays Crisp Under the Apples
The biggest mistake with apple bars is treating the crust like a cookie base and baking it all at once with the fruit on top. Apples give off a lot of juice as they soften, and if the base hasn’t had a head start, those juices sink straight down and turn the bottom layer heavy. Prebaking the shortbread for 12 minutes gives it enough structure to resist that moisture without drying it out.
Reserving part of the mixture for the top is what gives these bars their apple crisp personality. You want some of those crumbs to stay loose and sandy so they toast instead of melting into one sheet. If the topping looks packed or pasty before it goes in the oven, the butter was too warm or the mixture was overworked.
What the Apples, Oats, and Cornstarch Are Each Doing
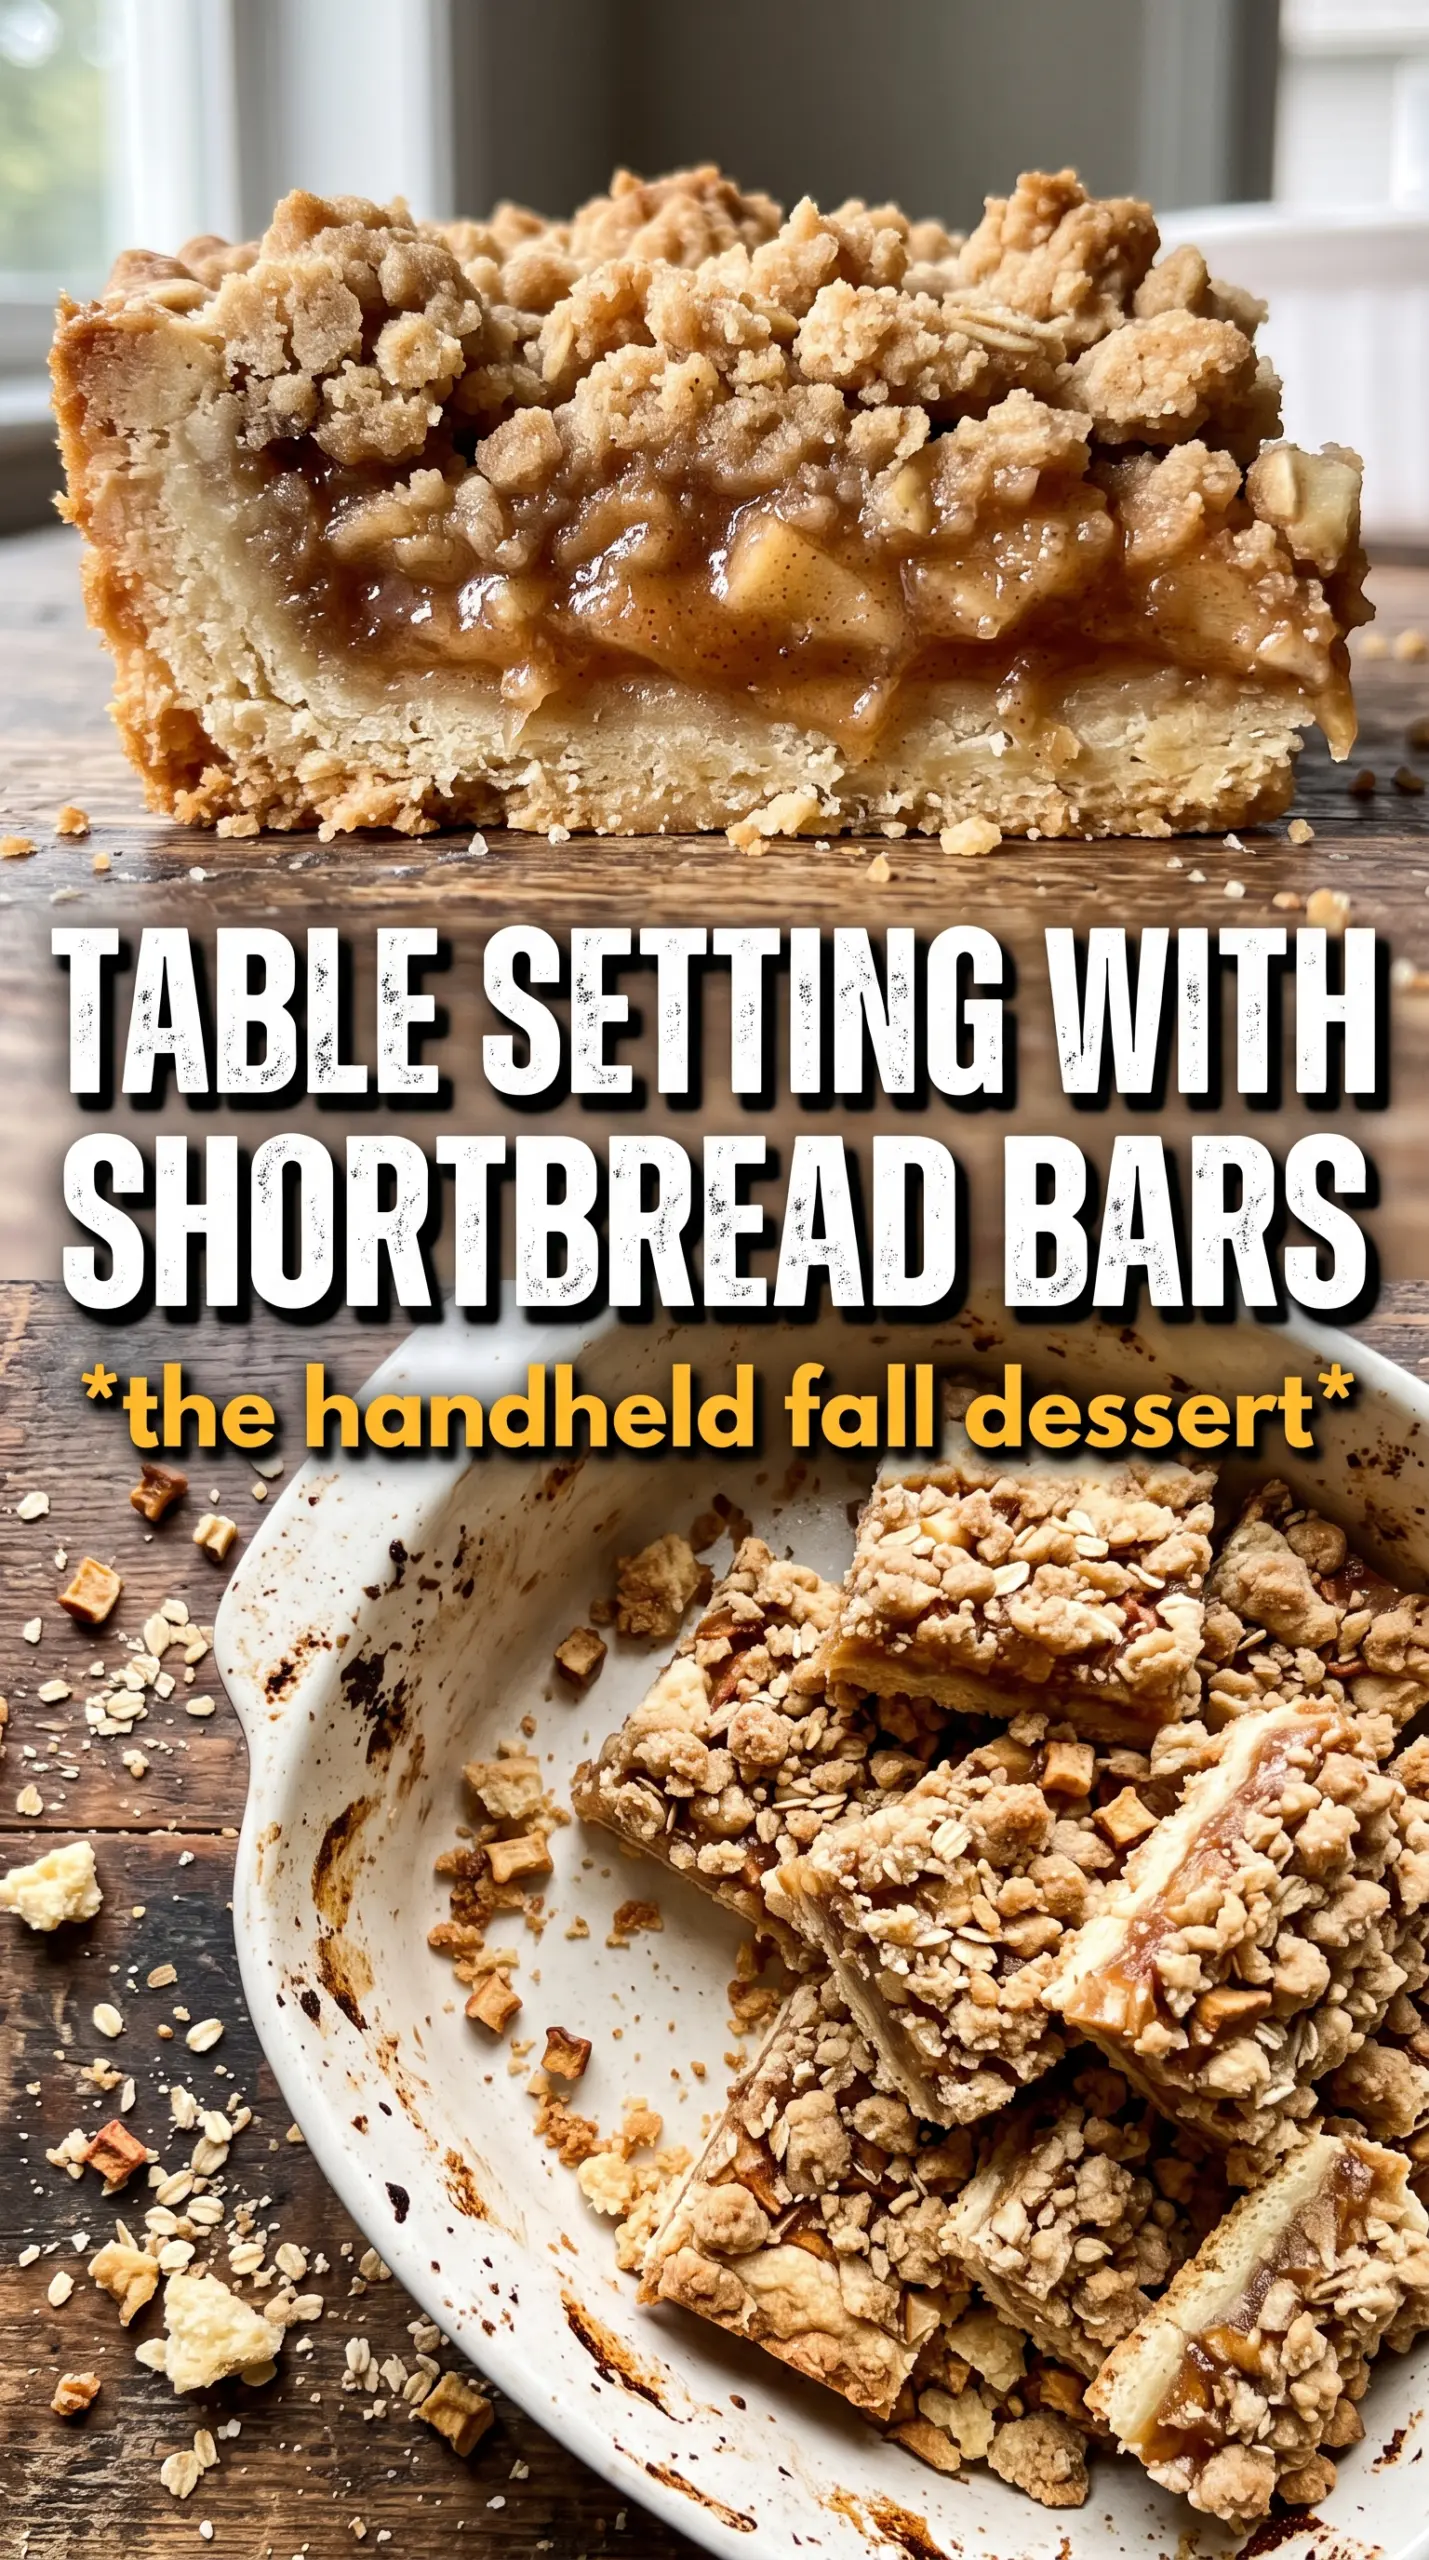
- Apples — Use a firm baking apple that holds its shape, like Granny Smith, Honeycrisp, or a mix of both. Soft apples collapse too fast and leave you with jammy filling instead of distinct slices.
- Rolled oats — These give the crumble its rough, toasty texture. Quick oats can work in a pinch, but the topping will be finer and less crisp.
- Cold unsalted butter — Cold butter is what keeps both the crust and the crumble from turning greasy. Cube it first and work it in just until the mixture looks like damp sand with some pea-sized bits left.
- Cornstarch — This thickens the apple juices as the bars bake. Flour won’t set as cleanly here, and you’ll notice the difference when you cut the bars.
- Lemon juice — A small amount keeps the apples from tasting flat and helps the filling stay bright. Don’t skip it unless your apples are already very tart.
Building the Bars in Three Parts
Making the Crumb Mixture
Mix the flour, oats, brown sugar, cinnamon, and salt first so the spices distribute evenly before the butter goes in. Cut in the cold butter until the mixture clumps when squeezed but still falls apart with a nudge. If it turns into a wet dough, the butter warmed up too much and the topping will bake dense instead of crisp.
Pressing and Prebaking the Base
Press the larger portion of the mixture firmly into the parchment-lined pan. Use the bottom of a measuring cup to get an even layer, especially into the corners, or you’ll end up with thin spots that overbake. Bake it just until the surface looks set and lightly matte, not deeply browned.
Layering the Apples and Finishing the Bake
Toss the sliced apples with the sugar, spices, cornstarch, and lemon juice right before they go on the crust so they don’t release too much liquid in the bowl. Spread them in an even layer over the hot base, then scatter the reserved crumble across the top. Bake until the topping is golden and you can see the filling bubbling at the edges; that bubbling tells you the cornstarch has activated and the center will set as it cools.
How to Adapt These Bars for Different Kitchens and Different Schedules
Gluten-Free Version
Swap the all-purpose flour for a cup-for-cup gluten-free baking blend and use certified gluten-free oats. The texture will be a little more delicate, but the bars still hold together well once fully cooled.
Dairy-Free Bars
Use a solid plant-based butter stick in place of the unsalted butter. Soft tub margarine adds too much water and the crumble won’t brown with the same clean, sandy texture.
Spiced Apple Filling With More Depth
Add a pinch of ginger or cardamom if you want the apples to taste a little warmer and more layered. Keep the amount small or the spices will crowd out the brown sugar and butter in the crust.
Storage and Reheating
- Refrigerator: Store covered for up to 5 days. The crust stays firm, and the topping softens a little after day one.
- Freezer: These freeze well. Wrap individual bars tightly and freeze for up to 2 months, then thaw in the fridge so the filling doesn’t weep.
- Reheating: Warm slices in a 300F oven for 8 to 10 minutes if you want the crumble to crisp back up. The microwave makes the topping soft, so use it only if texture doesn’t matter.
Questions I Get Asked About This Recipe
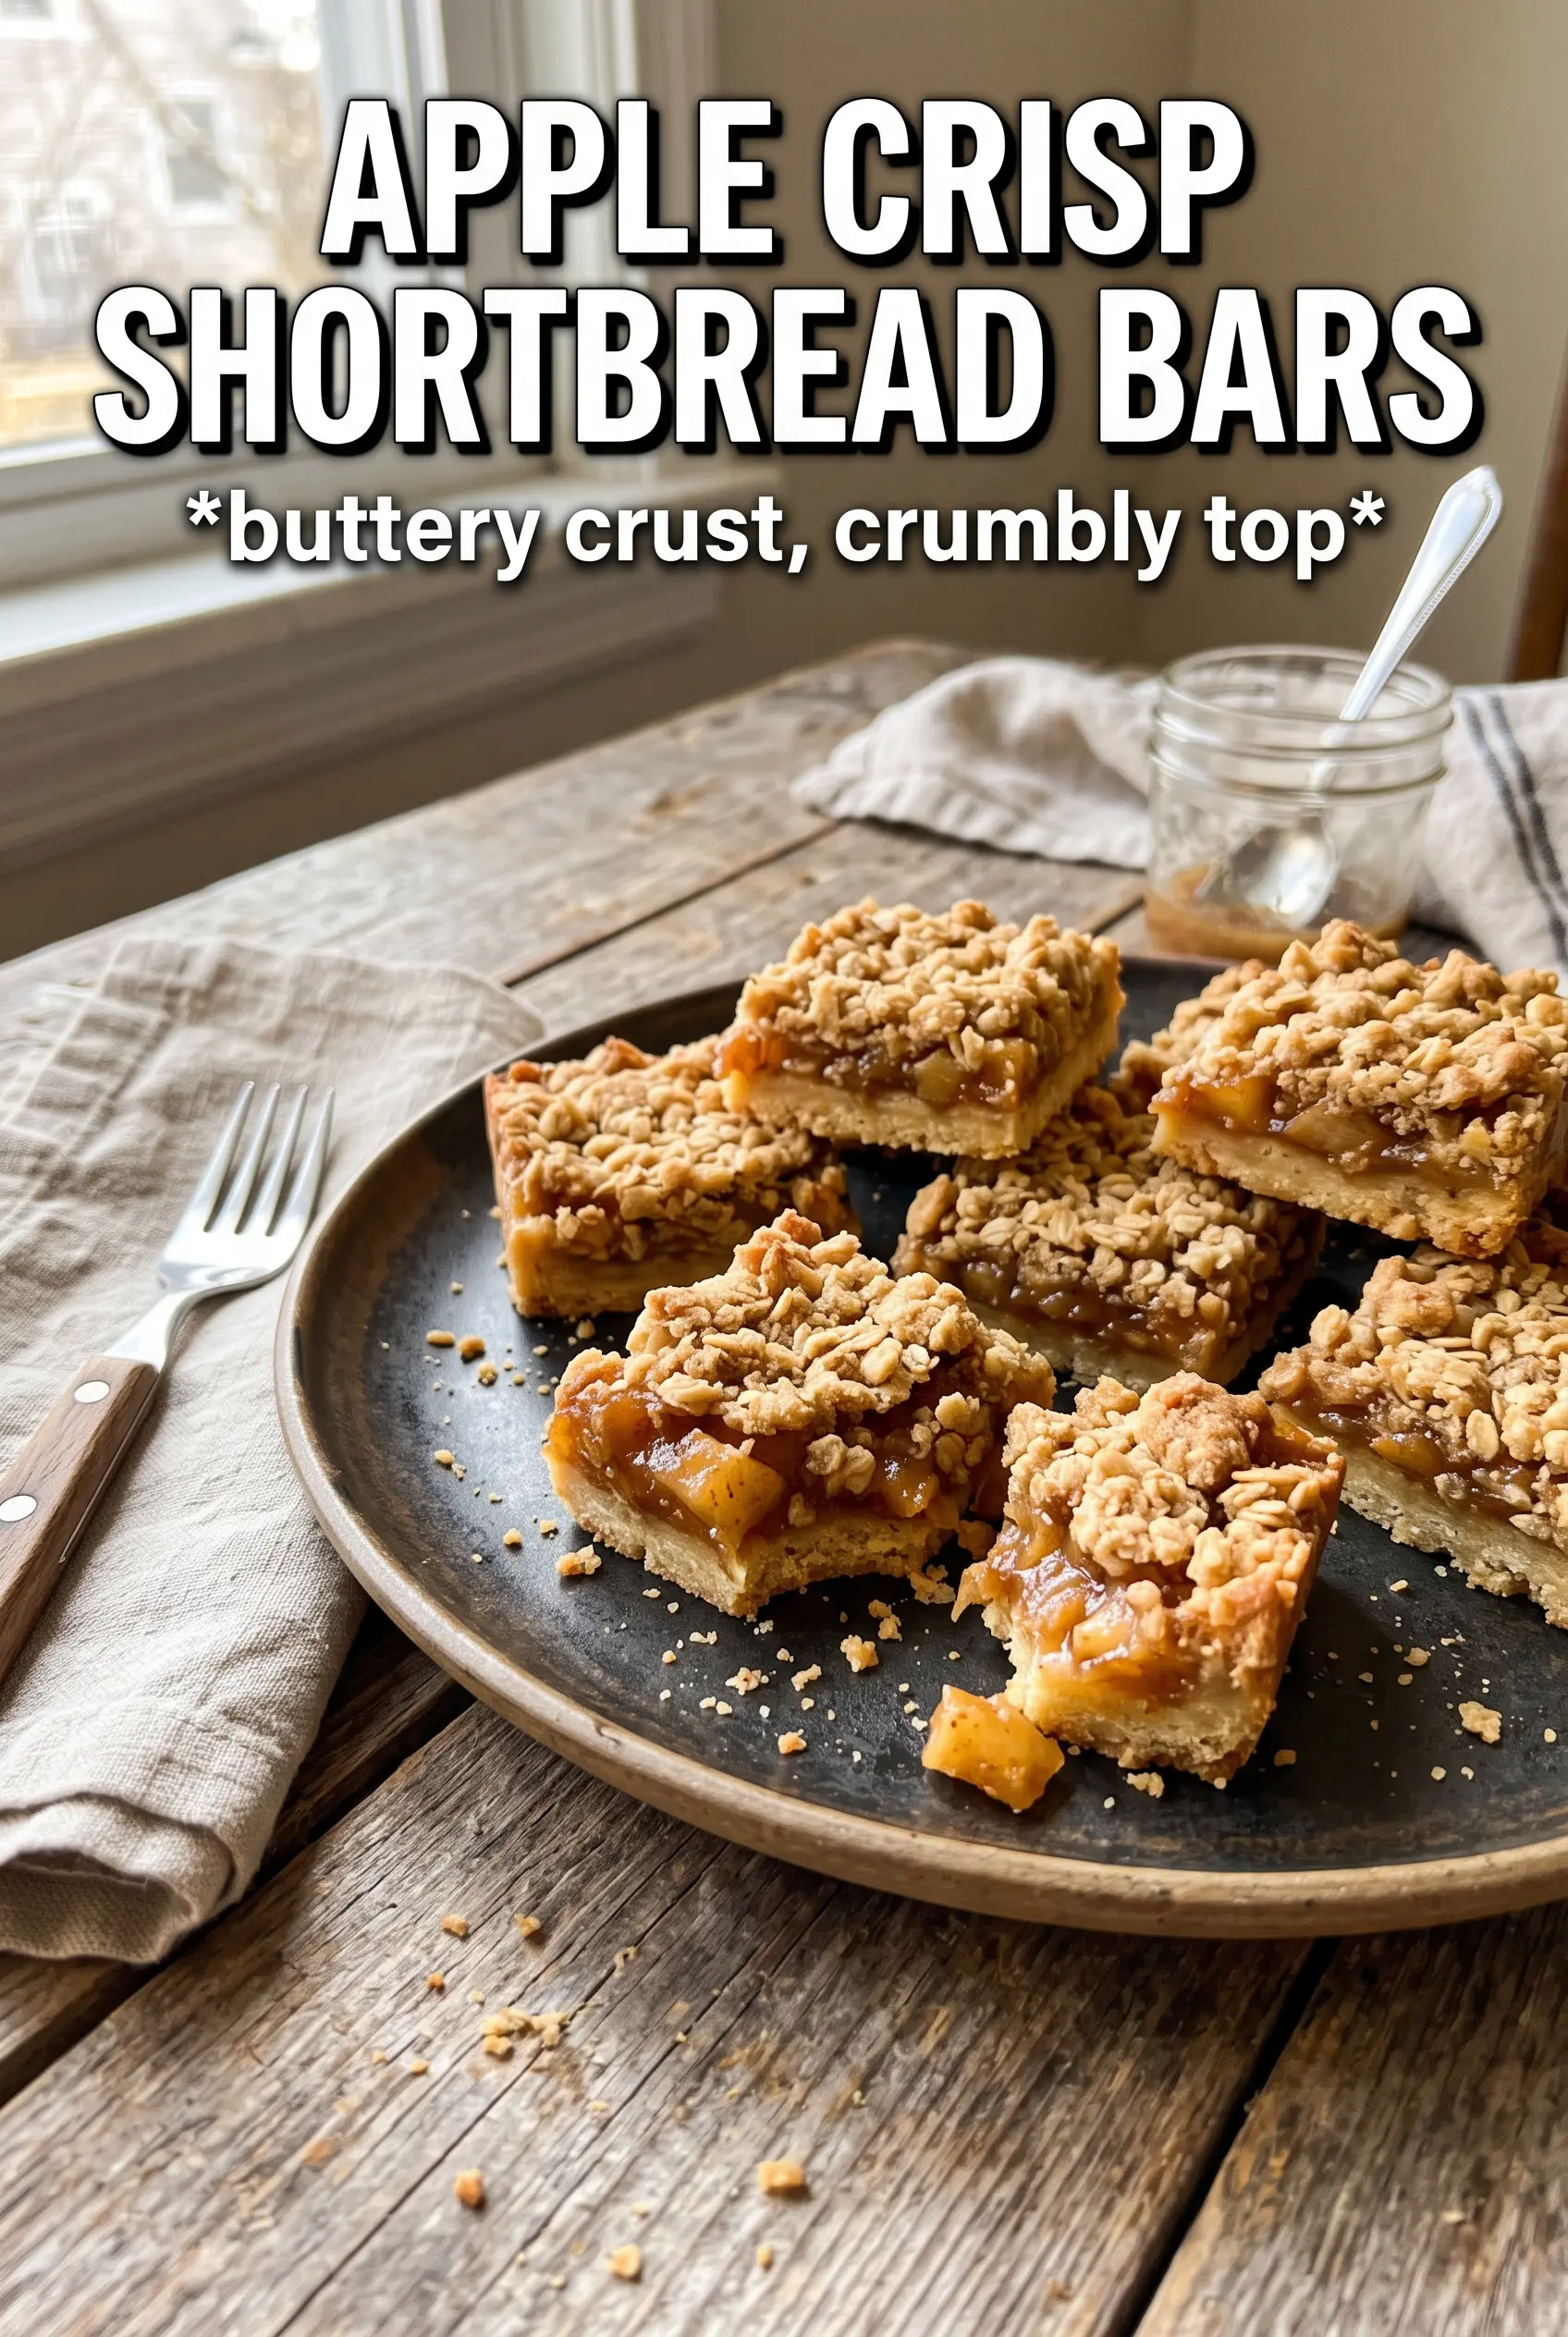
Apple Crisp Shortbread Bars
Ingredients
Equipment
Method
- Preheat the oven to 375°F and line a 9x13 pan with parchment, so the bars lift out cleanly later.
- Mix the flour, rolled oats, brown sugar, cinnamon, and salt, then cut in the cold cubed butter until the mixture looks like even, moist crumbs.
- Reserve 1 cup of the crumb mixture for the topping.
- Press the remaining mixture firmly into the prepared pan to form a compact shortbread layer, then bake for 12 minutes.
- Toss the apple slices with granulated sugar, cinnamon, nutmeg, cornstarch, and lemon juice until every slice is coated.
- Layer the apples over the hot baked base in an even layer, keeping the crumble layer later dry and crisp.
- Scatter the reserved crumble evenly over the apples so the top bakes into a golden oat crust.
- Bake at 375°F for 30 to 35 minutes, until the topping is golden and the apples are bubbling around the edges.
- Cool the bars completely before slicing so the filling sets and the bars hold their shape.
- Drizzle with caramel sauce to serve, letting it sink slightly into the warm spots for a glossy finish.