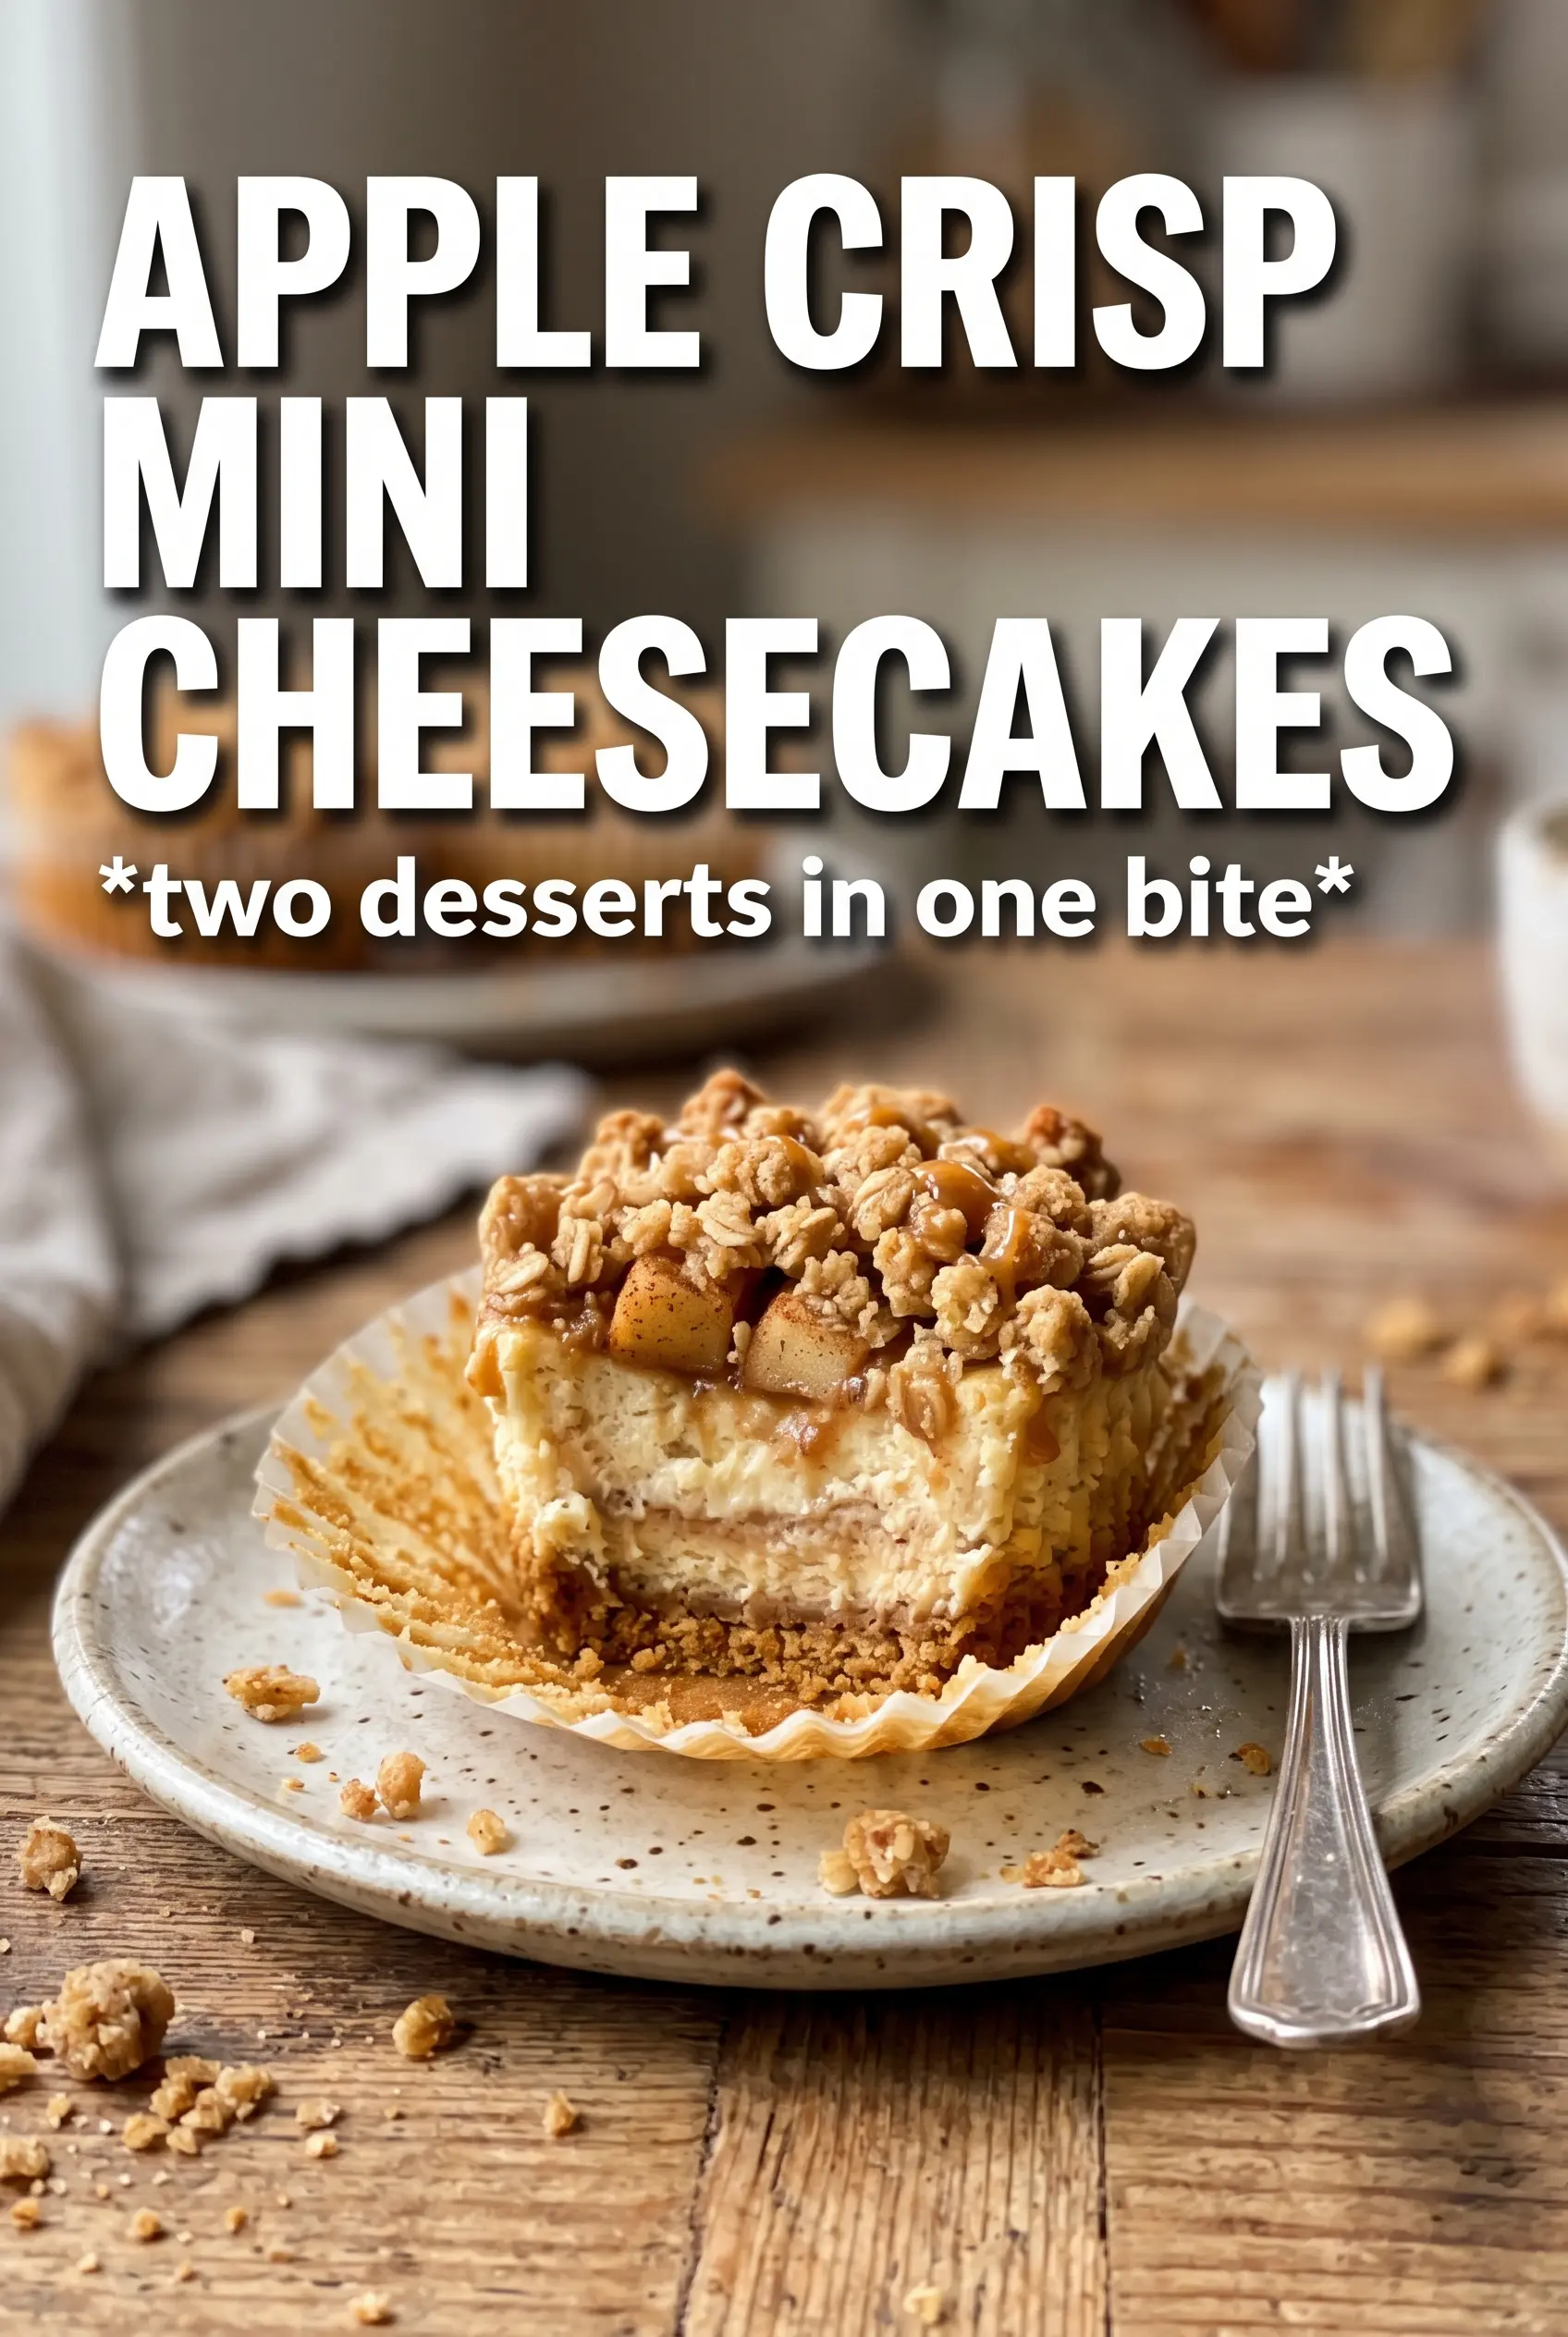
Apple crisp mini cheesecakes give you the best parts of two desserts in one tidy little cup: a buttery graham crust, a smooth cinnamon cheesecake layer, soft apples, and a crisp oat topping that stays crunchy long enough to matter. The contrast is what makes them work. You get creamy, tender, and crunchy in the same bite, and that keeps them from feeling heavy.
The trick is treating each layer like it has a job. The apple topping only needs a short cook so it softens without turning to applesauce. The oat crumble goes on cold and bakes on top, which is how it keeps that crisp texture instead of melting into the filling. And the cheesecake batter should be mixed until smooth, not whipped full of air, so the centers bake up neat and don’t crack as they cool.
Below you’ll find the small details that keep the crust from getting soggy, the filling from overbaking, and the topping from losing its crunch. Once you make them this way, they’re easy to pull off for holidays, bake sales, or any night you want a dessert that looks a little fancier than the effort it takes.
The oat topping stayed crisp even after chilling overnight, and the cheesecake layer baked up smooth with no cracks. I loved how the apple pieces softened just enough without getting mushy.
Like these apple crisp mini cheesecakes? Save this one for the dessert that gives you creamy filling, cinnamon apples, and a crunchy oat crown in every bite.
The Crisp Topping Needs to Stay Separate Until the Oven
Most mini cheesecakes go wrong when the crumble starts absorbing moisture before it has a chance to bake. Here, the oat topping stays cold until the very last second, and that matters. Cold butter in the crumble creates little pockets that melt in the oven and leave behind a rough, craggy texture instead of a sandy paste. If the topping sits around too long, it softens and loses the contrast that makes these cheesecakes worth making.
The other thing to watch is the apple layer. Cook it just long enough to take the raw edge off the fruit and help the brown sugar syrup thicken slightly. If the apples are still firm and the juices are thin, they’ll leak into the cheesecake and make the centers wet. You want softened dice with a glossy coating, not a skillet full of soup.
What Each Layer Is Actually Doing in These Mini Cheesecakes
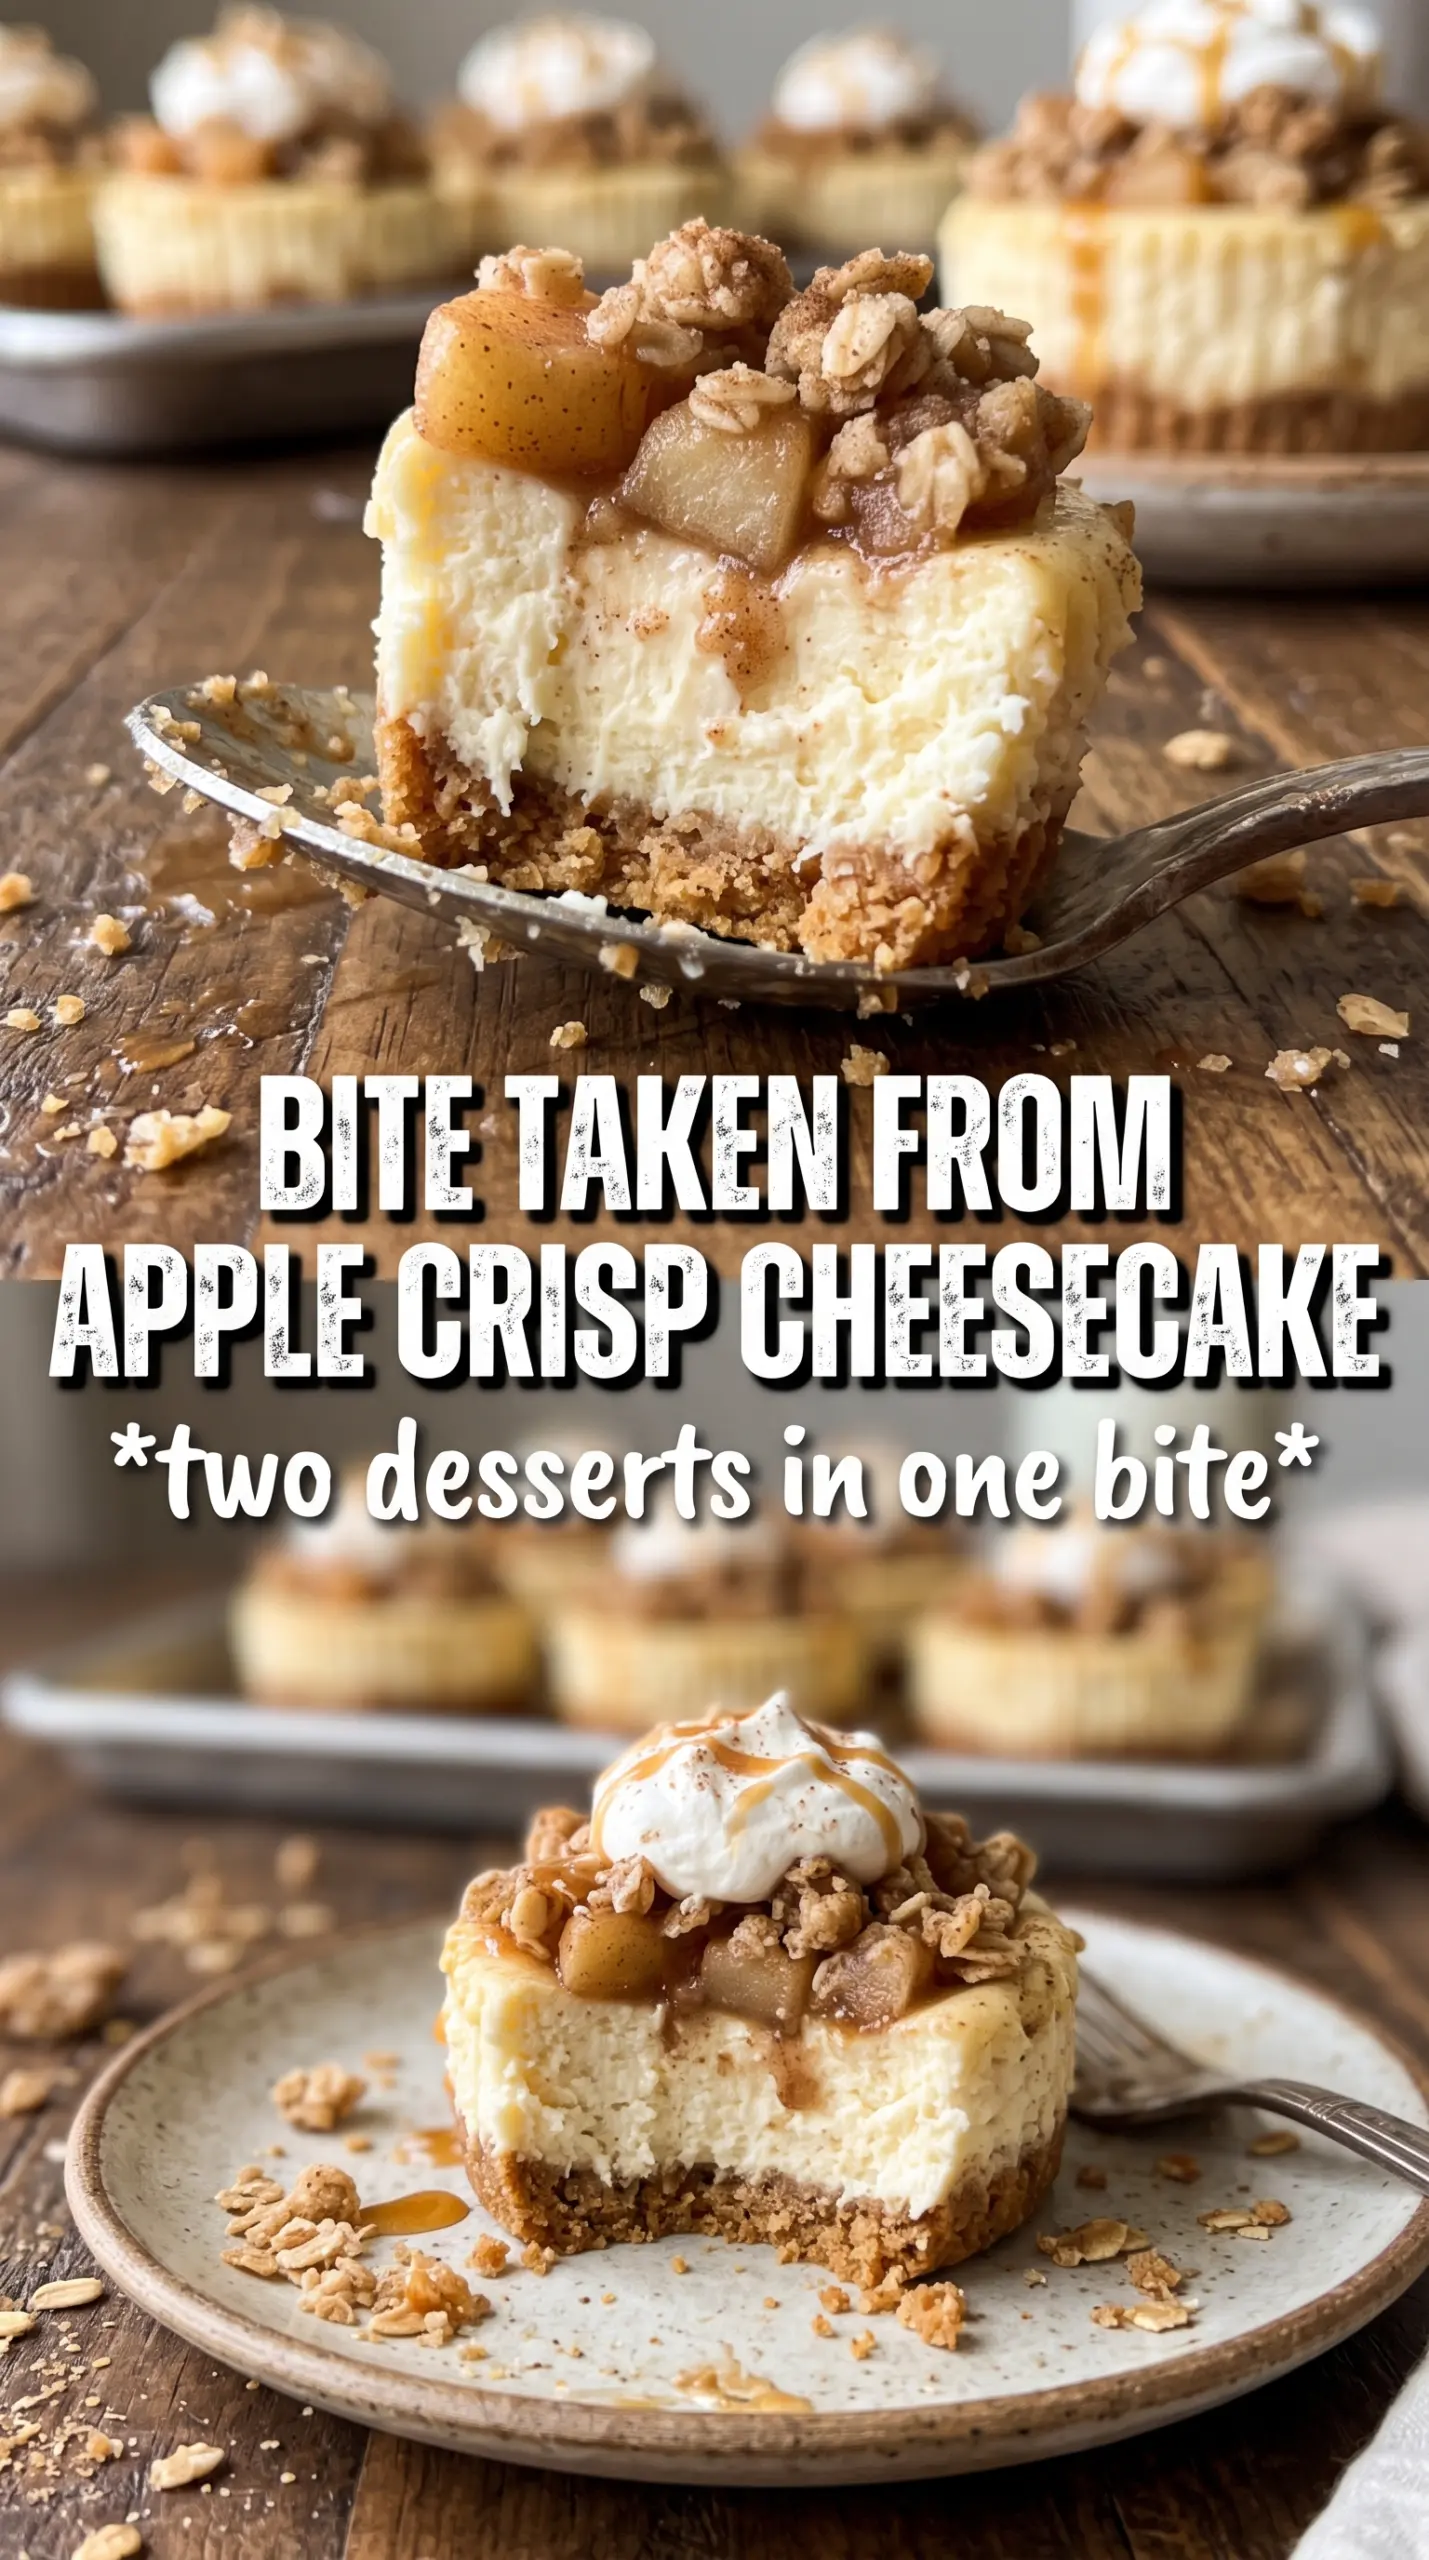
- Graham crumbs — These give the base its familiar cheesecake-shop flavor and the right amount of structure. Finely crushed crumbs pack tighter and bake into a sturdier crust than coarse pieces. If you only have whole graham crackers, pulse them until they look like wet sand.
- Cream cheese — This is the body of the dessert, and it needs to be fully softened before mixing. Cold cream cheese leaves little lumps that never disappear. Use full-fat blocks, not the tub spread, because the spreadable kind is looser and bakes less cleanly.
- Sour cream — This keeps the filling silky and adds a light tang that balances the sweet apple topping. Plain Greek yogurt can work in a pinch, but the texture will be a little tighter and less plush.
- Apples — Firm apples are the right choice here because they keep their shape after a quick cook. Something like Honeycrisp, Granny Smith, or a mix of both works well. Soft apples turn mushy before the cheesecakes even hit the oven.
- Oats and cold butter — This is what gives you the crisp topping instead of a soft streusel. Use old-fashioned oats for the best texture; quick oats make the topping finer and less crunchy. The butter should stay in little pieces so the finished crumble bakes into nuggets, not a sheet.
Building the Layers So the Centers Bake Cleanly
Pressing and Prebaking the Crust
Divide the graham mixture evenly and press it firmly into the liners with the bottom of a small glass or spoon. You want a compact base, not a loose pile of crumbs, because the filling sits on top of it and needs something stable underneath. Five minutes in the oven is enough to set the crust without drying it out. If it goes too long, it turns brittle and can separate when you peel away the liner.
Softening the Apples Without Making Them Watery
Cook the diced apples with brown sugar, cinnamon, and butter until they just start to soften and the pan looks lightly syrupy. That short cook gives you flavor and keeps the fruit from releasing too much liquid in the oven. Cool the apples before spooning them onto the cheesecake layer or they’ll start warming the filling and blur the layers. If the filling looks watery in the pan, cook another minute or two until the juices cling to the fruit.
Mixing the Filling Without Adding Too Much Air
Beat the cream cheese and sugar until smooth, then add the eggs one at a time, followed by the sour cream, vanilla, and cinnamon. Stop as soon as the batter looks even. Too much mixing traps air, and that air expands in the oven and can crack the tops. The batter should look thick, glossy, and completely lump-free before it goes into the liners.
Baking Until Just Set
Spoon the filling into the crusts, top with apples, and scatter the oat crumble over each one. Bake until the centers are just set and still have a slight wobble when you nudge the pan. They finish firming up as they cool, so don’t wait for them to look completely solid. If the tops brown too quickly, your oven is running hot; pull the pan early and let the residual heat finish the job.
Make Them Gluten-Free with a Simple Crust Swap
Use gluten-free graham-style crumbs and replace the flour in the oat topping with a 1:1 gluten-free baking blend. The texture stays close to the original, though the crumble may bake a touch more delicately. Let them cool fully before peeling off the liners so the crust sets up properly.
How to Lean Into a Sharper Apple Flavor
Use a mix of tart and sweet apples, with Granny Smith doing most of the work. The sharper fruit cuts through the sweet cheesecake filling and keeps each bite from tasting flat. This version is especially good if you like the apple layer to stand out more than the crust.
Extra-Creamy Filling, Less Tang
Swap the sour cream for an equal amount of full-fat Greek yogurt if that’s what you have. The filling will still bake smoothly, but the flavor will be a little brighter and the texture slightly firmer. It’s a good backup, not an exact match.
Storage and Reheating
- Refrigerator: Keep covered in the fridge for up to 4 days. The crumble softens a little on day two, but the cheesecake itself stays creamy.
- Freezer: Freeze the baked cheesecakes without the liners if you want the cleanest texture later. Wrap individually and thaw overnight in the refrigerator. The topping won’t stay as crisp as fresh, but the flavor holds up well.
- Reheating: These are best served chilled or at cool room temperature, not reheated. If they’ve been frozen, thaw them gently in the fridge and let them sit out for 10 to 15 minutes before serving so the texture turns silky again.