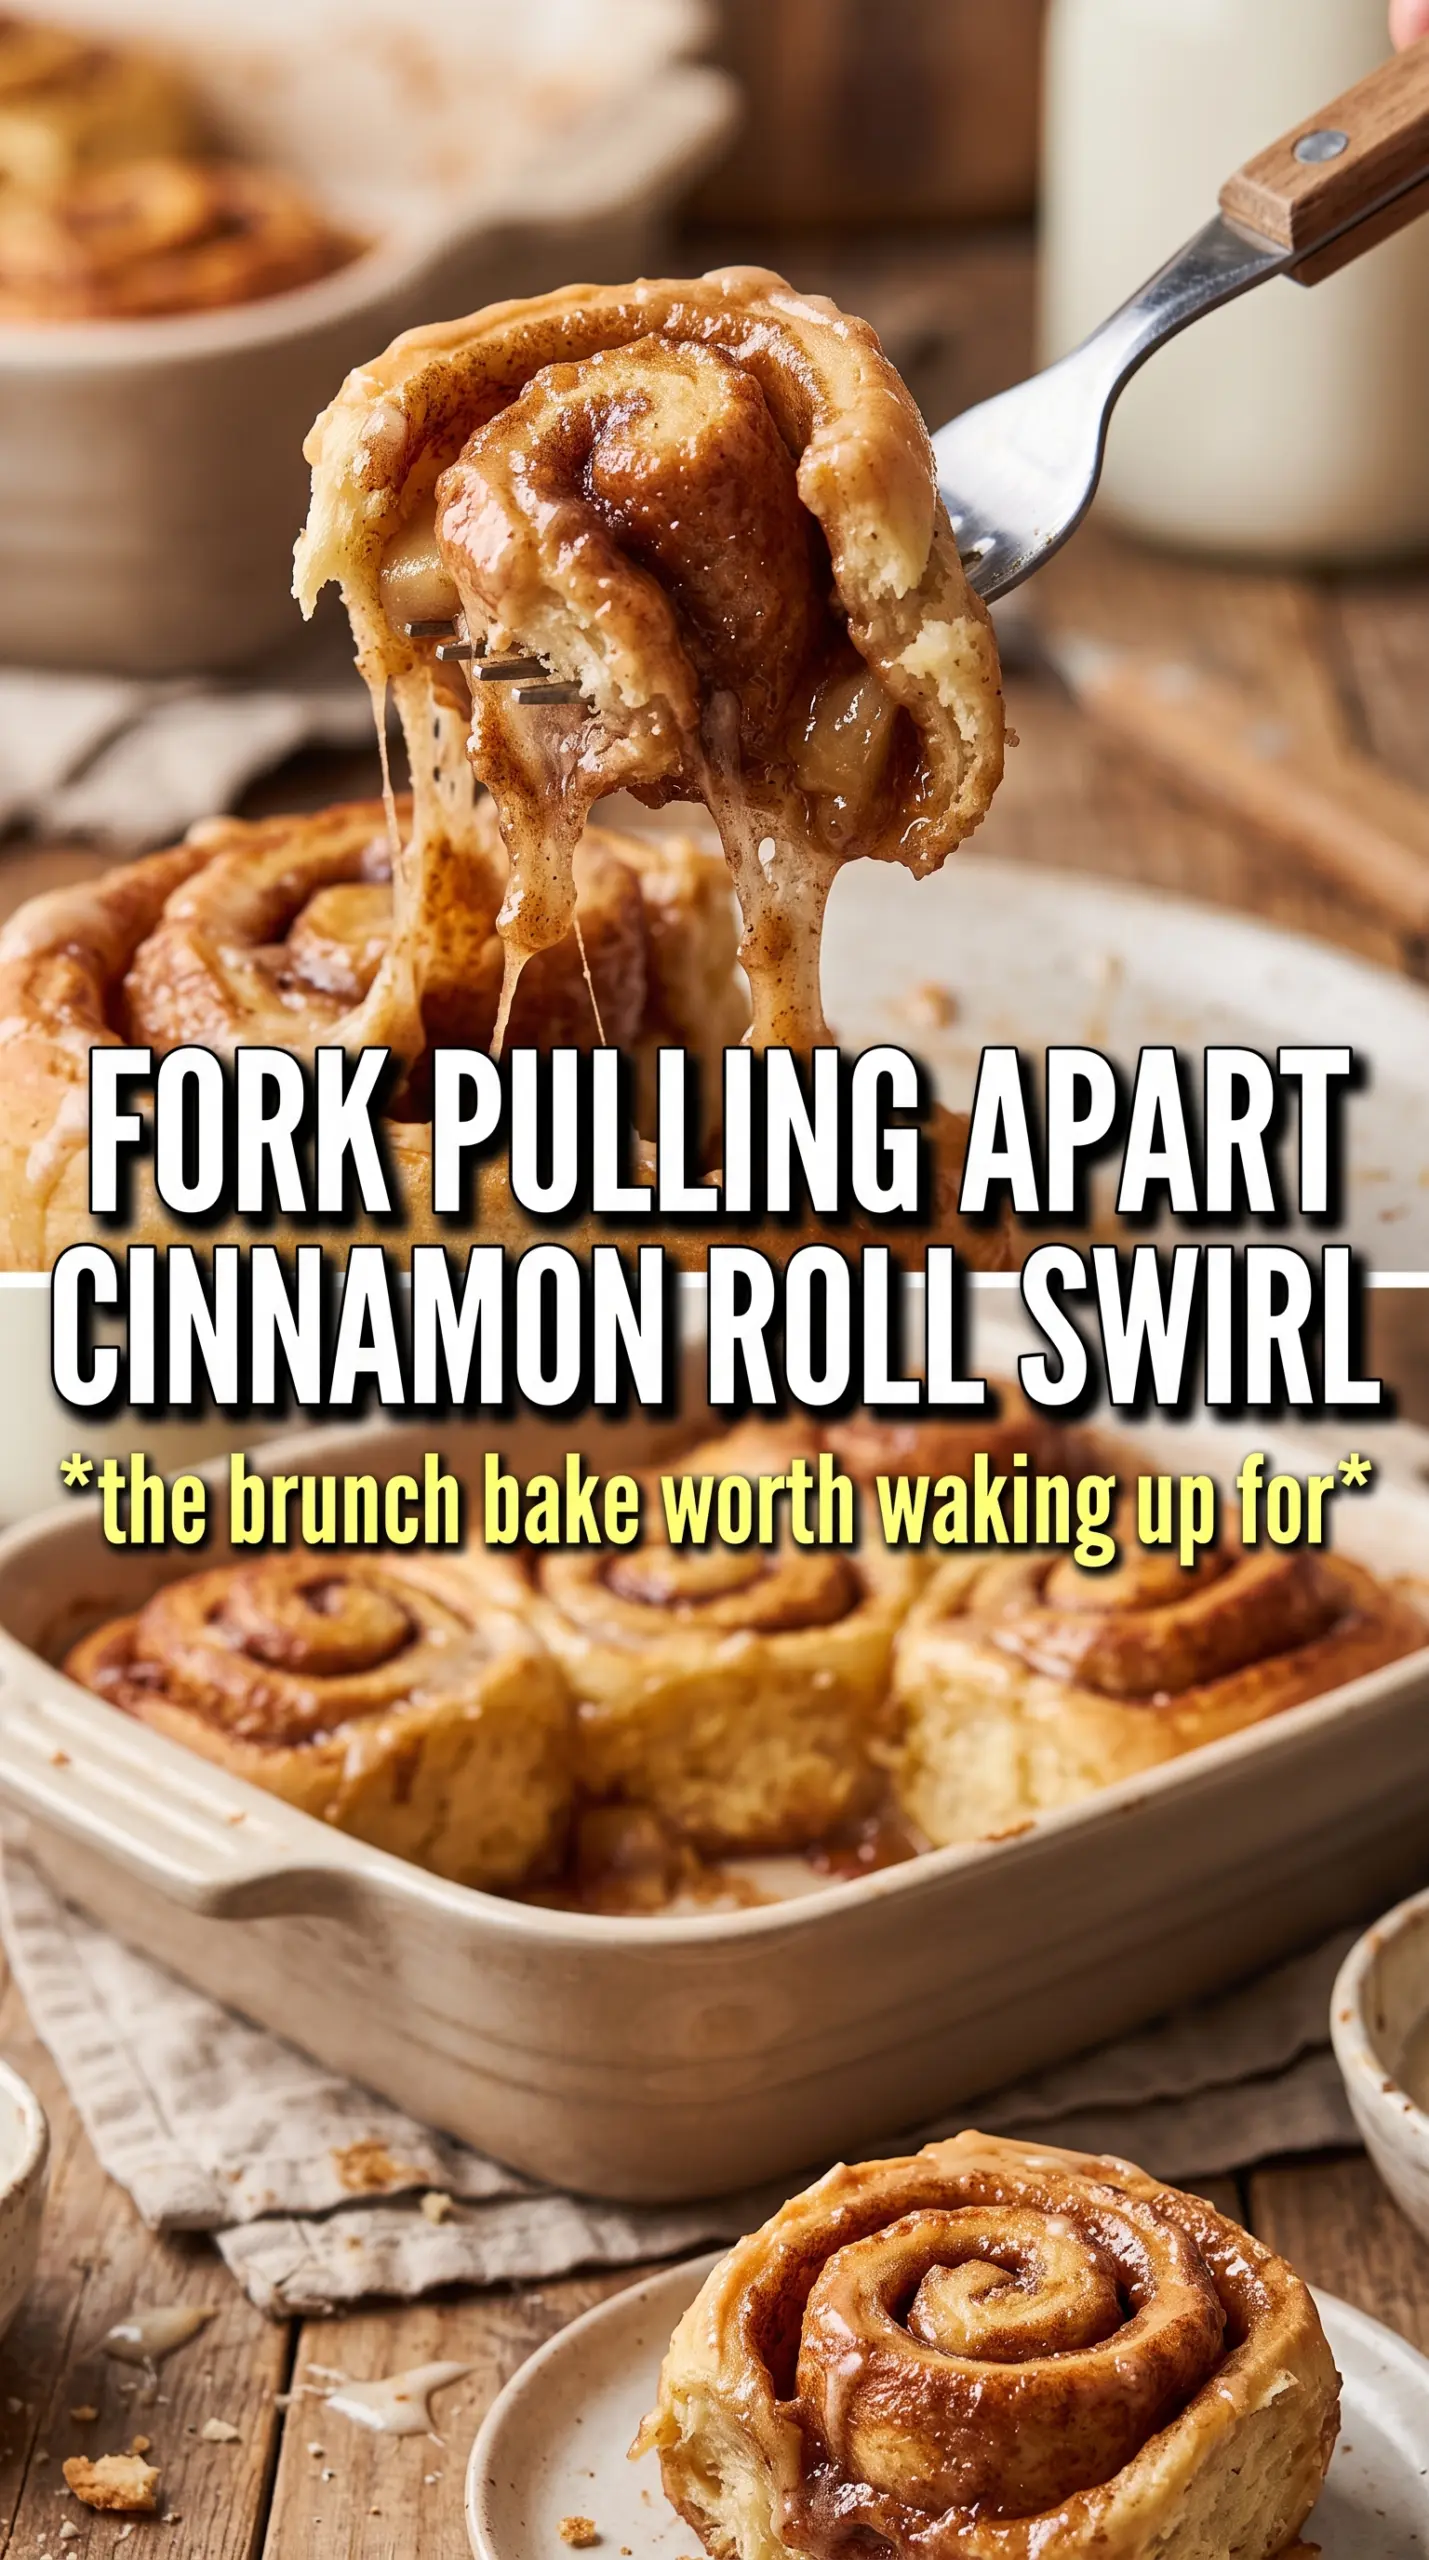
Apple cinnamon rolls bake up soft and plush with tender spirals, caramelized apple bits, and sticky cinnamon-sugar edges that hold their shape instead of collapsing into a soggy pan. The apples bring just enough juice and texture to keep every bite interesting, and the cream cheese glaze melts into the warm rolls without disappearing completely. What comes out of the oven tastes like a bakery treat, but it still feels like the kind of breakfast you can pull off at home.
The part that makes these work is cooking the apples before they go into the dough. Raw diced apples throw off too much moisture in the oven and leave you with gaps, wet centers, or rolls that loosen in the pan. A quick cook with butter, brown sugar, cinnamon, and nutmeg concentrates the flavor and gives you a filling that stays tucked into the swirl. The dough itself stays soft because it uses warm milk, melted butter, and a straightforward yeast rise, so you get structure without a dry crumb.
Below, I’ve included the little timing and texture cues that matter most, plus a few swaps if your apples are extra tart or you want to make these ahead. If cinnamon rolls have ever turned out messy in the middle or bland in the filling, this version fixes both.
The apples stayed tucked into the spirals and the center baked through perfectly. Mine needed the full rise time, and the glaze soaked into the warm rolls just enough without making them wet.
Save these apple cinnamon rolls for a breakfast that bakes up soft, swirled, and full of caramelized apple filling.
The Apple Filling Has to Be Cooked First, or the Rolls Turn Watery
The biggest mistake in apple cinnamon rolls is treating the fruit like a dry filling. Apples release a lot of moisture as they bake, and if that liquid hasn’t been cooked off first, it leaks into the dough and makes the swirls slide apart. A quick stovetop cook solves that problem and gives you soft, caramelized pieces that stay where you spread them.
The filling should look glossy and syrupy, not soupy. By the time it comes off the heat, the apples should be tender but still hold their shape, with the sugar clinging to the edges of the pan. Let it cool before rolling it into the dough; hot filling can melt the butter in the dough and make rolling messy.
What Each Ingredient Is Actually Doing in These Rolls
- Warm milk — This wakes up the yeast without scalding it. If the milk feels hot to your finger, it’s too hot and the yeast can stall or die.
- Active dry yeast — This gives the dough its lift and soft texture. You want it foamy after 5 minutes; if it stays flat, start over with fresh yeast.
- Melted butter — Melted butter makes the dough rich and tender without needing a stand mixer. It also helps the rolls bake up soft instead of bready.
- Apples — Use a firm apple that keeps some structure, like Honeycrisp, Granny Smith, or Pink Lady. Softer apples break down too fast and lose the little pockets of texture that make the filling interesting.
- Brown sugar and cinnamon — These do the heavy lifting in the filling. Brown sugar brings a deeper caramel note than white sugar, and cinnamon needs that sugar to cling to the fruit instead of baking off.
- Cream cheese — This gives the glaze its tang and body. If you use only milk and powdered sugar, the topping turns thin and disappears into the rolls instead of sitting on top in a proper glaze.
How to Build the Dough, Filling, and Swirl Without Fighting the Roll
Wake Up the Yeast
Stir the warm milk, yeast, and a spoonful of the sugar together and let it sit until foamy. That foam tells you the yeast is alive and ready to work. If the mixture stays flat after 5 minutes, the milk was probably too hot or the yeast is old. Don’t move on and hope for the best; a weak start gives you dense rolls.
Mix the Soft Dough
Add the remaining sugar, melted butter, eggs, and vanilla, then mix in the flour and salt until a soft dough forms. It should feel tacky but not wet enough to smear all over your hands. If it looks shaggy at first, that’s normal. Knead until it turns smoother and elastic, about 8 minutes by hand, and stop before it gets dry and stiff.
Cook Down the Apples
Melt the butter in a skillet, then add the diced apples, brown sugar, cinnamon, and nutmeg. Cook until the apples are tender and the liquid turns thick and glossy. You’re looking for a filling that mounds on a spoon instead of running across the pan. Cool it completely before spreading, or it will melt straight into the dough.
Roll, Fill, and Slice Cleanly
Roll the dough into a 12×18 inch rectangle so the filling spreads evenly without tearing the surface. Leave a small border on one long edge so the seam seals when you roll it up. Roll tightly from the long side, then cut into 12 pieces with a sharp knife or unflavored dental floss. If the slices squish flat, the roll was too loose or the knife was dragging through the spirals.
Bake Until the Centers Are Set
Arrange the rolls in a greased 9×13 dish and let them rise again until puffy and touching. Bake until the tops are golden and the centers look set, not pale and doughy. If the tops brown too fast, the rolls may still need a few minutes in the middle, so tent loosely with foil. Warm rolls should spring back lightly when touched in the center.
Glaze While They’re Still Warm
Beat the cream cheese, powdered sugar, milk, and vanilla until smooth, then drizzle it over the rolls while they’re still warm. The heat softens the glaze just enough so it sinks into the ridges without vanishing completely. If the glaze seems too thick, add milk a teaspoon at a time. If it’s too thin, it will slide off the rolls instead of settling into the swirls.
How to Adapt These Rolls for Different Kitchens and Schedules
Make Them Ahead and Bake in the Morning
After slicing and placing the rolls in the baking dish, cover them tightly and refrigerate overnight. In the morning, let them sit at room temperature until puffy before baking. Cold dough straight from the fridge bakes unevenly, so give it enough time to finish rising or the centers will stay tight.
Dairy-Free Version
Use unsweetened non-dairy milk and a plant-based butter that melts cleanly. The glaze can be made with a dairy-free cream cheese alternative, though it will taste a little softer and less tangy than the original. Choose a substitute that stays firm when beaten, or the glaze can turn loose.
Use Pears Instead of Apples
Firm pears can work in place of apples, but they soften faster, so cook them a minute or two less on the stove. The filling will taste lighter and a little more floral, with less tang. Bartlett pears are too soft for this; use firmer varieties that hold their shape.
Freezer-Friendly for Later
Freeze the baked rolls without glaze, then thaw and warm before adding the topping. The texture stays much better this way than freezing the filled unbaked rolls, which can turn soggy as the apples thaw. Once glazed, the rolls are best eaten the same day.
Storage and Reheating
- Refrigerator: Store covered for up to 4 days. The rolls will firm up a bit, but the filling stays flavorful.
- Freezer: Freeze baked, unglazed rolls for up to 2 months. Wrap them tightly and thaw before reheating.
- Reheating: Warm individual rolls in the microwave for 20 to 30 seconds or cover the pan and heat in a low oven until just warmed through. Don’t blast them on high heat or the dough turns rubbery before the center is warm.
Answers to the Questions Worth Asking
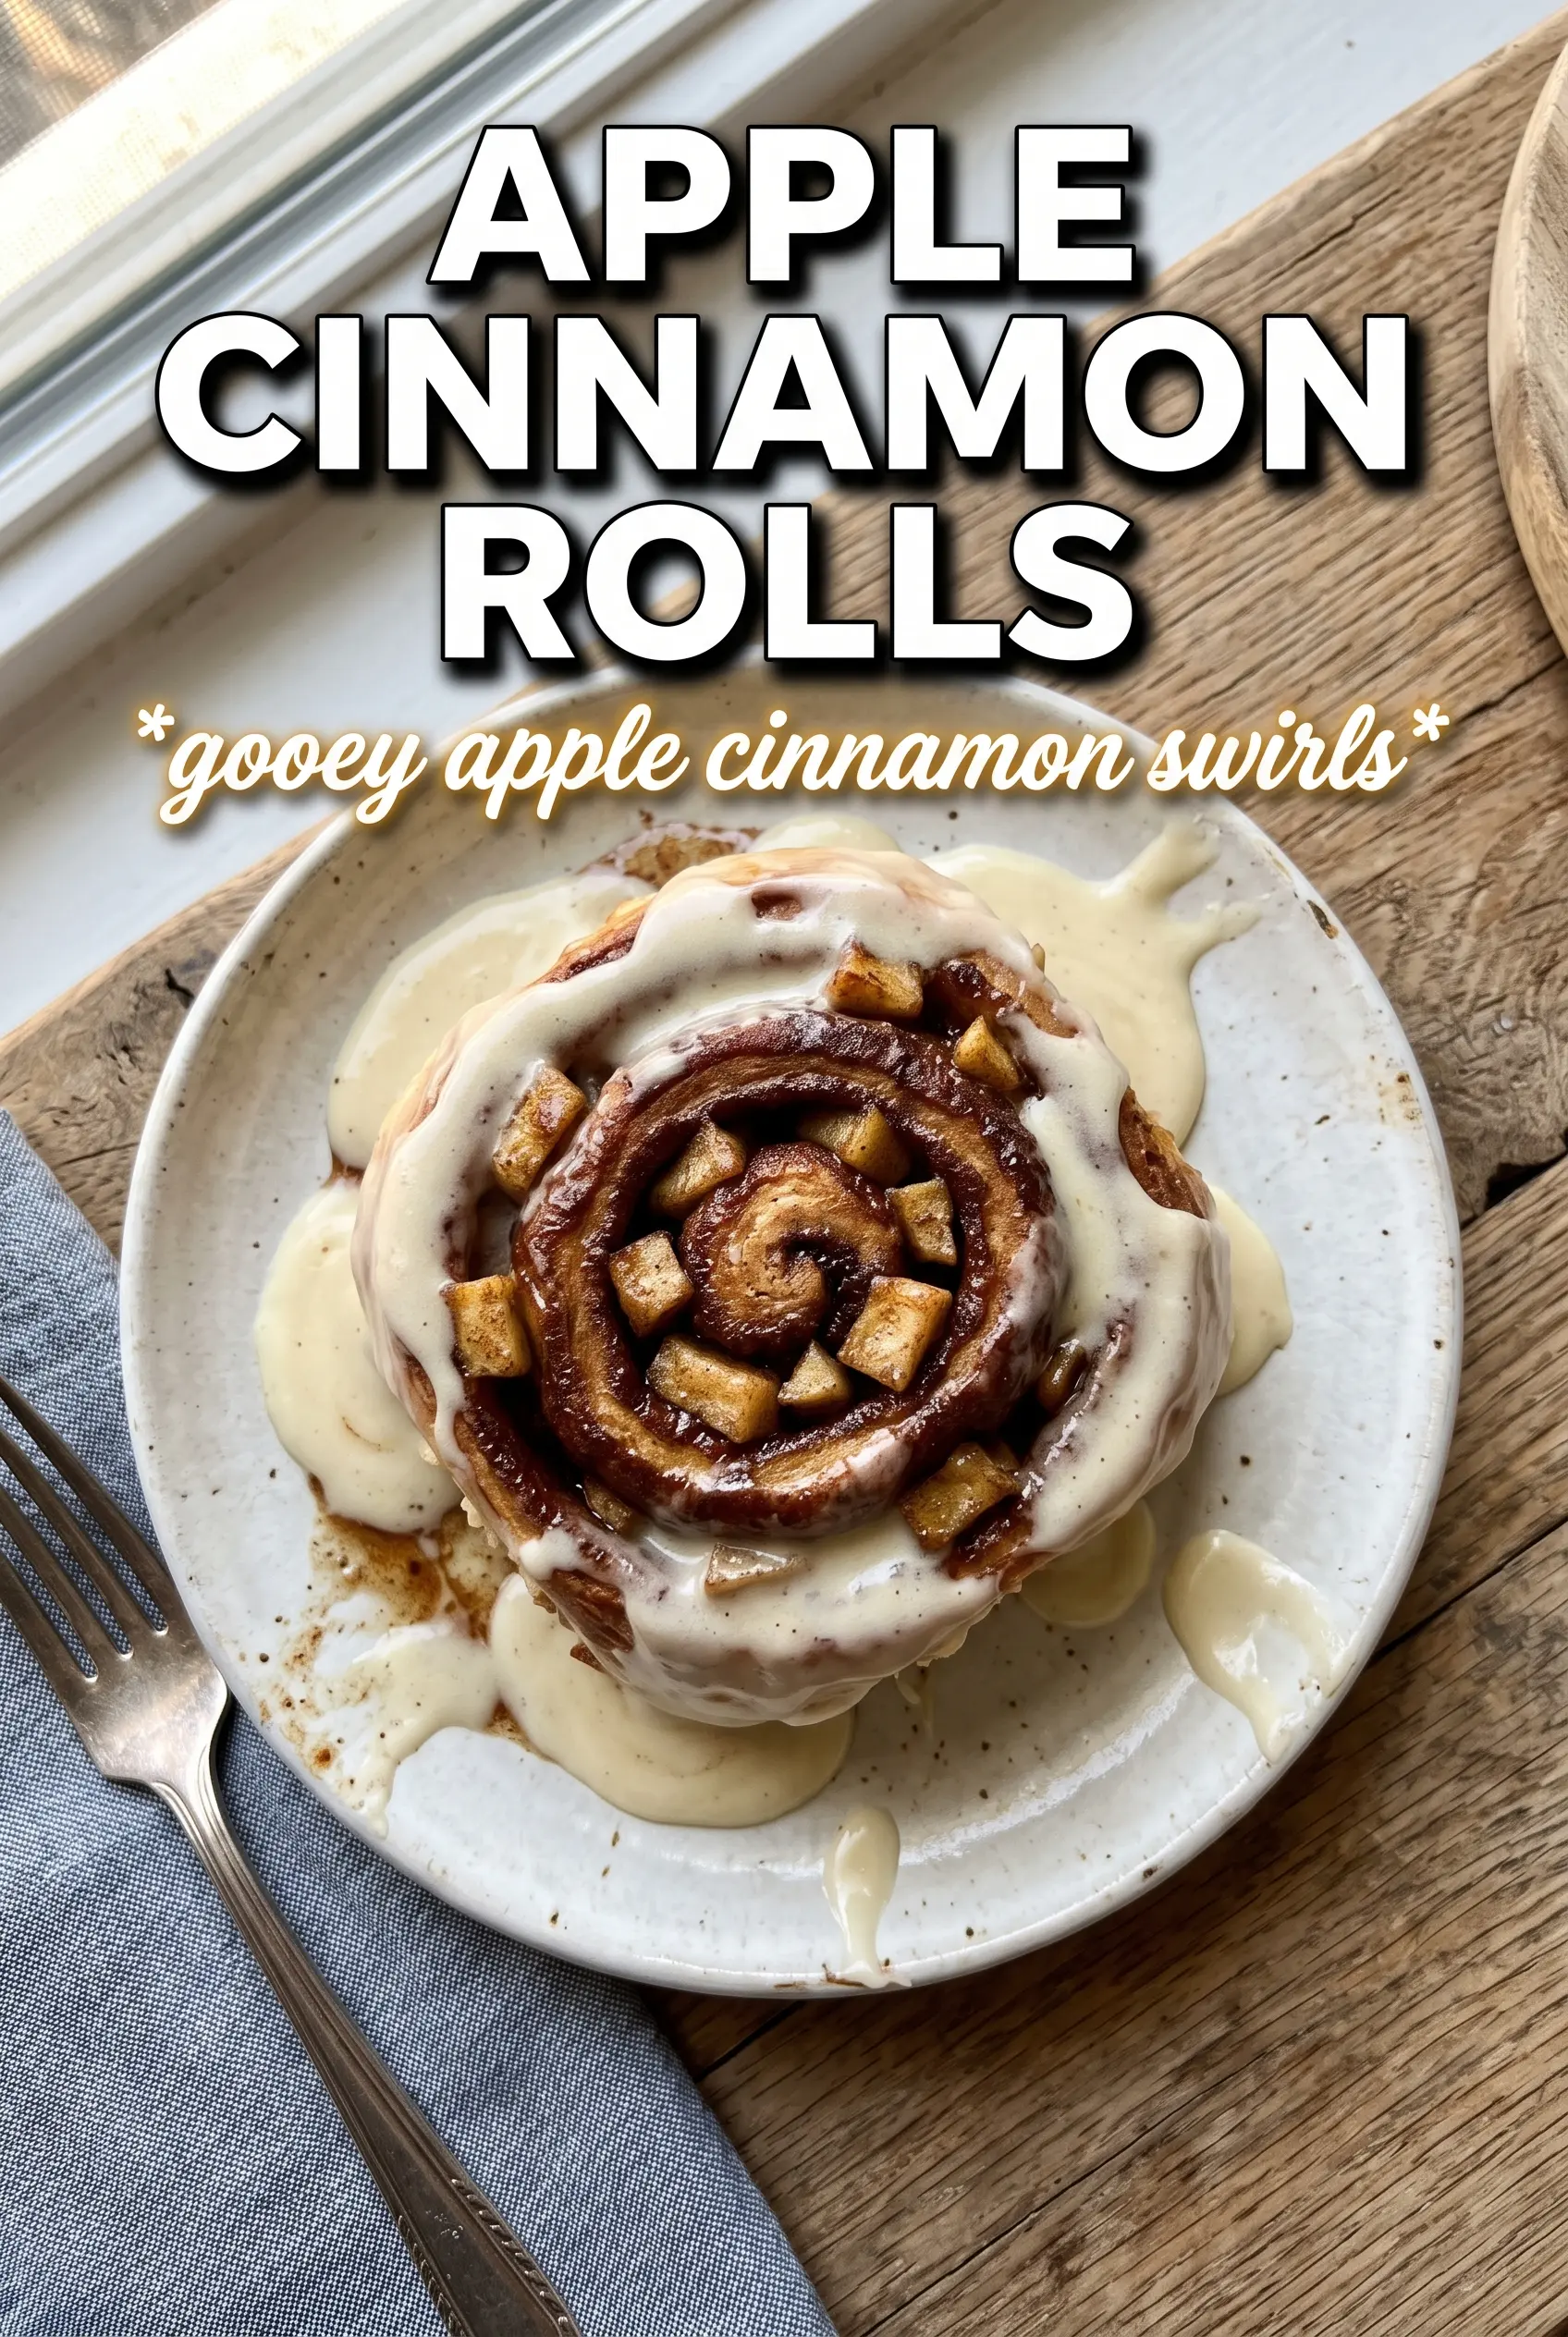
Apple Cinnamon Rolls
Ingredients
Equipment
Method
- Combine warm milk (110F), active dry yeast, and 1 tablespoon of the sugar, then rest 5 minutes until foamy.
- Add the remaining sugar, melted butter, eggs, and vanilla, then mix in the flour and salt to form a soft dough.
- Knead the dough for 8 minutes until smooth, using a controlled push-and-fold motion to build structure.
- Place the dough in a greased bowl, cover, and rise for 1 hour until doubled in size and puffy.
- Cook the diced apples with butter, brown sugar, cinnamon, and nutmeg for 5-7 minutes until caramelized and glossy.
- Cool the apple filling until no longer hot so it won’t melt the dough when you spread it.
- Roll the dough into a 12x18 inch rectangle and spread the apple filling evenly over the surface.
- Roll tightly into a log, keeping the seam down so the layers stay intact when sliced.
- Cut the log into 12 rolls, then arrange them in a greased 9x13 dish with the cut sides facing up.
- Cover and rise for 45 minutes until visibly puffy and touching each other in the baking dish.
- Bake at 375F for 22-25 minutes until golden with set centers and lightly sticky edges.
- Beat the cream cheese glaze ingredients, then drizzle over the warm rolls so it melts into the swirls.