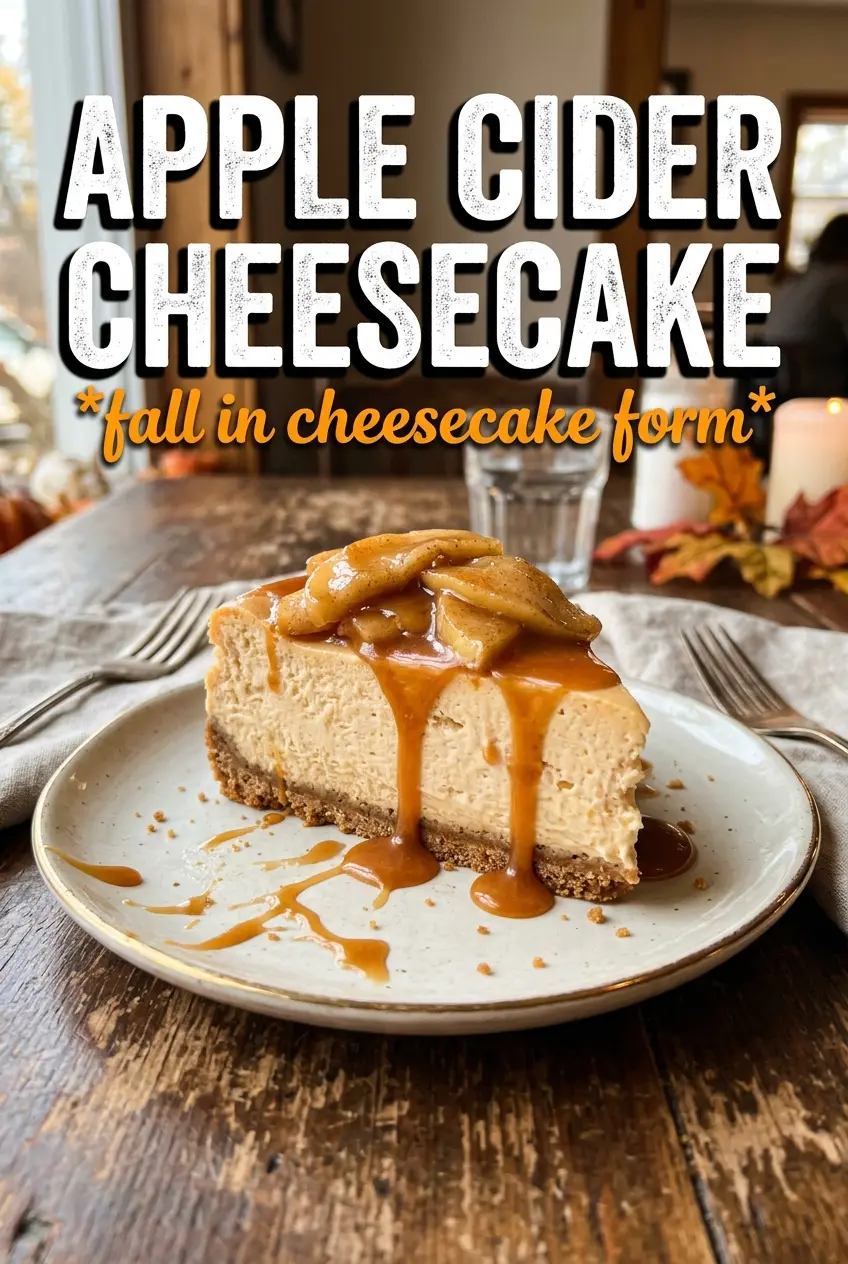
Apple Cider Cheesecake brings all the best parts of a fall dessert into one clean, sliceable finish: a buttery graham cracker crust, a creamy filling with real cider flavor, and a spiced topping that settles into every forkful. The cider doesn’t shout here. It lingers in the background and gives the cheesecake a warm apple note that feels brighter than plain cinnamon cheesecake and less heavy than caramel.
The part that makes this version worth making is the reduced apple cider. Cutting it down concentrates the flavor without watering out the batter, which is the mistake that makes a lot of cider desserts taste flat. A water bath keeps the edges from overbaking before the center sets, and the long chill gives the filling its smooth, tight texture instead of a soft, messy one.
Below you’ll find the small details that matter most: how to reduce the cider without burning it, why the filling should still wobble a little in the center, and how to get a topping that drapes over each slice instead of running off the plate.
The cider flavor came through beautifully and the center set up with that perfect creamy wobble after chilling overnight. My husband kept sneaking slices from the fridge.
Save this Apple Cider Cheesecake for the days when you want a silky baked cheesecake with real cider flavor and a spiced drizzle on top.
The Cider Needs to Be Reduced Before It Hits the Batter
The biggest mistake in apple cider cheesecake is adding straight cider to the filling and expecting the cheesecake to taste more apple-y. It usually does the opposite. Extra liquid thins the batter, stretches the bake time, and leaves you with a softer center that never quite slices cleanly. Reducing the cider first fixes that problem because it concentrates the flavor without adding excess moisture.
That reduction should be measured after it cools. Hot syrup looks thicker than it really is, and if you judge it too early, you’ll end up with less cider flavor than you expected. The same idea applies to the cheesecake itself: pull it from the oven when the edges are set and the center still has a gentle wobble. Residual heat finishes the job while the filling stays creamy.
- Apple cider reduction — This is where the apple flavor comes from. Reduce it until you have 1/4 cup, then cool it before mixing it into the filling so it doesn’t melt the cream cheese or scramble the eggs.
- Cream cheese — Use full-fat blocks, not tub cream cheese. Blocks give you the dense, smooth structure a baked cheesecake needs.
- Sour cream — This keeps the filling tangy and helps it bake up silkier. Greek yogurt can work in a pinch, but it tastes sharper and sets a little differently.
- Water bath — It isn’t decoration. The steam evens out the heat and keeps the cheesecake from cracking around the edges before the center is done.
What Each Ingredient Is Actually Doing in This Cheesecake
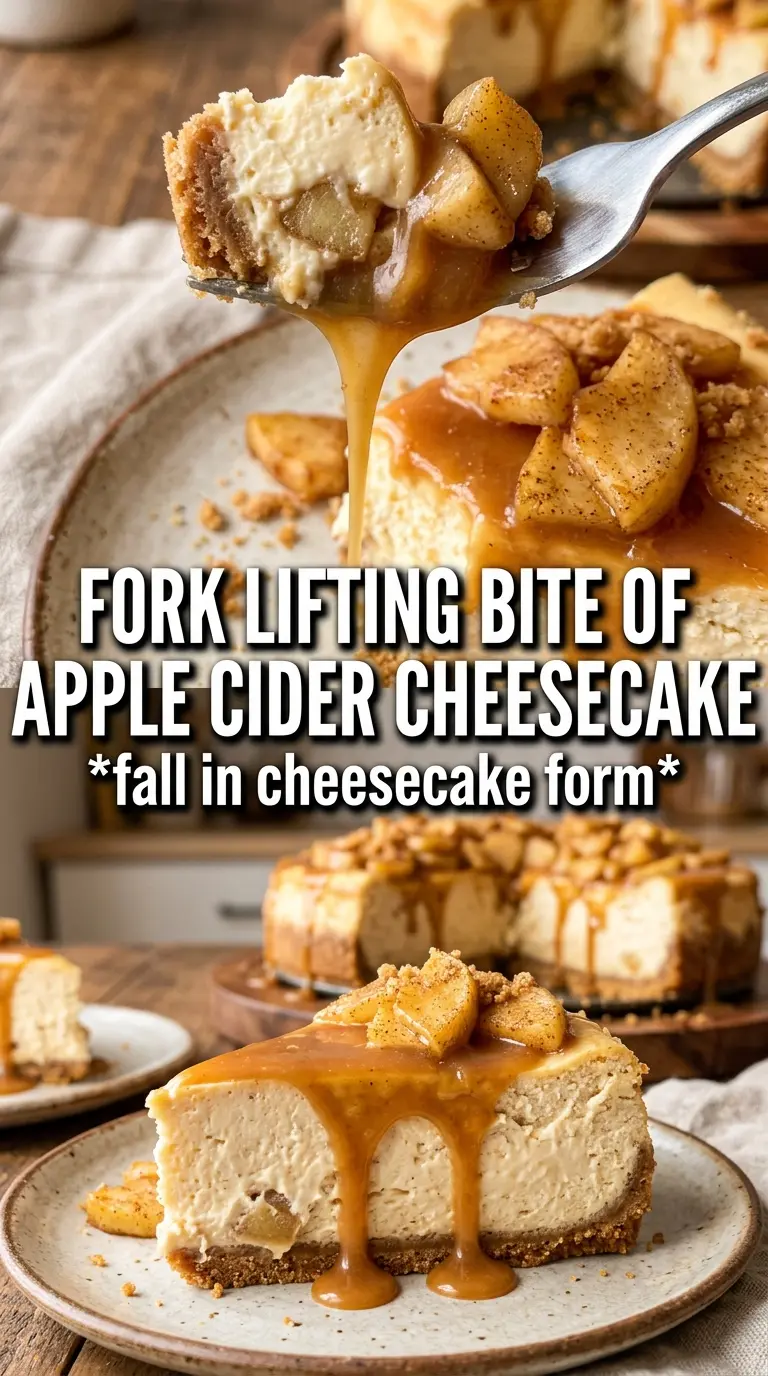
- Graham cracker crumbs — They give you a sturdy, slightly sweet base that plays well with cider and cinnamon. If you swap in gingersnaps, the crust gets darker and spicier, which works if you want a stronger autumn note.
- Brown sugar — Brown sugar adds a little molasses depth that white sugar can’t mimic. In the crust and filling, it makes the apple cider taste warmer and less one-note.
- Eggs — They set the cheesecake. Add them one at a time and stop mixing as soon as the batter looks smooth, because overmixing traps air and can lead to cracks.
- Sour cream and vanilla — These round out the filling so the cider doesn’t taste sharp or thin. Vanilla doesn’t read as vanilla in the finished slice; it just makes the whole cheesecake taste fuller.
- Cinnamon and nutmeg — Use fresh spices if yours have been sitting open for years. Stale spice turns this from cozy to dusty fast.
Building the Batter, Baking the Center, and Finishing Cleanly
Pressing and Prebaking the Crust
Mix the crumbs, sugar, cinnamon, and melted butter until every crumb looks evenly moistened, then press it firmly into the bottom and slightly up the sides of a 9-inch springform pan. A loose crust falls apart when you slice it. Bake it for 10 minutes until it smells toasty and looks set, not deeply browned, then let it cool while you start the filling.
Mixing the Filling Without Adding Air
Beat the cream cheese and brown sugar until the mixture turns smooth and glossy with no visible lumps. Add the cooled reduced cider, then the eggs one at a time, followed by sour cream, cinnamon, nutmeg, and vanilla. If the batter looks fluffy instead of dense and satiny, you’ve mixed too hard. That extra air expands in the oven and is one of the main reasons cheesecakes crack.
Using the Water Bath the Right Way
Wrap the outside of the springform pan well if your water bath is going to sit in a larger roasting pan. Pour in hot water carefully so it comes partway up the sides of the cheesecake pan, then bake until the edges are set and the center still has a slight jiggle. If the top starts to brown fast, your oven is running hot and the cheesecake is getting too much direct heat.
Cooling and Chilling for the Clean Slice
Let the cheesecake cool completely before moving it to the refrigerator. Rushing that step can cause the center to sink and the top to split. Chill it for at least 6 hours, but overnight is better if you want neat slices. The cider topping should be simmered until it lightly coats a spoon, then drizzled over each slice right before serving.
How to Adapt This Apple Cider Cheesecake Without Losing the Good Part
Gluten-Free Crust Swap
Use certified gluten-free graham-style crumbs or gluten-free gingersnaps in the same amount. The texture stays crisp and sliceable, but gingersnaps will push the flavor a little spicier and darker.
Dairy-Free Version
Use plant-based cream cheese and a thick dairy-free sour cream substitute that bakes well. The cheesecake will still set, but the texture usually turns a touch softer and the tang reads a little different, so don’t expect an exact copy.
More Cinnamon, Less Nutmeg
If you want the apple cider to stay at center stage, cut the nutmeg in half and lean harder on cinnamon. Nutmeg gets strong fast and can make the filling taste more like spice cake than cheesecake.
Make-Ahead Timing
Bake the cheesecake a full day ahead if you can. The texture firms up overnight, the cider flavor settles in, and the slices come out cleaner than they do after a minimum chill.
Storage and Reheating
- Refrigerator: Store covered for up to 5 days. The crust softens slightly after the first day, but the flavor stays excellent.
- Freezer: Freezes well without the topping. Wrap individual slices tightly and freeze for up to 1 month, then thaw in the refrigerator overnight.
- Reheating: Cheesecake is best served cold or cool from the fridge. If you want a softer slice, let it sit at room temperature for 20 to 30 minutes. Don’t microwave it or the filling can turn greasy and loose.
Questions I Get Asked About This Recipe
Apple Cider Cheesecake
Ingredients
Equipment
Method
- Reduce 1/2 cup apple cider until syrupy, then cool completely.
- Preheat the oven to 325F, press the crust mixture into a 9-inch springform, and bake for 10 minutes.
- Beat cream cheese and brown sugar until smooth, then add the reduced cider, eggs, sour cream, cinnamon, nutmeg, and vanilla.
- Pour the cheesecake batter over the crust and bake in a water bath for 55-60 minutes until the center is just set.
- Cool the cheesecake completely to room temperature, with the surface remaining lightly set.
- Refrigerate the cheesecake for 6 hours until firm and sliceable.
- Simmer the cider syrup topping ingredients until reduced by half, then cool slightly so it thickens.
- Drizzle the cider syrup over each slice and serve with the glossy spiced finish.