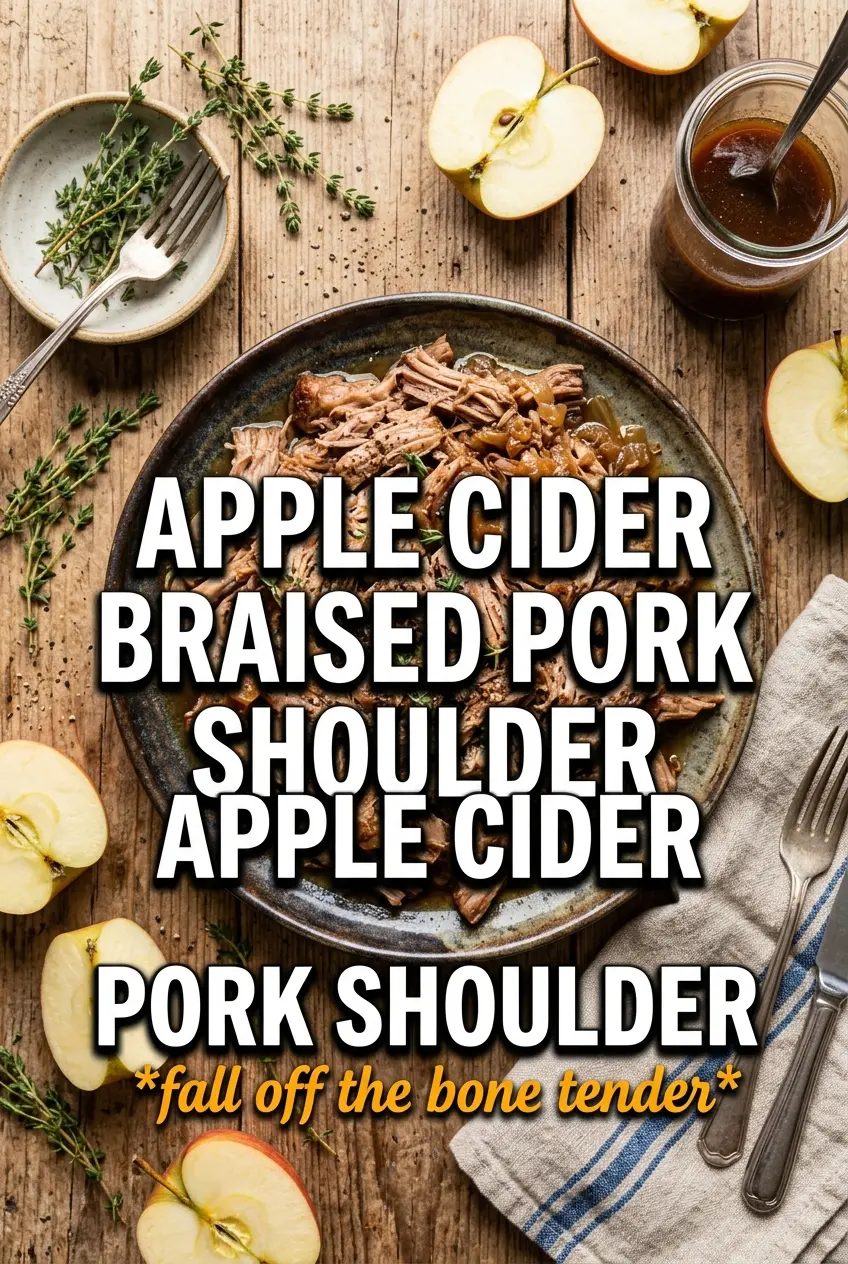
Apple cider braised pork shoulder turns into the kind of dinner that practically carves itself once it’s done. The pork goes from firm and heavy to spoon-tender, and the cider sauce cooks down into something glossy, savory, and just sweet enough to cling to every shredded bite. The apples soften without turning to mush, so you get little pockets of bright fruit tucked into the rich meat and pan juices.
The trick is in the balance. A hard or fresh cider gives the braising liquid enough acidity and apple flavor to stand up to the pork shoulder, while Dijon mustard and apple cider vinegar keep the sauce from tasting flat. Browning the pork first matters more than people think; those dark edges build the base of the whole dish, and the braising liquid lifts every bit of that flavor back into the pot.
Below you’ll find the simple order that keeps the sauce deep instead of bland, plus the best way to handle the apples so they hold their shape long enough to matter. I also added storage notes and a few smart variations for the nights when you want to stretch this into something a little different.
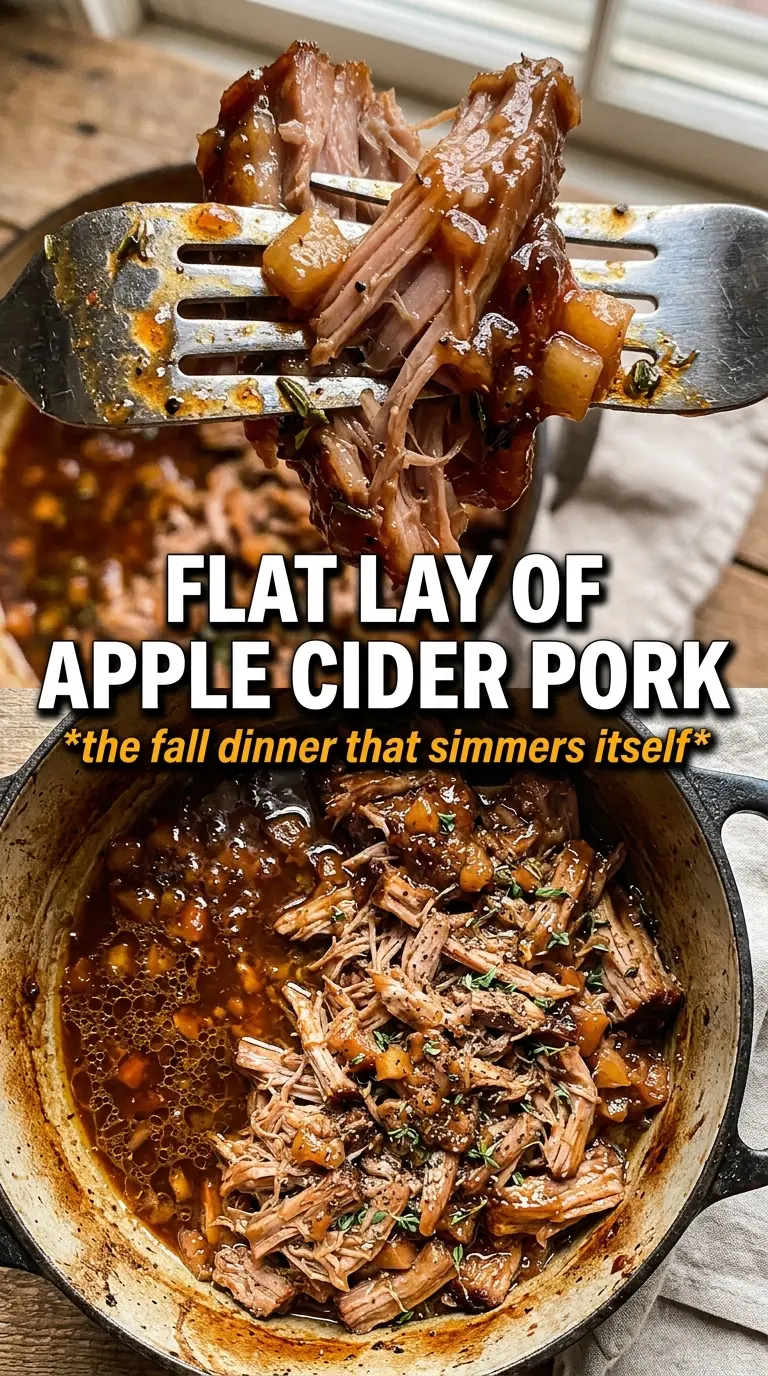
The pork was fall-apart tender and the cider sauce reduced into this silky gravy-like jus. I served it over mashed potatoes and the apples held their shape just enough to be a great contrast.
Save this apple cider braised pork shoulder for a cozy pan sauce and ultra-tender shredded pork dinner.
The Sear Is Doing More Work Than You Think
With a braise like this, the biggest mistake is skipping the deep brown crust and expecting the oven to do all the work. It won’t. Pork shoulder has enough fat and connective tissue to turn tender over time, but it still needs a proper sear first so the finished sauce tastes layered instead of flat. If the meat is only pale gold, the braising liquid has less to carry and the whole dish tastes thinner.
Use a heavy Dutch oven and give the pork room. If the pan is crowded, the meat steams and you lose the crust before it develops. You want a browned surface that looks almost too dark in spots; that’s where the flavor lives, and those bits dissolve into the cider sauce later.
- Pork shoulder — This cut is the right one for long braising because the collagen slowly melts and keeps the meat juicy. Pork loin won’t give you the same fall-apart texture and tends to dry out before the sauce is ready.
- Hard or fresh apple cider — Use a cider that tastes good on its own. If it tastes thin in the glass, it’ll taste thin in the pot. Hard cider gives a sharper edge; fresh cider brings a rounder apple sweetness.
- Dijon mustard — This is what keeps the braising liquid from tasting sugary. It blends into the sauce and helps it emulsify a little when you shred the pork back in.
- Apples — Choose firm apples that hold shape, like Honeycrisp, Braeburn, or Pink Lady. Soft apples will disappear before the braise is done, which can make the sauce taste muddy.
What Each Ingredient Is Actually Doing in This Recipe
- Primary ingredient (the star) — Quality matters most. Choose the best you can find.
- Cooking medium (oil, butter, or broth) — This carries flavors and prevents dryness.
- Seasonings (salt, pepper, spices, herbs) — Layer flavors so nothing overpowers. Build depth gradually.
- Aromatics (garlic, onion, herbs) — Cook with fat to bloom flavors. Become the foundation.
- Supporting ingredients — Complement the main ingredient without overpowering it.
- Sauce or liquid (if applicable) — Brings flavors together. Balance richness with acid.
- Acid (lemon, vinegar, wine, or other) — Brightens and prevents flat-tasting results.
- Final finish (garnish, glaze, or sauce) — Prevents one-dimensional taste and adds visual appeal.
Getting the Pork Tender Without Losing the Sauce
Build the Crust First
Season the pork generously with salt and pepper before it hits the hot oil. The meat should sizzle the moment it touches the pot, and each side needs time to turn deeply browned before you move it. If you rush this and keep flipping early, the surface sticks and tears instead of developing a crust. Pull the pork out once it has real color on every side.
Cook the Onion Until It Softens, Not Browns
After the pork comes out, the onion and garlic go into the same pot. Stir them just long enough to soften and release their aroma, about 3 minutes, scraping up the browned bits as you go. If the garlic starts to darken, the pot is too hot and the bitterness will carry through the sauce. You want the bottom of the pot cleaned by the liquid, not by extra scraping force.
Let the Braise Barely Simmer in the Oven
Once the cider, broth, Dijon, brown sugar, and vinegar go in, the liquid should come up around the pork without burying it completely. Cover the pot and braise at 325°F until the meat pulls apart with almost no resistance, usually 3 1/2 to 4 hours. If the oven runs hot and the liquid boils hard, the pork can tighten instead of relaxing into tenderness. A gentle braise is what gives you those shredded strands that stay moist.
Shred It Back in the Juices
When the pork is done, it should shred with a fork and still look glossy. Pull it apart прямо in the pot so the meat soaks up the cider sauce instead of drying on a cutting board. The apples will be soft, the onions will have melted into the liquid, and the sauce will cling to the pork instead of pooling thinly underneath it. Serve it over mashed potatoes while everything is still hot and spoon the juices over the top.
How to Make This Braise Fit the Night You’re Having
Swap in boneless beef chuck for a deeper, beefier pot roast feel
If pork shoulder isn’t available, beef chuck follows the same braising method and still gives you a shreddable texture. The flavor shifts darker and less sweet, so keep the cider, mustard, and vinegar exactly as written to preserve the balance. Expect a richer sauce and a slightly longer braise if the pieces are large.
Make it dairy-free and naturally gluten-free without changing the method
This recipe already works without dairy, and the braising liquid doesn’t rely on flour for thickening. Serve it with mashed potatoes made with olive oil or dairy-free butter if you want to keep the whole plate dairy-free. For gluten-free, just check that your Dijon and broth are certified gluten-free.
Use hard cider for a sharper finish or fresh cider for a softer one
Hard cider gives the sauce a little bite and keeps the sweetness in check, especially if your apples are very sweet. Fresh cider makes the whole dish taste rounder and more orchard-like. Either one works, but the finished sauce will lean different depending on which direction you choose.
Storage and Reheating
- Refrigerator: Store the pork and juices together for up to 4 days. The sauce may thicken as it chills, which is normal.
- Freezer: This freezes well for up to 3 months. Cool it completely, pack the pork with plenty of sauce, and thaw it overnight in the fridge before reheating.
- Reheating: Reheat gently on the stovetop over low heat or covered in a 300°F oven with a splash of broth if needed. High heat dries out shredded pork fast and can make the sauce taste harsh.
Answers to the Questions Worth Asking
Apple Cider Braised Pork Shoulder
Ingredients
Equipment
Method
- Preheat the oven to 325°F, then season the pork shoulder generously with salt and pepper and pat it evenly to coat.
- Sear the pork in olive oil in a Dutch oven over medium-high heat on all sides until deeply browned, about 8–12 minutes total, for a caramelized crust.
- Remove the pork and add the sliced onion and smashed garlic to the Dutch oven, sautéing for 3 minutes until fragrant and slightly softened.
- Whisk the apple cider, chicken broth, Dijon mustard, brown sugar, and apple cider vinegar, then pour the mixture into the pot and scrape up the browned bits.
- Return the pork to the pot and add the apple slices, fresh thyme, and fresh rosemary, then spoon some sauce over the top.
- Cover and braise at 325°F for 3-1/2 to 4 hours until the pork is fall-apart tender, with apples softened and the sauce reduced.
- Shred the pork in the juices until coated, then serve immediately over mashed potatoes with the apple cider sauce.