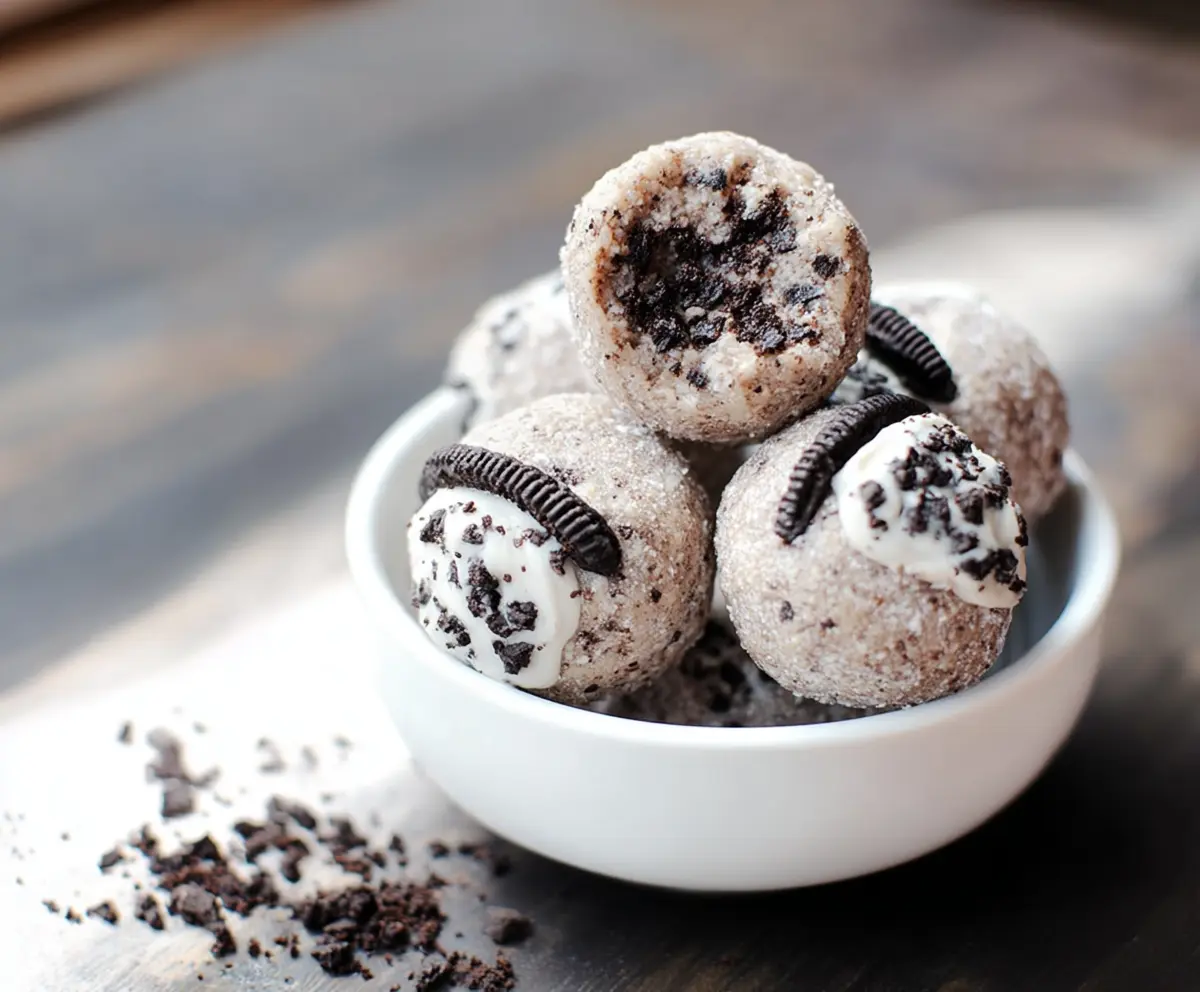
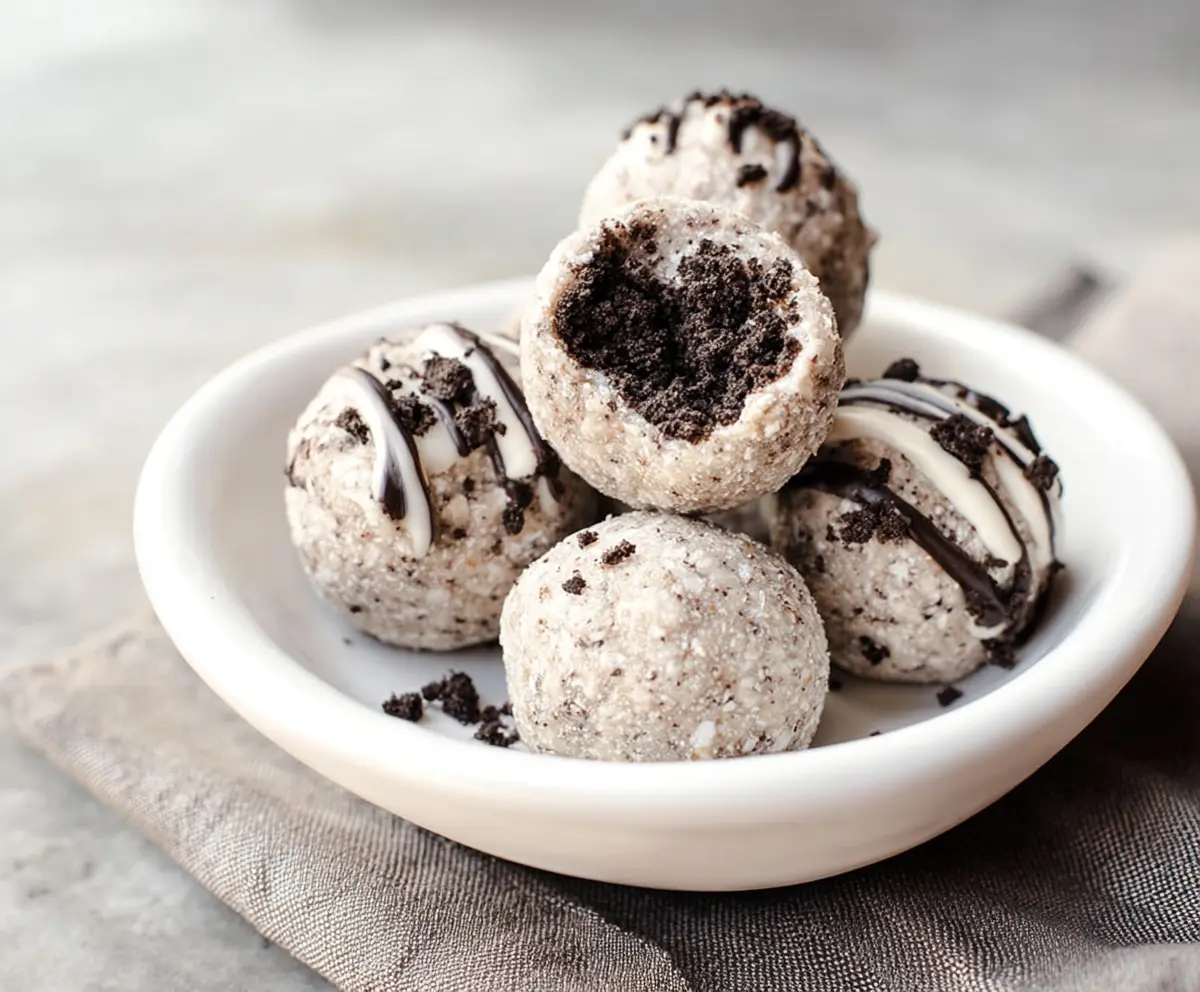
Nutritious Oreo Protein Balls are a fun and tasty treat that blend the classic flavor of Oreo cookies with the power of protein. These little balls are chewy, slightly crunchy, and packed with energy-boosting ingredients that make them perfect for a quick snack. They have just the right amount of sweetness and a hint of chocolate that’s familiar and comforting.
I love making these protein balls when I want something sweet but don’t want to turn to regular candy or cookies. They’re super easy to prepare, and I usually keep a batch in the fridge for whenever I need a quick pick-me-up after a workout or during a busy afternoon. A little tip I follow is to press the mixture tightly when rolling the balls to make sure they hold together well and don’t fall apart when I eat them.
My favorite way to enjoy these is with a glass of cold milk or a cup of tea. They also make a great snack to bring along on hikes or during long days at work because they’re portable and won’t get messy. If you’re a fan of Oreos but want to add some healthy benefits, these protein balls are an awesome way to get that Oreo flavor without feeling like you’re giving up on your goals.
Key Ingredients & Substitutions
Rolled oats: Oats help bind everything together and add fiber. You can swap them for quick oats if you want a softer texture, but I prefer rolled oats for a bit more chew.
Protein powder: Vanilla or chocolate works best here to blend with Oreo flavors. If you’re vegan, use plant-based protein powders like pea or rice protein.
Almond butter: This adds healthy fats and creaminess. Peanut butter, cashew butter, or sunflower seed butter are great alternatives.
Honey or maple syrup: Both act as natural sweeteners and help the mixture stick. Maple syrup is perfect for vegans.
Greek yogurt: This boosts protein and keeps the balls moist. Dairy-free yogurt can be used if you want a dairy-free option.
Oreos: Crushed Oreos provide that iconic taste and crunch. If you want healthier, try whole grain or gluten-free cookies instead.
How Do I Get the Right Texture for Rolling the Balls?
Getting the perfect sticky but firm mixture is key for shaping the balls without them falling apart or being too wet.
- First, mix the dry ingredients well before adding the wet ones.
- Add wet ingredients slowly and stir well. The mixture should hold together when pressed.
- If the dough feels dry and crumbly, add a bit more yogurt or honey, one teaspoon at a time.
- If it’s too sticky or wet, add more oats or protein powder little by little.
- When shaping, press firmly but gently to compact the mixture tightly into balls.
- Chill the balls in the fridge for at least 30 minutes to help them firm up before eating or storing.
Equipment You’ll Need
- Large mixing bowl – I use this to combine all the ingredients easily and see everything come together.
- Measuring cups and spoons – they help you add the right amount of ingredients without guesswork.
- Mixing spoon or spatula – makes stirring the mixture smooth and well-blended.
- Small cookie scoop or your hands – helps you shape uniform balls quickly and neatly.
- Tray or plate lined with parchment paper – for placing the formed balls so they don’t stick while chilling.
- Refrigerator – necessary to set the balls and keep them fresh before eating.
Flavor Variations & Add-Ins
- Use peanut butter or cashew butter instead of almond butter for a different nutty flavor.
- Add mini M&Ms or chopped nuts for extra crunch and color.
- Mix in shredded coconut or dried fruit like cranberries for added texture and sweetness.
- Use chocolate protein powder or add a splash of cocoa powder for a richer chocolate taste.
Nutritious Oreo Protein Balls
Ingredients You’ll Need:
Main Ingredients:
- 1 cup rolled oats
- 1/2 cup vanilla or chocolate protein powder
- 1/4 cup unsweetened almond butter (or any nut butter)
- 1/4 cup honey or maple syrup
- 1/4 cup Greek yogurt (for creaminess and added protein)
- 8 Oreo cookies, finely chopped (or a healthier cookie alternative)
- 1/4 cup dark chocolate chips or mini chocolate chips (optional)
- 1 tsp vanilla extract
- Pinch of salt
- Additional crushed Oreos for rolling and garnish
- Optional: 2 tbsp chia seeds or flaxseeds for extra nutrition
How Much Time Will You Need?
This recipe takes about 10 minutes to prepare plus at least 30 minutes of chilling time in the refrigerator to help the balls firm up. It’s a quick, no-bake treat that comes together easily and makes a perfect grab-and-go snack.
Step-by-Step Instructions:
1. Mix the Dry Ingredients:
In a large mixing bowl, combine the rolled oats, protein powder, chopped Oreos, chia seeds or flaxseeds if you’re using them, and a pinch of salt. Stir everything together well to ensure it’s evenly mixed.
2. Blend the Wet Ingredients:
In a separate bowl, mix the almond butter, honey or maple syrup, Greek yogurt, and vanilla extract. Stir these together until you have a smooth mixture with no lumps.
3. Combine and Adjust:
Pour the wet mixture into the dry ingredients. Stir thoroughly until the mixture looks sticky but holds together well. If it feels too dry, add a little more yogurt or honey, one teaspoon at a time. If it’s too sticky or wet, sprinkle in some extra oats or protein powder gradually.
4. Add Chocolate Chips (Optional):
Fold in the dark or mini chocolate chips if you’d like a little extra chocolatey crunch.
5. Shape the Protein Balls:
With clean hands, roll the mixture into small balls about 1 to 1.5 inches in diameter. Press and mold them firmly to hold their shape.
6. Coat and Garnish:
Roll each ball in additional crushed Oreos or finely chopped cookies to coat the outside. For a pretty finishing touch, you can add a small dollop of Greek yogurt and a tiny Oreo piece on top of some balls.
7. Chill and Serve:
Place the balls on a tray or in a container and chill them in the refrigerator for at least 30 minutes. This helps them firm up and improves the texture.
8. Enjoy and Store:
Enjoy these delicious and nutritious Oreo protein balls as a quick snack anytime. Keep any leftovers stored in an airtight container in the refrigerator for up to a week.
Can I Use Frozen Yogurt Instead of Greek Yogurt?
It’s best to use plain Greek yogurt for the right texture and protein boost. Frozen yogurt may add extra moisture and make the mixture too wet, so stick to fresh Greek yogurt for best results.
How Should I Store These Protein Balls?
Store them in an airtight container in the fridge for up to one week. You can also freeze them for longer storage—just thaw in the fridge before eating.
Can I Substitute the Oreos with a Healthier Option?
Absolutely! Try using whole grain cookies or gluten-free alternatives to keep the Oreo flavor with a healthier twist.
What If the Mixture Is Too Dry or Too Sticky?
If it’s dry, add a little more Greek yogurt or honey, one teaspoon at a time. If it’s too sticky, sprinkle in extra oats or protein powder gradually until you get the right consistency for rolling.