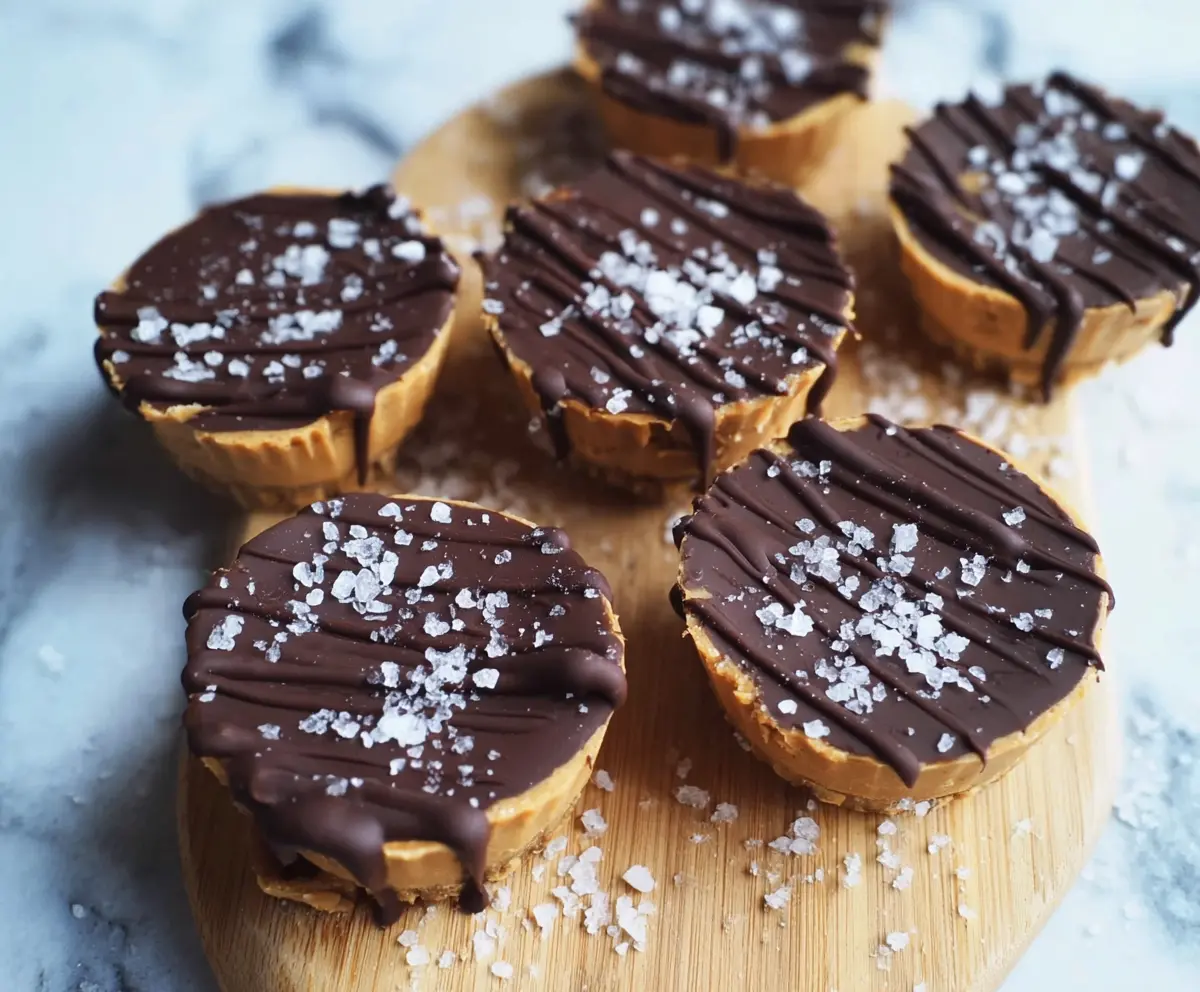
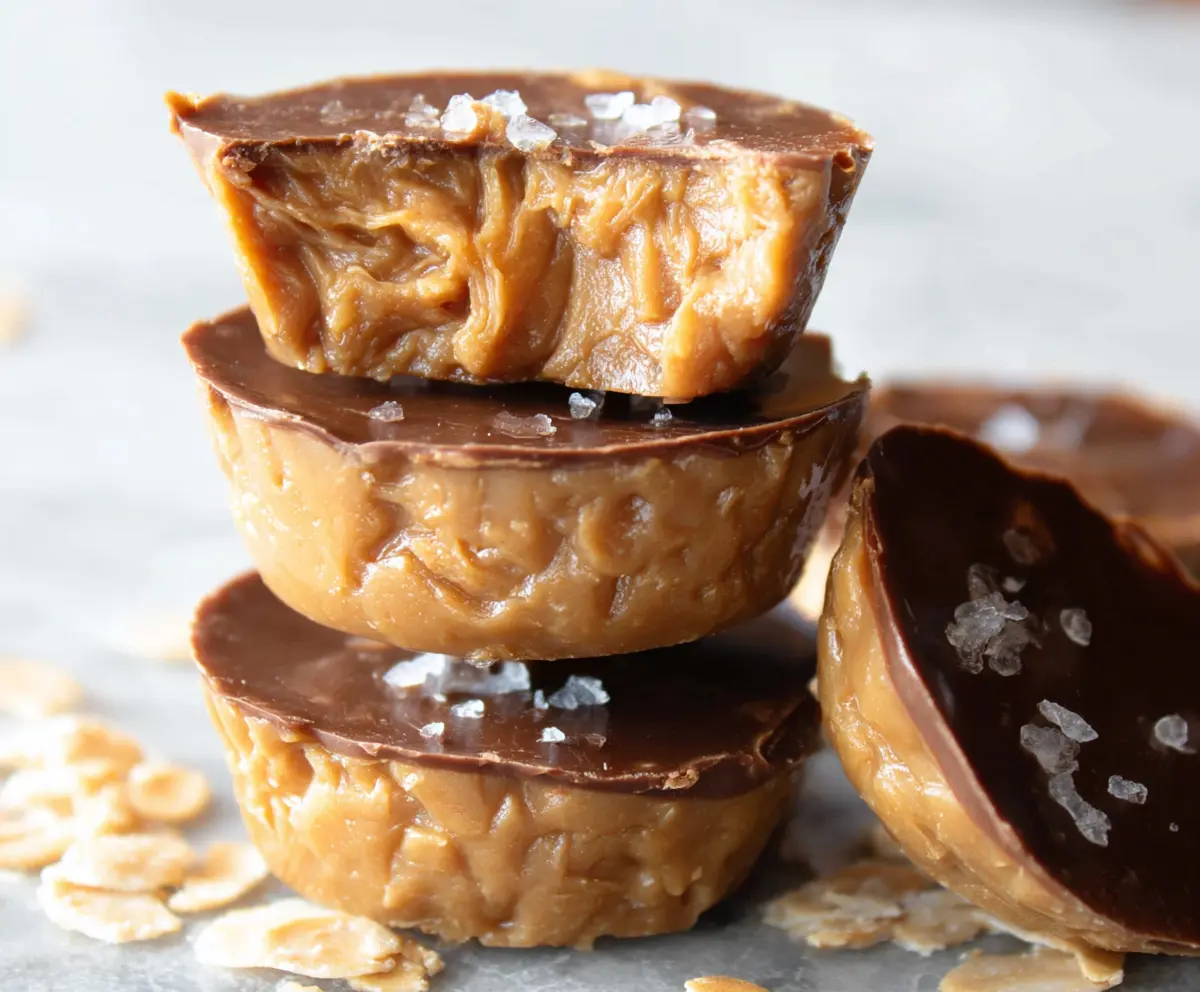
Healthy 3-Ingredient Peanut Butter Cups are a simple, sweet treat you can feel good about. With just peanut butter, dark chocolate, and a little honey or maple syrup, these cups have a creamy, rich peanut butter filling wrapped in a smooth chocolate shell. They’re a perfect balance of sweet and nutty without any extra fuss.
I love making these peanut butter cups because they come together so fast, and I always have the ingredients on hand. No need for fancy mixers or a long list of ingredients—just three simple things you probably already keep in your kitchen. It’s my go-to snack when I want something homemade but easy, and my friends always ask for the recipe after trying them.
My favorite way to enjoy these is chilling them in the fridge until they’re firm and then eating them straight from a little ramekin. They’re also great for sharing at parties or packing in lunch boxes as a sweet surprise. Plus, because they’re made with real ingredients, they satisfy sweet cravings without feeling heavy or too sugary.
Key Ingredients & Substitutions
Natural Peanut Butter: This is the star of the filling. Choose one with no added sugar or salt for the healthiest option. If you prefer, almond or cashew butter works well too, offering a slightly different but still creamy taste.
Dark Chocolate Chips: Opt for chocolate with 70% cocoa or higher. It has less sugar and richer flavor. If you want a dairy-free option, look for vegan dark chocolate chips or use cacao nibs mixed with coconut oil.
Maple Syrup or Honey: These natural sweeteners add just the right touch of sweetness and help bind the peanut butter. You can swap maple syrup for agave nectar or brown rice syrup if you need to.
How Can I Make Smooth, Even Layers for Peanut Butter Cups?
Getting clean, even layers makes the cups look and taste better. Here’s how:
- Pour melted chocolate first, then freeze it firmly to create a solid base.
- Mix peanut butter and sweetener until smooth, then gently spoon on top to avoid breaking the chocolate layer.
- Cover the peanut butter with the remaining melted chocolate to seal the cups.
- Freezing between layers helps keep everything firm and neat.
Take your time with spreading and chilling for the best results. Using silicone liners can make removing the cups easier without any cracks.
Equipment You’ll Need
- Silicone muffin liners or a mini muffin tin – I recommend silicone liners because they make removing the cups easy and prevent sticking.
- Microwave-safe bowls – perfect for melting the chocolate quickly and evenly.
- Small spoon or spatula – helps to spread the melted chocolate and peanut butter smoothly.
- Freezer – essential for setting the layers quickly and keeping the cups firm.
Flavor Variations & Add-Ins
- Swirl in a little cinnamon or vanilla extract into the peanut butter for extra flavor.
- Add chopped nuts or shredded coconut on top before the final chocolate layer for crunch and texture.
- Use white or milk chocolate instead of dark for a sweeter, milder taste.
- Mix in a few chocolate chips or mini marshmallows into the peanut butter before layering for added indulgence.
Healthy 3-Ingredient Peanut Butter Cups
Ingredients You’ll Need:
Main Ingredients:
- 1 cup natural peanut butter (smooth or crunchy, unsweetened)
- 1 cup dark chocolate chips (70% cocoa or higher for health benefits)
- 2 tablespoons pure maple syrup or honey
- Optional: sea salt flakes for topping
How Much Time Will You Need?
This recipe takes about 10 minutes to prepare and another 25 minutes to chill and set in the freezer. Overall, you’ll spend a little time melting and layering the ingredients, then just wait for the peanut butter cups to firm up. It’s quick, easy, and perfect when you’re craving a sweet snack!
Step-by-Step Instructions:
1. Prepare Your Muffin Tin:
Start by placing silicone cupcake liners in a muffin tin or using a mini muffin tin if you prefer. This will help the cups keep their shape and make them easy to remove when they’re ready.
2. Melt and Layer the Chocolate Base:
Put half of your dark chocolate chips into a microwave-safe bowl. Heat them in 20-second intervals, stirring in between, until smooth and fully melted. Then, spoon a little melted chocolate into the bottom of each liner. Spread it out evenly with the back of the spoon, making sure to cover the base well. Pop the tray into the freezer for about 10 minutes so that the chocolate sets firm.
3. Make the Peanut Butter Filling:
While the chocolate base chills, mix the peanut butter and maple syrup or honey in a small bowl until smooth. Be gentle so the mixture stays creamy and easy to spread.
4. Add the Peanut Butter Layer:
Once the chocolate base is firm, spoon the peanut butter mixture over it in each cup. Use the back of a spoon to smooth the tops with care, so you don’t break through the chocolate.
5. Cover with Chocolate and Chill:
Next, melt the remaining chocolate chips using the same method as before. Drizzle or spoon this melted chocolate over the peanut butter layer, fully covering it. If you like, sprinkle a pinch of sea salt flakes on top to add a little extra flavor! Finally, return the cups to the freezer for at least 15 minutes, until everything is completely set.
6. Serve and Store:
When firm, peel off the liners and enjoy your peanut butter cups! Keep any extras in an airtight container in the refrigerator so they stay fresh and delicious.
Can I Use Frozen Peanut Butter in This Recipe?
It’s best to use peanut butter at room temperature for easy mixing and spreading. If your peanut butter is frozen, thaw it in the fridge overnight and stir well before using.
How Long Do These Peanut Butter Cups Keep?
Store them in an airtight container in the refrigerator for up to 1 week. For longer storage, you can freeze them for up to 2 months—just thaw in the fridge before enjoying.
Can I Substitute the Sweetener?
Yes! Maple syrup or honey works well, but you can also use agave nectar or brown rice syrup. Just keep the quantity the same to maintain the right consistency of the filling.
What If I Don’t Have Silicone Liners?
No worries! You can use a mini muffin tin well-greased with coconut oil or butter to prevent sticking. Let the cups set well in the freezer before removing to avoid breaking.