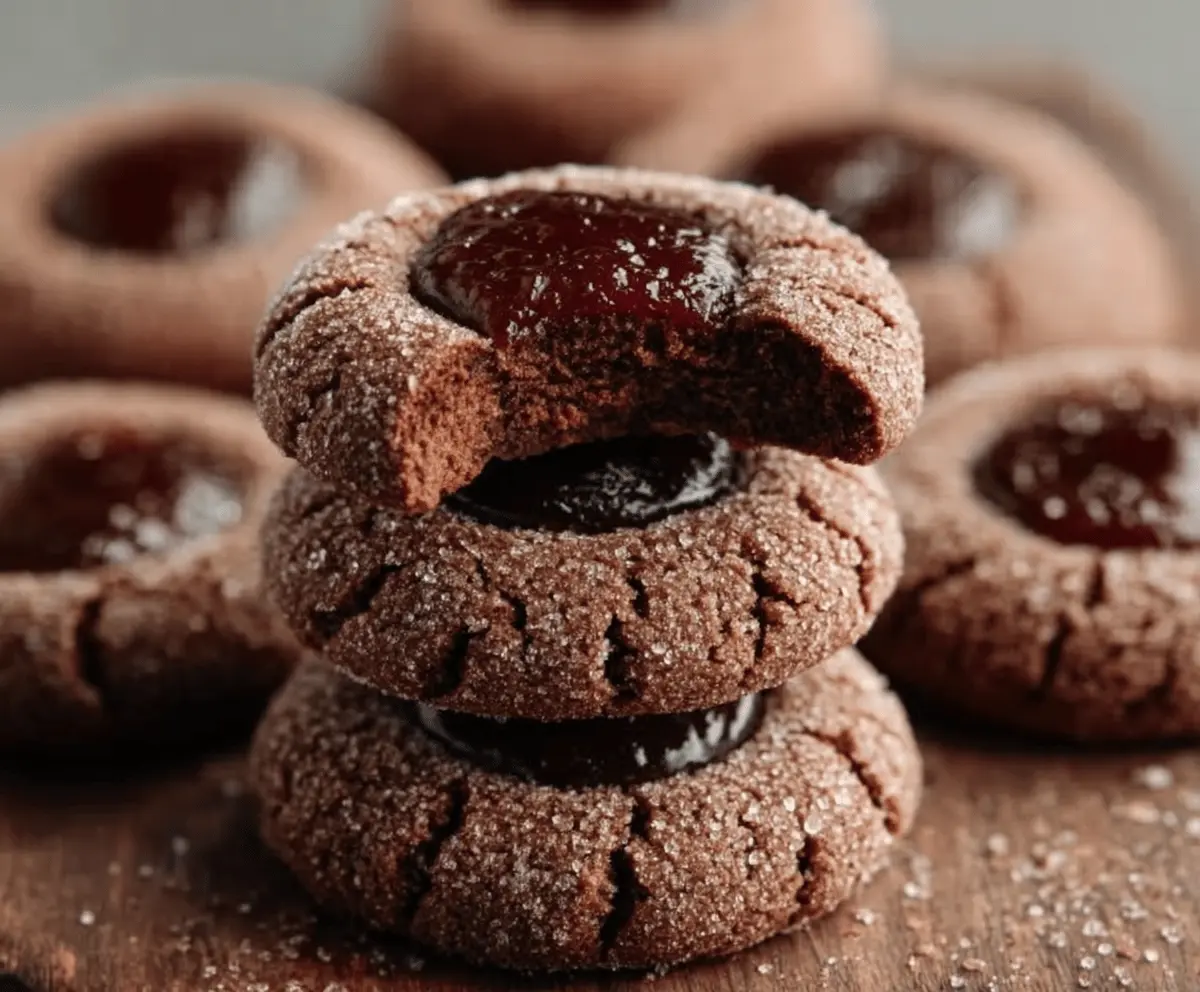
Chocolate Thumbprint Cookies are a delightful treat that combine rich chocolate with a soft, buttery cookie base. Each cookie has a little well in the center that’s perfect for holding a dollop of jam or your favorite sweet filling. The mix of chocolate and whatever you choose to fill them with makes for a fun and tasty bite every time.
I love making these cookies because they feel special but are super easy to bake. I always enjoy pressing my thumb into each ball of dough—it’s a little tradition that makes them feel homemade and personal. Plus, they’re great for sharing, whether at holiday parties or just as a sweet surprise for friends and family.
My favorite way to serve them is with a variety of jams like raspberry or apricot so everyone can pick their favorite flavor. These cookies always bring back warm memories of baking with loved ones and the smell of chocolate filling up the kitchen. They’re like tiny hugs you can eat, and I’m pretty sure once you try them, they’ll become a favorite for you too!
Key Ingredients & Substitutions
Butter: Butter gives these cookies their rich, tender crumb. Use unsalted butter so you control the salt level. If needed, margarine can work but expect a different texture.
Cocoa Powder: Unsweetened cocoa powder provides that deep chocolate flavor. Dutch-processed cocoa can be used for a smoother, less bitter taste.
Jam or Preserves: The jam adds a sweet, fruity touch to balance the chocolate. I like raspberry for its tartness, but strawberry or apricot also work great. Try sugar-free jam if you want a lower-sugar option.
Flour: All-purpose flour is standard here for structure. For gluten-free, use a 1:1 gluten-free baking blend, but the texture may be a bit different.
How Do You Make the Perfect Thumbprint in Cookies?
Creating the thumbprint is key. If the indentation is too shallow, the jam might spill; too deep, and the cookie may crack around it.
- After rolling dough into balls, roll them in sugar for a little crunch and shine.
- Use your thumb or the back of a small spoon to gently press into the center without breaking the dough edges.
- Press again right after baking if the indentation has puffed up. This keeps a nice well for the jam.
- Fill with jam while cookies are warm to keep the filling soft and slightly melted.
Patience with this step ensures your cookies look tidy and hold their delicious filling perfectly.

Equipment You’ll Need
- Mixing bowls – I love using a large bowl for creaming butter and sugar, plus a smaller one for whisking dry ingredients.
- Electric mixer or whisk – makes beating the butter and sugar easy and quick.
- Measuring cups and spoons – ensure your ingredients are just right for perfect cookies.
- Baking sheet lined with parchment paper – prevents sticking and makes cleanup much easier.
- Cookie scoop or tablespoon – helps you portion the dough evenly for uniform cookies.
- Small spoon or your thumb – to create the thumbprint indentation easily and gently.
- Wire rack – perfect for cooling cookies without them getting soggy.
Flavor Variations & Add-Ins
- Swap fruit jam for caramel sauce or nut butter for a different flavor twist; caramel adds richness, while nut butter gives depth.
- Add a pinch of cinnamon or chili powder to the dry ingredients for a hint of spice that pairs well with chocolate.
- Mix chopped nuts or mini chocolate chips into the dough for extra texture and bursts of flavor.
- Use flavored extracts like peppermint or almond instead of vanilla to create seasonal or unique tastes.
Chocolate Thumbprint Cookies
Ingredients You’ll Need:
- 1 cup (2 sticks) unsalted butter, softened
- 3/4 cup granulated sugar (plus extra for rolling)
- 1 large egg
- 1 teaspoon vanilla extract
- 1/4 teaspoon salt
- 1 1/2 cups all-purpose flour
- 1/2 cup unsweetened cocoa powder
- 1/2 teaspoon baking powder
- 1/2 cup fruit jam or preserves (such as raspberry, strawberry, or cherry)
How Much Time Will You Need?
This recipe takes about 15 minutes for preparation and 10-12 minutes baking time. Including cooling, you’ll have delicious cookies ready in around 30-40 minutes.
Step-by-Step Instructions:
1. Get Ready:
First, preheat your oven to 350°F (175°C). Then, line a baking sheet with parchment paper so your cookies won’t stick.
2. Make the Dough:
In a large bowl, use an electric mixer to cream together the softened butter and 3/4 cup sugar until it’s light and fluffy. Next, mix in the egg and vanilla extract until smooth. In another bowl, whisk the flour, cocoa powder, salt, and baking powder. Now, slowly add the dry ingredients to your butter mixture and stir just until the dough comes together. It might feel a little soft but that’s perfect!
3. Shape and Bake:
Scoop tablespoon-sized balls of dough and roll each in sugar to add a sweet crunch. Place them on the baking sheet about 2 inches apart. Press your thumb or the back of a spoon gently into the center of each ball to make a little well. Bake for 10-12 minutes. When you take them out, press the centers again if they’ve puffed up.
4. Fill and Cool:
While the cookies are still warm, spoon about 1/2 teaspoon of your favorite jam into each thumbprint. Let the cookies cool on the baking sheet for 5 minutes, then transfer them to a wire rack to cool completely. Enjoy!
Can I Use Frozen Butter for This Recipe?
It’s best to use softened butter for this recipe to cream properly with the sugar. If your butter is frozen, thaw it in the fridge overnight or leave it out at room temperature for about an hour until soft but not melted.
Can I Substitute the Jam with Other Fillings?
Absolutely! You can use caramel sauce, chocolate ganache, or even peanut butter for the fillings. Just make sure the filling isn’t too runny so it holds well in the thumbprint indentation.
How Should I Store Leftover Cookies?
Store your cookies in an airtight container at room temperature for up to 5 days. If you want to keep them longer, you can freeze baked cookies in a sealed container for up to 3 months. Thaw at room temperature before serving.
Can I Make the Dough Ahead of Time?
Yes, you can prepare the dough the day before and refrigerate it wrapped tightly in plastic wrap. Let it come to room temperature for about 15 minutes before shaping and baking for best results.