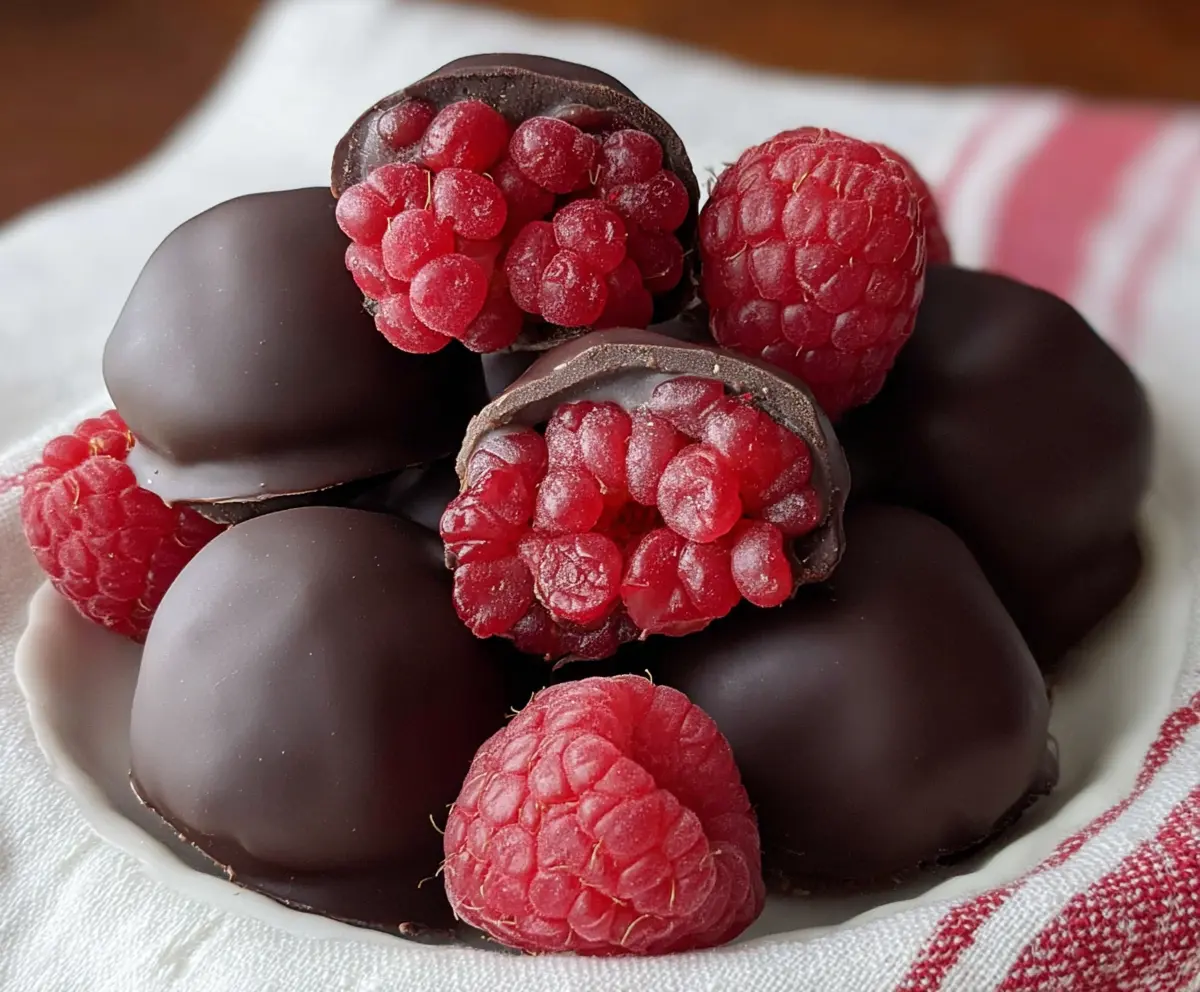
Chocolate Covered Raspberries are a simple and sweet treat that pairs the rich, smooth taste of chocolate with the bright, juicy burst of fresh raspberries. The combination of creamy chocolate coating and tart berries makes every bite a little moment of happiness. It’s an easy dessert or snack that feels special but doesn’t take much time to put together.
I love making these when I want something fresh but still a little indulgent. Dipping the raspberries in melted chocolate and letting them cool until the chocolate gets firm is such a fun and satisfying step. I find it’s best to use good-quality chocolate because it makes the taste pop, and chilling them just enough keeps the berries nice and firm inside.
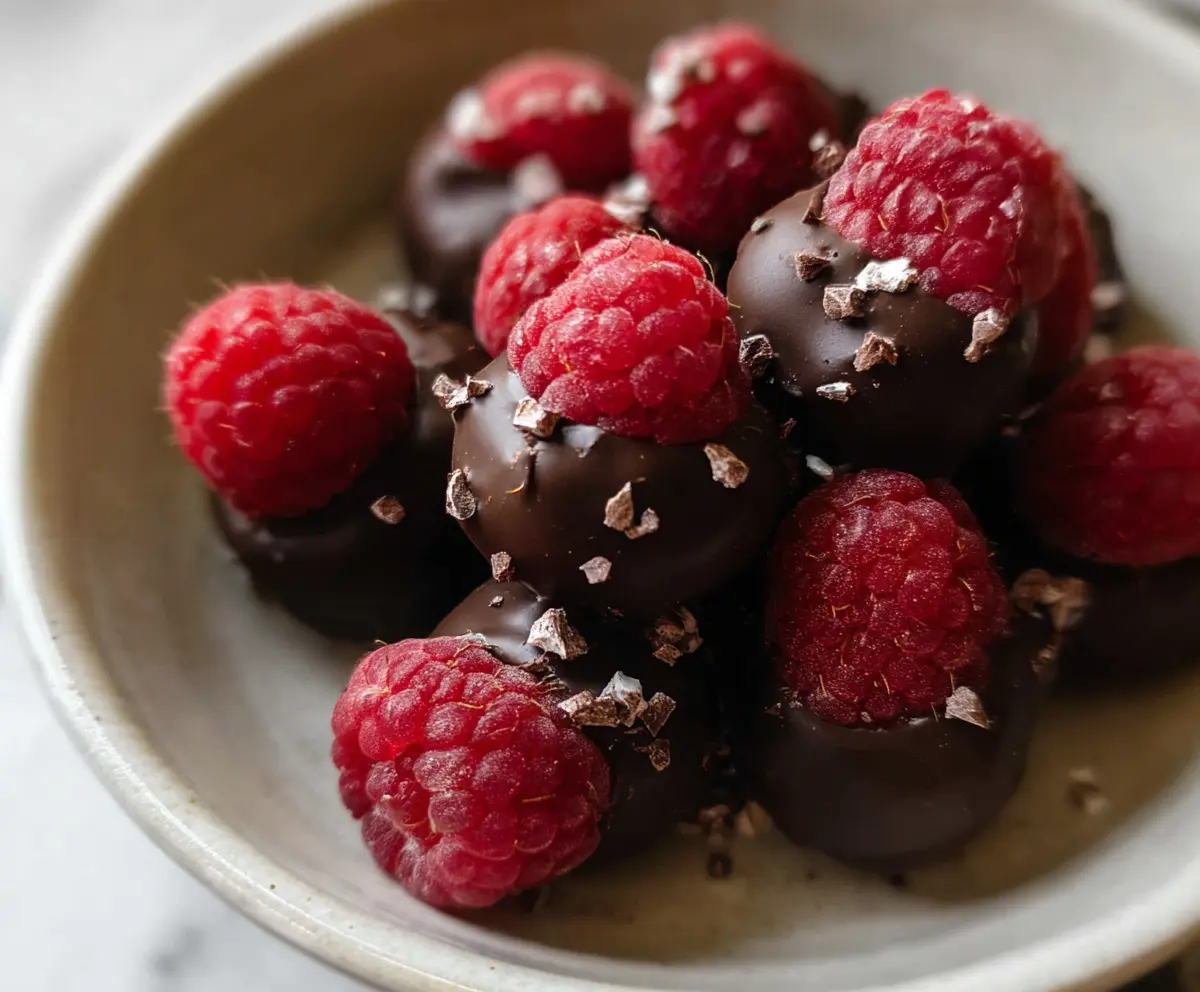
These chocolate-covered raspberries are perfect for serving at a party or just having on hand for a quick treat. I often set them out with a cup of tea for a cozy afternoon break or bring them along to share with friends. They always bring smiles because they taste like a little bit of joy wrapped in chocolate!
Key Ingredients & Substitutions
Raspberries: Fresh, firm raspberries work best for a juicy, tart bite. If you can’t find fresh raspberries, frozen ones can be used, but thaw and dry them well first to avoid soggy chocolate.
Dark Chocolate: I prefer dark chocolate with 60-70% cacao for a nice balance of sweetness and richness. If you like it sweeter or milder, try milk chocolate or even white chocolate as alternatives.
Coconut or Vegetable Oil: This is optional, but a small amount helps the chocolate melt smoothly and makes the coating glossy. You can skip it if you want, but the chocolate might be thicker.
How Do You Get a Smooth, Shiny Chocolate Coating?
Melting and coating the raspberries can feel tricky, but a few tips make it easier:
- Melt chocolate slowly—use short bursts in the microwave or a double boiler to avoid burning.
- Add a bit of coconut or vegetable oil to thin the chocolate, making it smooth and shiny.
- Make sure raspberries are dry; moisture stops chocolate from sticking well.
- Dip carefully and tap off excess chocolate before placing on parchment to get a neat, even coat.
- Chilling the dipped berries helps the chocolate set quickly and keeps the raspberries firm inside.
Equipment You’ll Need
- Baking sheet lined with parchment paper or silicone mat – I recommend this so the berries don’t stick and are easy to move.
- Microwave-safe bowl or double boiler – makes melting chocolate simple and controlled.
- Fork or dipping tool – helps coat the berries evenly without getting chocolate on your fingers.
- Paper towels – handy for drying the raspberries thoroughly so the chocolate sticks well.
Flavor Variations & Add-Ins
- Use white or milk chocolate instead of dark for a sweeter, creamier coating. Works well with colorful berries!
- Add a pinch of sea salt or sprinkle with chopped nuts before chilling to create a salty-sweet crunch.
- Drizzle melted white or dark chocolate over the coated berries for a decorative swirl—pretty and tasty.
- Infuse the chocolate with a hint of vanilla, mint, or orange zest for extra flavor profiles.
Chocolate Covered Raspberries
Ingredients You’ll Need:
Main Ingredients:
- 2 cups fresh raspberries
- 1 ½ cups dark chocolate chips or chopped dark chocolate (60-70% cacao)
- Optional: 1 tablespoon coconut oil or vegetable oil (to help with melting and smoothness)
How Much Time Will You Need?
This recipe takes about 10 minutes to prepare plus at least 30 minutes of chilling time for the chocolate to set. The total time is around 40 minutes, making it a quick and easy treat to enjoy soon after making.
Step-by-Step Instructions:
1. Prepare Your Workspace:
Line a baking sheet with parchment paper or a silicone baking mat. This will keep your chocolate-covered raspberries from sticking and make cleanup easy.
2. Wash and Dry the Raspberries:
Gently rinse the raspberries in cold water, then carefully pat them dry with paper towels. Make sure they are completely dry so the chocolate will stick well.
3. Melt the Chocolate:
Place the dark chocolate and optional coconut or vegetable oil in a microwave-safe bowl. Heat in 30-second bursts, stirring each time, until the chocolate is smooth and fully melted. Alternatively, use a double boiler on the stove for melting.
4. Dip the Raspberries:
Using a fork or dipping tool, carefully dip each raspberry into the melted chocolate. Make sure each berry is mostly coated and let the excess chocolate drip off before placing it onto the lined baking sheet.
5. Chill and Set:
Space the dipped raspberries apart on the baking sheet so they don’t stick together. Place the tray in the refrigerator for at least 30 minutes or until the chocolate is firm and set.
6. Serve or Store:
Enjoy your chocolate-covered raspberries immediately, or store them in an airtight container in the refrigerator for up to 2 days to keep them fresh and delicious.
Can I Use Frozen Raspberries Instead of Fresh?
Yes, but be sure to fully thaw and pat them dry before dipping. Frozen berries hold more moisture, which can make the chocolate not stick well or become soggy.
What’s the Best Chocolate to Use?
Dark chocolate with 60-70% cacao works wonderfully for a balanced flavor. You can also use milk or white chocolate if you prefer a sweeter taste.
How Should I Store Leftover Chocolate Covered Raspberries?
Keep them in an airtight container in the refrigerator for up to 2 days. Bring them to room temperature for a few minutes before serving for the best flavor and texture.
Can I Make These Ahead of Time?
They are best enjoyed fresh but can be made a few hours ahead and refrigerated. Just avoid long storage to keep the raspberries from becoming mushy.