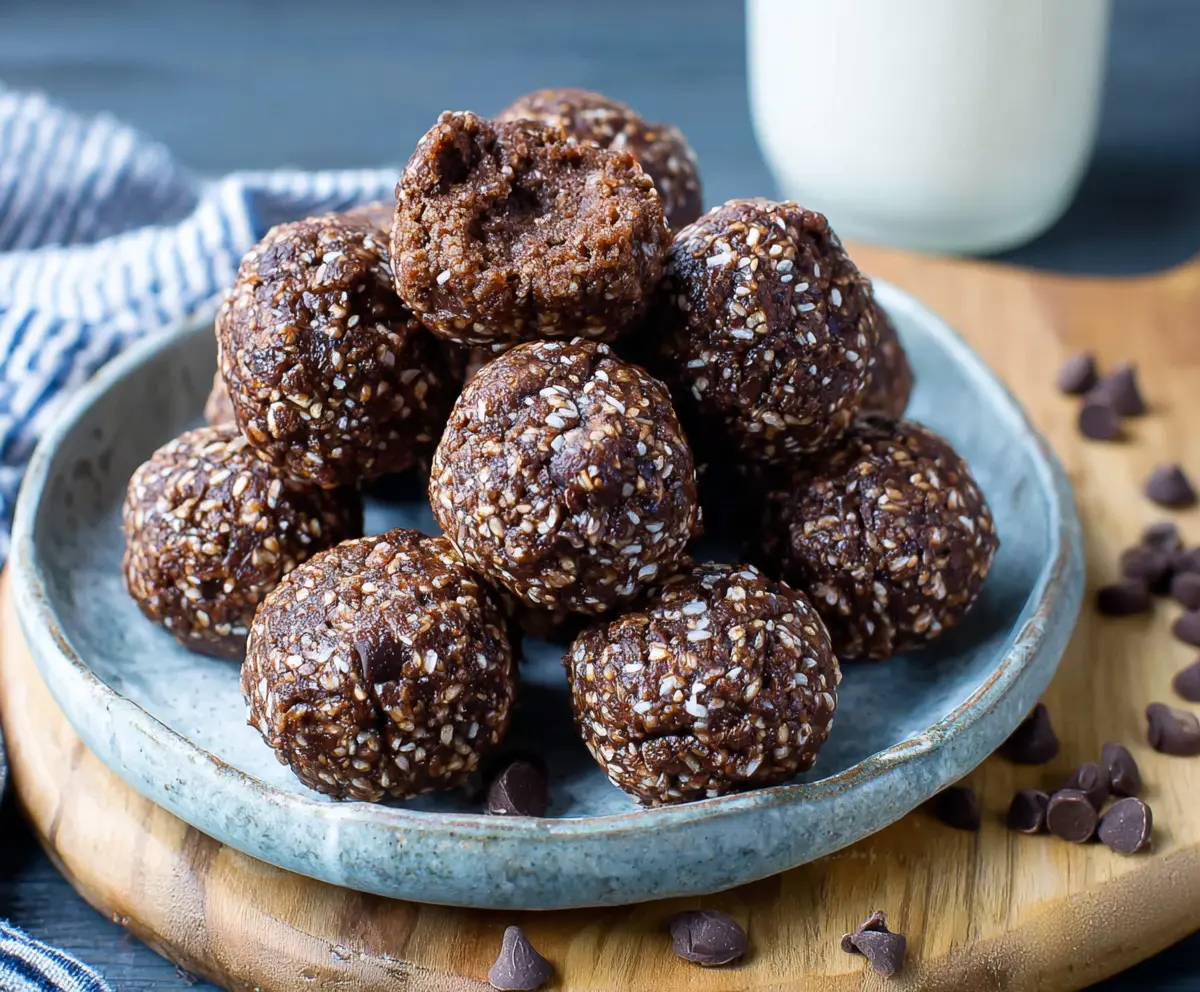
Chocolate Brownie Protein Balls are a fun and tasty way to get a quick boost of energy. These little treats combine rich chocolate flavor with a chewy, dense texture that reminds me of brownies but in a healthier, bite-sized form. They often include ingredients like cocoa powder, protein powder, dates, and nuts which come together to create something that’s both satisfying and good for you.
I love making these protein balls when I need a snack that’s easy to grab on the go but still feels a bit special. I usually roll them in a little shredded coconut or cocoa powder for an extra touch. What’s great is that they don’t take long to prepare, and I can customize them with my favorite add-ins, like a sprinkle of sea salt or a handful of mini chocolate chips for extra fun.
My favorite way to enjoy these chocolate brownie protein balls is with a cup of coffee or after a workout to help refuel. They’re perfect for those moments when you want something sweet but don’t want to reach for a regular brownie or candy bar. I always keep a batch in the fridge because they’re a total lifesaver on busy days!
Key Ingredients & Substitutions
Rolled oats: These give the protein balls a nice chew and bulk. If you’re gluten sensitive, be sure to use certified gluten-free oats. Quick oats can be used, but the texture will be softer.
Medjool dates: They’re the natural sweetener and help bind the mixture. If you can’t find Medjool, other soft dates like Deglet Noor work, just soak them in warm water if they’re dry.
Almond or peanut butter: This adds healthy fats and helps hold the balls together. You can swap with sunflower seed butter for a nut-free option.
Protein powder: Chocolate flavor works great here, but vanilla is a good substitute. Choose your favorite brand—whey, plant-based, or collagen all work well.
Chia or flaxseeds: These add texture, nutrition, and help bind. I like chia for a slight crunch, but flaxseed offers a nuttier taste.
Cocoa powder: Unsweetened is best for true chocolate flavor. Dutch-processed cocoa will result in a smoother, less acidic taste if you prefer.
How Do You Get the Perfect Texture for Protein Balls?
Achieving the right texture can be a bit tricky. It’s about balance between wet and dry ingredients so they stick without being sticky or crumbly.
- Pulse ingredients in the food processor in short bursts to keep some texture but break down the oats and dates enough to combine.
- Add nut butter slowly to help bind all ingredients. Too little and the balls fall apart; too much and they can feel greasy.
- Water is your friend if you need to adjust. Add one tablespoon at a time to avoid making the mixture too wet.
- Chill the mixture for at least 30 minutes—this firms up the balls making them easier to roll and helps them hold shape better.
- If the mixture feels sticky after chilling, dust your hands lightly with cocoa powder or oats to roll cleanly.
Equipment You’ll Need
- Food processor – I find it easiest to combine the ingredients quickly and evenly.
- Mixing bowl – for stirring in the chocolate chips and handling the mixture.
- Measuring cups and spoons – to keep everything accurate and consistent.
- Baking sheet or plate – for placing the rolled protein balls while chilling.
- Refrigerator – to help set the balls so they hold their shape better.
Flavor Variations & Add-Ins
- Swap chocolate chips for dried berries or chopped nuts for added texture and flavor.
- Mix in a teaspoon of cinnamon or peppermint extract for a festive twist.
- Use white chocolate chips or peanut butter instead of dark chocolate for different flavor profiles.
- Add a spoonful of coconut flakes or shredded coconut for a tropical touch.
How to Make Chocolate Brownie Protein Balls
Ingredients You’ll Need:
- 1 cup rolled oats
- 1 cup pitted Medjool dates (about 10 dates)
- ¼ cup natural almond butter or peanut butter
- ¼ cup unsweetened cocoa powder
- 1 scoop chocolate or vanilla protein powder (about 25-30g)
- 2 tablespoons chia seeds or flaxseeds
- 1 teaspoon vanilla extract
- 2 tablespoons mini dark chocolate chips (optional)
- 1-2 tablespoons water (if needed to adjust consistency)
- Pinch of salt
How Much Time Will You Need?
This recipe takes about 10 minutes to prepare and another 30 minutes to chill in the fridge so the protein balls can firm up. They’re quick to make and perfect for a fast, healthy snack!
Step-by-Step Instructions:
1. Blend the Base Ingredients:
Put the rolled oats, pitted dates, cocoa powder, protein powder, chia seeds, and a pinch of salt into a food processor. Pulse several times until everything is broken down and starting to combine, but still has some texture.
2. Add the Nut Butter and Vanilla:
Add the almond or peanut butter and vanilla extract to the blender. Process again until the mixture sticks together. If it feels too dry, add water a tablespoon at a time and pulse until you get a dough-like consistency.
3. Mix in the Chocolate Chips:
If you like, stir mini dark chocolate chips into the mixture by hand for a little extra chocolaty goodness.
4. Shape the Protein Balls:
Use your hands to roll the mixture into bite-sized balls, about 1 to 1.5 inches wide. Try to make them all about the same size for even snacking.
5. Chill and Store:
Place the balls on a plate or tray and pop them into the fridge for at least 30 minutes so they firm up nicely. Keep them stored in an airtight container in the fridge for up to one week, or freeze them if you want to keep them longer.
Can I Use Other Sweeteners Instead of Dates?
Yes! While dates work best as a natural binder and sweetener, you can try using dried figs or raisins. Just make sure they’re soft and chop them finely for easier mixing.
Can I Make These Protein Balls Ahead of Time?
Absolutely! These protein balls keep well in the fridge for up to a week. You can also freeze them for up to 3 months—just thaw them in the fridge before eating.
What If I Don’t Have a Food Processor?
You can mash the dates and mix all ingredients by hand, but it might take more effort to get a smooth, sticky dough. Using a blender with a pulse setting can also work in a pinch.
Can I Customize the Flavors?
Definitely! Swap vanilla extract for almond or peppermint extract, add cinnamon, or try mixing in shredded coconut or chopped nuts for different tastes and textures.