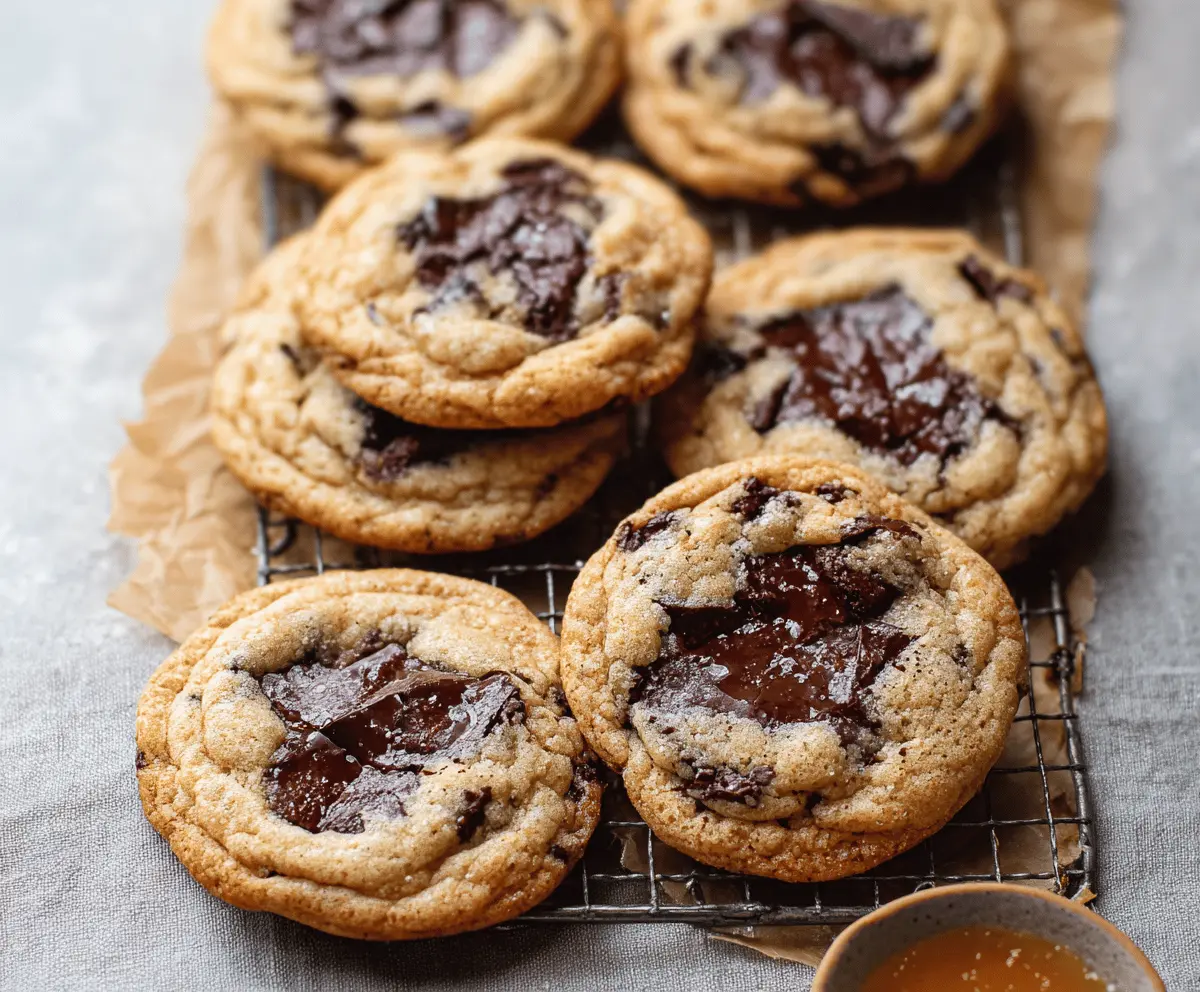
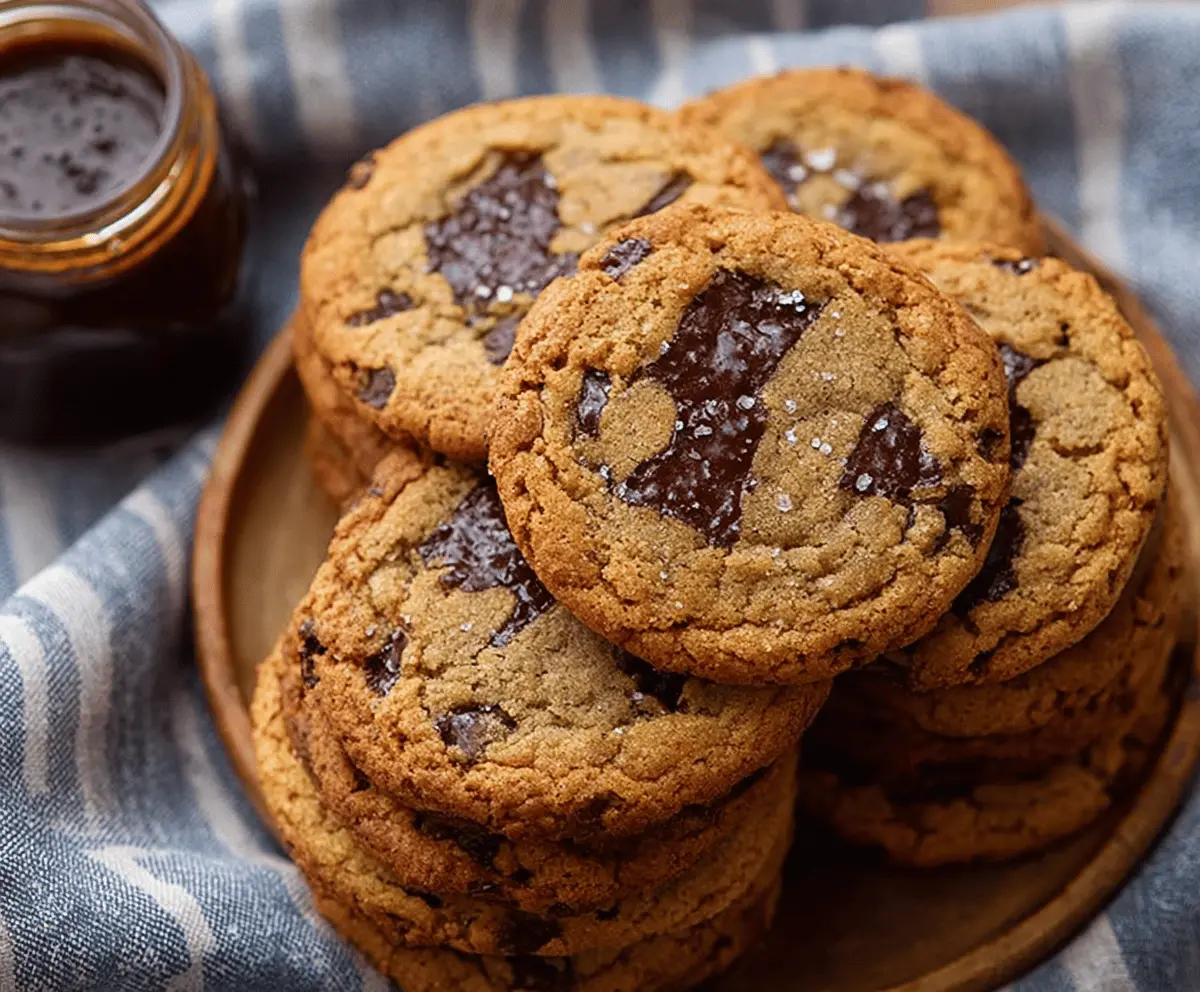
Brown Butter Chocolate Chip Cookies are a delicious twist on the classic cookie, with a rich, nutty flavor that comes from browning the butter first. These cookies have soft centers, slightly crisp edges, and plenty of melty chocolate chips that make each bite extra special. The brown butter adds a warm, toasty note that makes the whole cookie taste a little more buttery and deeply satisfying.
I love making these cookies because the smell of the brown butter cooking fills the kitchen with a cozy, homey aroma that just makes me want to bake all day. One trick I use is to let the butter cool a bit before mixing it into the dough, so it helps keep the cookies soft and chewy. It’s a small step that makes a big difference in the texture and flavor.
These cookies are perfect on their own, but I especially like to enjoy them warm with a glass of cold milk. They’re great for sharing with friends or saving some for a cozy night in. Whenever I bake a batch, they tend to disappear pretty fast because everyone loves the rich flavor and soft, gooey chocolate chips. You can’t go wrong with these classic-yet-extra-special cookies!
Key Ingredients & Substitutions
Butter: Browning the butter is what makes these cookies special. It gives a nutty, deep flavor you won’t get with regular melted butter. For a dairy-free version, try using a vegan butter, but skip the browning step as it might not work the same.
Brown Sugar: This adds moisture and chewiness. If you don’t have brown sugar, you can mix white sugar with a little molasses as a substitute. I like light brown sugar for a milder flavor, but dark brown adds richness.
Chocolate: Use chunks or chips depending on your preference. Chunks give bigger pockets of melty chocolate, while chips hold their shape better. For allergen-free, try dairy-free or vegan chocolate chips available in stores.
Vanilla Extract: This boosts the cookie’s flavor. Pure vanilla is best, but if you’re out, imitation vanilla can work in a pinch.
How Do I Brown Butter Without Burning It?
Brown butter adds great flavor, but it can turn from browned to burnt quickly. Here’s how to get it just right:
- Use a light-colored pan to watch the color change easily.
- Melt butter over medium heat and stir often, swirling the pan to cook evenly.
- Watch for foam and then small brown specks forming at the bottom. You’ll smell a nutty aroma.
- Once you get a nice amber color (usually 5-7 mins), take it off the heat immediately.
- Pour it into a cool bowl to stop cooking and let it cool before mixing into batter.
Taking your time here really pays off in flavor and keeps the butter from tasting burnt.
Equipment You’ll Need
- Medium saucepan – I love using this for browning the butter because I can see the color change clearly.
- Mixing bowls – You’ll need these to combine the wet and dry ingredients easily.
- Electric hand or stand mixer – makes beating the sugars, eggs, and butter smooth and quick.
- Measuring cups and spoons – for precise ingredient amounts to get the best results.
- Baking sheets – choose sturdy ones that heat evenly for perfect cookies.
- Parchment paper – for lining pans so the cookies don’t stick and are easy to remove.
- Cookie scoop or 2-tablespoon spoon – helps to form evenly sized cookies for uniform baking.
- Wire rack – for cooling the cookies evenly after baking.
Flavor Variations & Add-Ins
For a twist, swap semi-sweet chocolate with dark or white chocolate chips, or add chopped nuts like pecans or walnuts for extra crunch. You can also mix in a teaspoon of cinnamon or espresso powder for added depth. Frosted or drizzled with caramel? Delicious! Try dried fruit, like cranberries or cherries, for a fruity burst. These tweaks customize the cookies to your favorite flavors and occasions.
Brown Butter Chocolate Chip Cookies
Ingredients You’ll Need:
Main Ingredients:
- 1 cup (2 sticks) unsalted butter
- 1 cup packed light brown sugar
- ½ cup granulated sugar
- 2 large eggs
- 2 teaspoons pure vanilla extract
- 2 ¼ cups all-purpose flour
- 1 teaspoon baking soda
- ½ teaspoon salt
- 2 cups semi-sweet chocolate chunks or chips
- Flaky sea salt (optional, for sprinkling)
How Much Time Will You Need?
Preparation and mixing take around 15 minutes. Then, let the dough chill in the fridge for at least 1 hour for the best flavor and texture. Baking takes 10-12 minutes per batch. Overall, plan for about 1 hour and 30 minutes including chilling and baking time.
Step-by-Step Instructions:
1. Brown the Butter:
Start by melting the butter in a medium saucepan over medium heat. Keep stirring or swirling the pan so it cooks evenly. After a few minutes, you’ll see the butter foam and start turning a golden brown color with a warm, nutty smell. This usually takes about 5-7 minutes. Take the pan off the heat and let the butter cool to room temperature.
2. Mix the Sugars and Butter:
In a large bowl, combine the browned butter with the light brown sugar and granulated sugar. Beat the mixture until everything is smooth and well mixed.
3. Add Eggs and Vanilla:
Beat in the eggs one at a time, making sure each is fully blended before adding the next. Then, stir in the vanilla extract for that lovely flavor boost.
4. Combine Dry Ingredients:
In a separate bowl, whisk together the all-purpose flour, baking soda, and salt. This helps spread everything evenly in the dough.
5. Mix Dry Ingredients into Wet:
Slowly add the dry ingredients to the wet ingredient bowl, stirring just until everything comes together. Don’t overmix, or the cookies might turn out tough.
6. Fold in Chocolate:
Gently fold in the chocolate chunks or chips, making sure they’re well distributed through the dough.
7. Chill the Dough:
Cover the dough with plastic wrap or a lid and pop it in the fridge for at least 1 hour. This helps the flavors develop and makes the cookies easier to shape.
8. Bake the Cookies:
When you’re ready, preheat your oven to 350°F (175°C). Line baking sheets with parchment paper. Using a cookie scoop or spoon, drop dough balls (about 2 tablespoons each) onto the sheets, spacing them 2 inches apart.
Bake the cookies for 10-12 minutes, or until the edges are golden and the centers look set but still soft.
9. Cool and Serve:
Take the cookies out of the oven and, if you like, sprinkle them immediately with a little flaky sea salt for a perfect sweet-salty balance. Let the cookies cool on the baking sheet for about 5 minutes before moving them to a wire rack to cool completely.
Enjoy your warm, chewy, and buttery Brown Butter Chocolate Chip Cookies with plenty of melty chocolate and a rich, nutty twist!
Can I Use Frozen Butter to Make Brown Butter?
It’s best to use unsalted butter at room temperature or directly from the fridge to brown. If your butter is frozen, thaw it fully in the fridge before browning for even melting and proper caramelization.
How Long Can I Store the Cookie Dough?
You can keep the dough refrigerated for up to 3 days. Just cover it tightly. For longer storage, freeze the dough balls on a baking sheet, then transfer to a freezer bag for up to 3 months. Bake straight from frozen, adding a couple extra minutes to baking time.
Can I Substitute Chocolate Chips with Other Mix-ins?
Absolutely! Swap chocolate chips for chunks of your favorite chocolate, nuts, or even dried fruit. Just keep the total mix-in amount around 2 cups so the cookie texture stays just right.
Why Should I Refrigerate the Dough Before Baking?
Chilling the dough firms it up, preventing cookies from spreading too much while baking. It also helps develop deeper flavors and improves texture, giving you soft, chewy cookies every time.